How to Create a DIY Crafting Workshop at Home
This article is your ultimate guide to setting up a DIY crafting workshop right in the comfort of your own home. Imagine a space where your creativity can run wild, where every corner is filled with inspiration waiting to explode into beautiful creations. From organizing your supplies to personalizing your workspace, we will walk you through each step of the process, helping you unleash your inner artist.
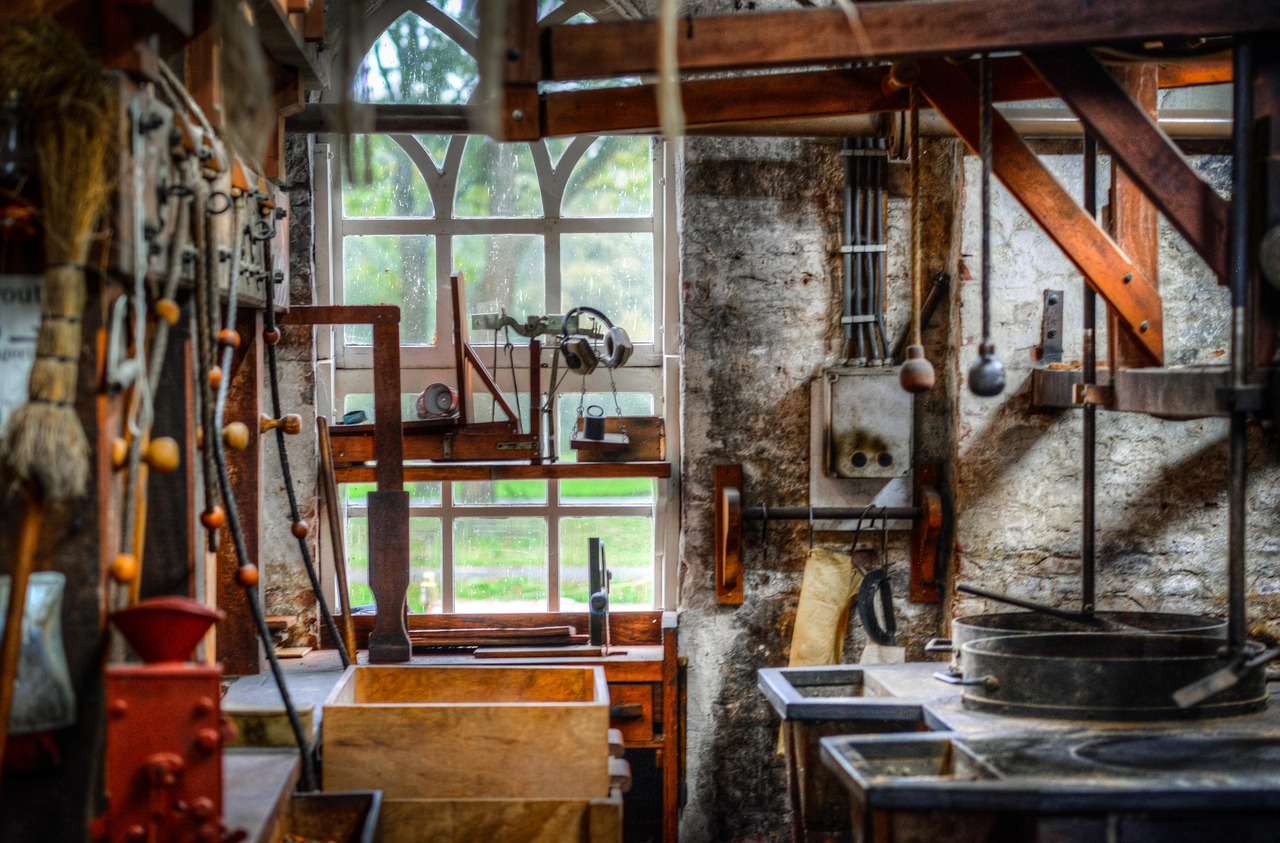
First and foremost, selecting the perfect spot for your crafting haven is crucial. Consider a room with ample natural light, plenty of storage space for your materials, and easy access to power outlets. This space will be your sanctuary, where ideas come to life and imagination knows no bounds.
Efficiently organizing your crafting supplies is the key to a successful workshop. Picture a neatly arranged space where everything has its place, where you can easily find that perfect ribbon or paintbrush without rummaging through clutter. Categorize, store, and label your materials to create a serene environment that fosters creativity.
No workshop is complete without essential tools. Equip yourself with scissors that glide through paper like a hot knife through butter, a glue gun ready to bond any two materials in an instant, cutting mats that protect your surfaces, and rulers that ensure precision in every project. These tools are your trusty companions on the crafting journey.
Now, it's time to infuse your workspace with your unique flair. Hang up motivational quotes that ignite your passion, place decorative accents that bring a smile to your face, and surround yourself with colors that speak to your soul. Your workshop should be a reflection of your personality, a place where creativity feels at home.
Efficiency is key when setting up workstations. Designate specific areas for different crafting activities, ensuring a smooth flow between tasks. Imagine seamlessly transitioning from cutting fabric to assembling a scrapbook, all within arm's reach. This layout optimization maximizes productivity and minimizes distractions.
Establishing a project storage system is essential for maintaining order in your workshop. Whether it's bins for ongoing projects, shelves for completed masterpieces, or drawers for small supplies, having a designated place for everything keeps your space organized and your mind clear. A tidy workspace is a creative workspace.
Keeping your workshop clean is a ritual that should not be overlooked. Dust off your surfaces, declutter your workstations, and sanitize your tools regularly. A sparkling clean environment sets the stage for new ideas to flourish and creativity to thrive.
To truly elevate your crafting experience, invite elements of creativity and inspiration into your workspace. Introduce bursts of color that energize your mind, hang up artwork that speaks to your heart, and bring a touch of nature indoors to breathe life into your projects. Your workshop should be a sanctuary of imagination, a place where magic happens with every brushstroke and stitch.
Choose Your Crafting Space
When it comes to setting up your DIY crafting workshop at home, selecting the perfect crafting space is a crucial first step. Consider the ambiance and functionality of the area you choose. Do you prefer a bright and airy space with plenty of natural light to illuminate your projects? Or maybe you need a cozy nook with easy access to power outlets for your crafting tools?
Think about the storage options available in the area. Having ample storage space for your crafting supplies is essential to keep your workspace organized and clutter-free. Whether it's shelves, bins, or drawers, make sure you have enough room to store all your materials neatly.
Accessibility is another key factor to consider. Your crafting space should be easily accessible, allowing you to dive into your projects without any obstacles. Imagine a space where everything you need is within arm's reach, making your crafting experience smooth and efficient.
Moreover, consider the overall layout of the space. Is there enough room to move around comfortably as you work on your projects? Creating a workspace that is both inspiring and functional will enhance your creativity and make the crafting process more enjoyable.
Organize Your Crafting Supplies
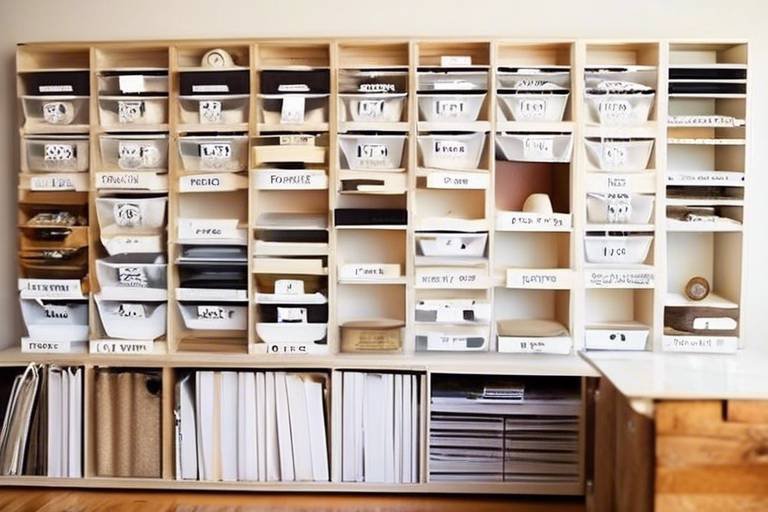
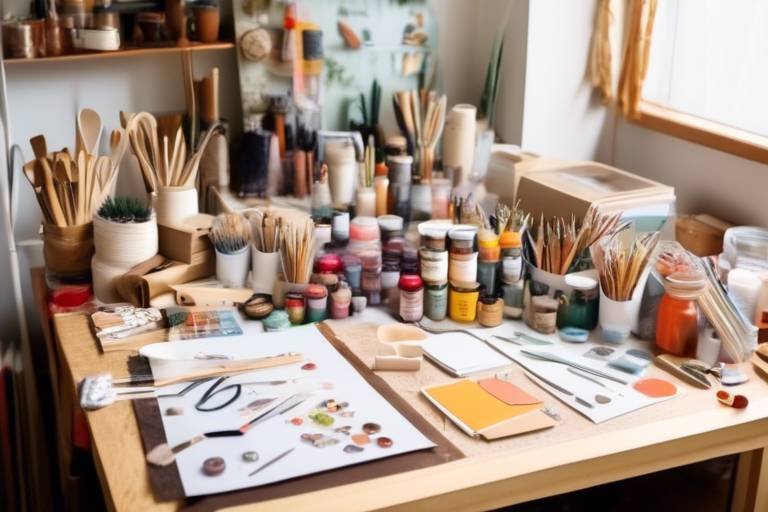
Organizing your crafting supplies is a crucial step in creating a functional and inspiring DIY workshop at home. Imagine walking into a clutter-free space where every material has its place, ready to be used for your next creative project. By categorizing, storing, and labeling your supplies efficiently, you can streamline your workflow and eliminate the frustration of searching for that elusive tool or material.
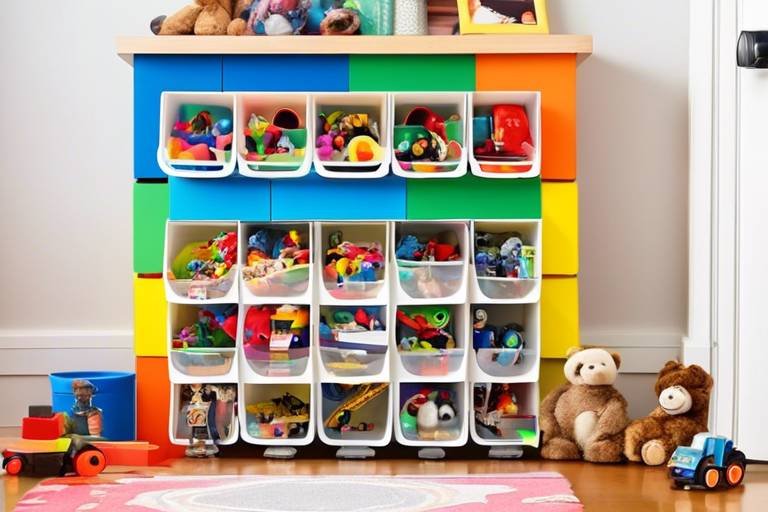
Consider setting up a designated area for each type of crafting supply, whether it's beads, yarn, paints, or ribbons. Utilize storage solutions like clear bins, jars, or drawer organizers to keep everything visible and easily accessible. Labeling containers with the contents not only saves time but also adds a professional touch to your workspace.
Creating a crafting supplies inventory can also help you keep track of what you have and what you may need to restock. Take inventory regularly to avoid running out of essential materials in the middle of a project. Additionally, consider investing in a storage cart or caddy to keep frequently used tools within arm's reach, making your crafting process more efficient.
When organizing your crafting supplies, think about the workflow of your projects. Arrange materials in a way that makes sense for your creative process, whether it's grouping items by color, texture, or project type. By organizing your supplies thoughtfully, you can enhance your creativity and productivity in your DIY crafting workshop.

Invest in Essential Tools
Investing in essential tools is a crucial step in setting up your DIY crafting workshop at home. These tools are the backbone of your creative endeavors, enabling you to bring your ideas to life with precision and efficiency. From cutting and measuring to adhering and embellishing, the right tools can make a world of difference in the quality of your projects.
When selecting tools for your workshop, consider the specific crafts you enjoy and the techniques you frequently use. For example, if you love paper crafting, a good pair of scissors and a selection of cutting blades may be essential. If you're into jewelry making, tools like pliers, wire cutters, and bead mats are must-haves.
Quality is key when it comes to investing in crafting tools. While it can be tempting to opt for budget-friendly options, investing in high-quality tools from the outset can save you time and frustration in the long run. Look for tools made from durable materials that are designed to withstand frequent use.
In addition to basic tools like scissors and rulers, consider investing in specialty tools that cater to your specific crafting interests. For example, if you enjoy working with fabric, a rotary cutter and self-healing cutting mat can make cutting precise shapes a breeze. If you're a fan of mixed media art, a heat embossing tool and blending brushes may be essential.
Proper maintenance of your crafting tools is also important to ensure their longevity. Keep blades sharp, clean glue residue from adhesive tools, and store delicate tools in protective cases to prevent damage. By taking care of your tools, you can enjoy their benefits for years to come.
Personalize Your Workspace
When it comes to creating a DIY crafting workshop at home, personalizing your workspace is key to setting the right ambiance for your creative projects. Imagine your crafting space as a blank canvas waiting for your personal touch to transform it into a sanctuary of inspiration and productivity. Just like an artist adds brush strokes to a masterpiece, you can infuse your workspace with elements that speak to your unique style and creative spirit.
Consider starting with the color scheme of your workshop. Colors have the power to influence mood and creativity, so choose hues that resonate with you. Whether you prefer calming blues, energizing yellows, or earthy tones, incorporating your favorite colors into the decor can create a harmonious environment that stimulates your imagination.
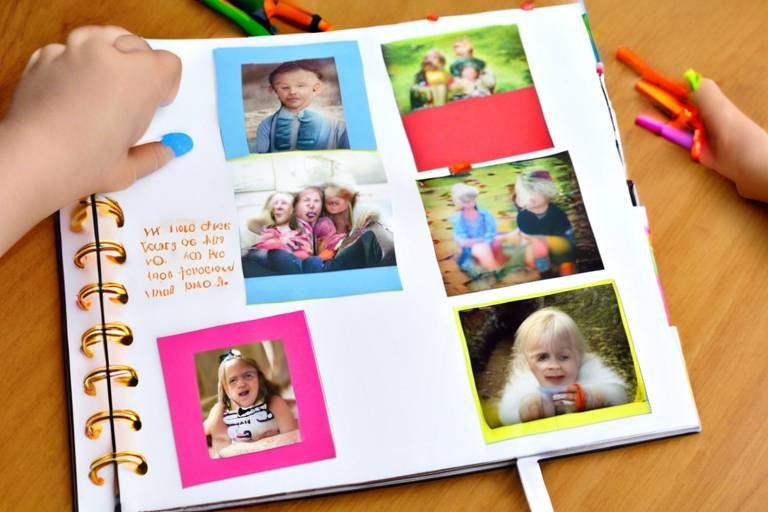
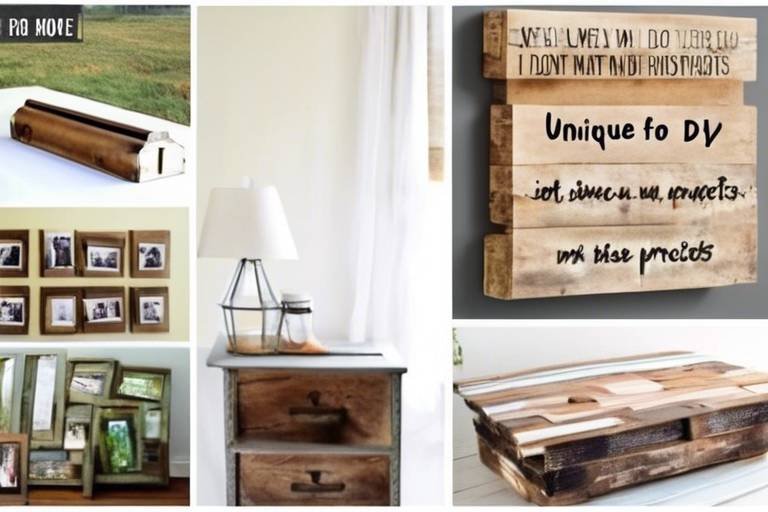
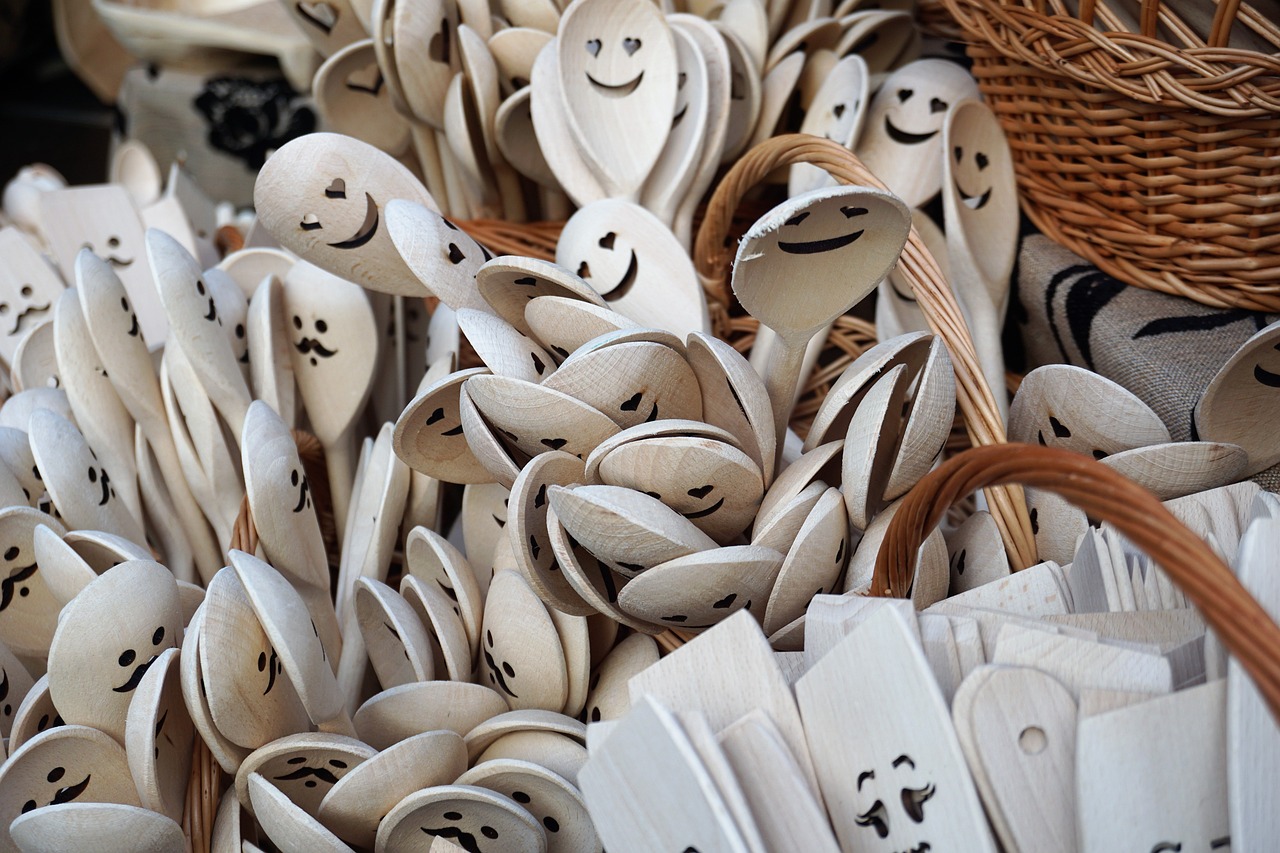
Another way to personalize your DIY crafting workshop is by displaying items that inspire you. This could be anything from artwork and photographs to mementos and souvenirs that hold special meaning. Surrounding yourself with objects that evoke positive emotions and memories can fuel your creativity and keep you motivated during crafting sessions.
Don't forget to add elements of nature to your workspace. Plants not only purify the air but also bring a sense of tranquility and freshness to the room. Consider placing a small indoor garden or a vase of fresh flowers on your crafting table to introduce a touch of nature into your creative space.
Personalizing your workspace also means making it functional and organized. Invest in storage solutions that not only keep your supplies tidy but also add to the aesthetic appeal of the room. Utilize decorative bins, jars, and shelves to store your materials in a visually pleasing way that reflects your personal style.
Remember, your DIY crafting workshop is a reflection of your creativity and passion. By personalizing your workspace with elements that inspire you, you can create a nurturing environment where your artistic vision can flourish. So, let your imagination run wild and transform your crafting space into a personalized haven of creativity.

Set Up Workstations
Setting up workstations in your DIY crafting workshop is essential for maximizing productivity and efficiency. Imagine your crafting space as a well-organized orchestra, with each workstation playing a different instrument but harmonizing together to create beautiful music. By creating designated areas for specific crafting activities, you can streamline your workflow and minimize distractions.
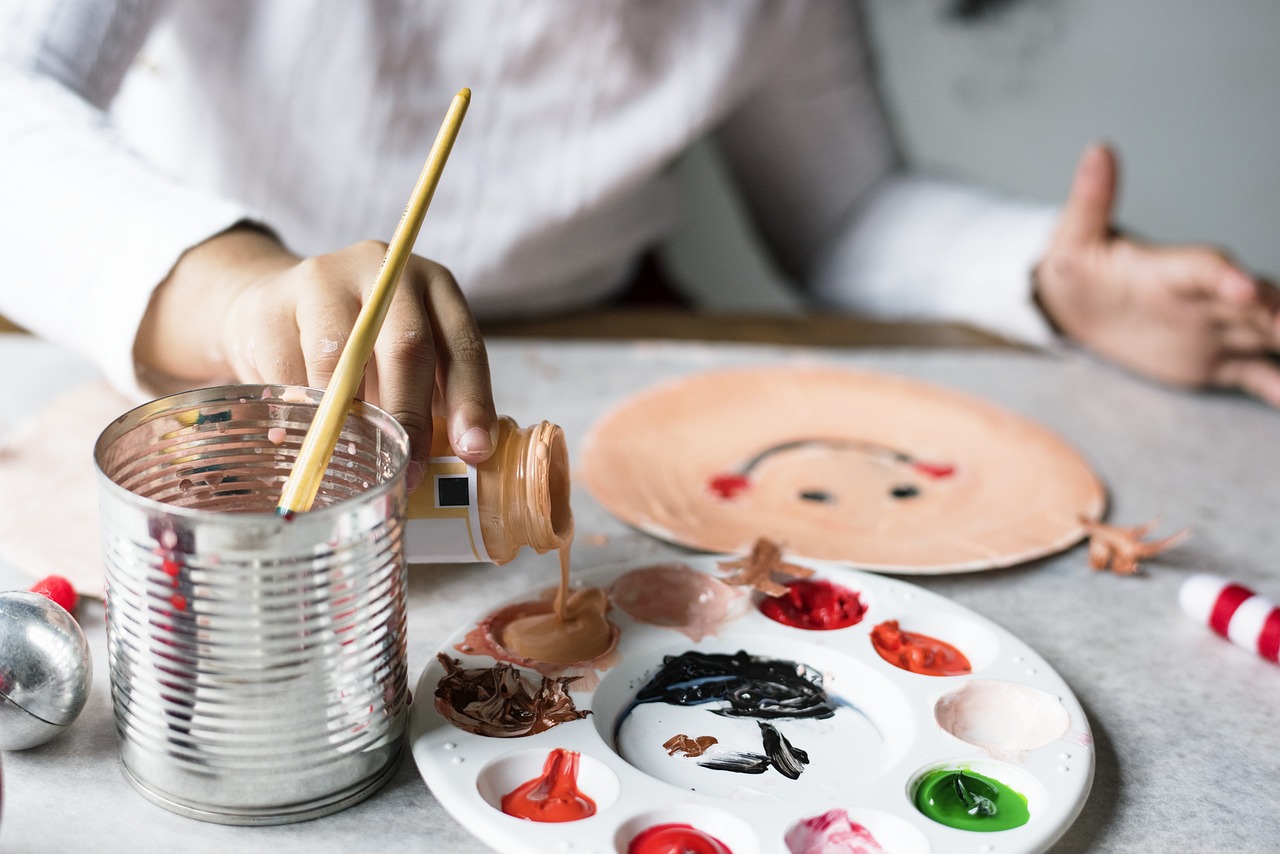
Consider the type of crafts you enjoy and the tools and materials you use most frequently. For example, if you are into painting, set up a painting station with easels, palettes, and brushes at the ready. If you love sewing, create a sewing corner with your sewing machine, fabric, and notions neatly arranged. Tailoring your workstations to your crafting preferences will make the creative process smoother and more enjoyable.
Furthermore, think about the flow of your workspace. Arrange your workstations in a way that allows for easy movement between them. Just like a well-designed kitchen where everything is within reach, your crafting space should be organized for seamless transitions. This setup will prevent you from wasting time searching for tools and supplies, allowing you to focus on bringing your crafting ideas to life.
If you have limited space, get creative with your workstation setup. Utilize vertical storage solutions such as pegboards or wall-mounted shelves to save space and keep your workstations clutter-free. Remember, the goal is to create a functional and inspiring environment where you can let your creativity soar.

Create a Project Storage System
Creating a project storage system is vital for maintaining an organized and efficient DIY crafting workshop. By establishing a system for storing ongoing and completed projects, you can ensure easy access to materials and a clutter-free workspace. Consider incorporating storage solutions like bins, shelves, and drawers to keep your projects organized and readily available.
When setting up your project storage system, categorize your projects based on their type, size, or stage of completion. This will help you easily locate specific projects when needed and prevent confusion or misplacement of materials. Utilize clear containers or labeled folders to keep track of different projects and their components.
Additionally, consider creating a designated area within your DIY crafting workshop specifically for project storage. This area should be easily accessible and well-organized to streamline your creative process. Implement a shelving unit or storage cart to keep projects neatly arranged and prevent them from cluttering your workspace.
For larger projects or materials that require special care, invest in storage solutions such as protective cases or containers to ensure their longevity. Properly storing your projects not only keeps your workspace tidy but also protects your creations from damage or dust, preserving their quality for future use or display.

Establish a Cleaning Routine
Establishing a cleaning routine is crucial for maintaining a productive and inspiring DIY crafting workshop. Just like a blank canvas awaits an artist's brushstrokes, a clean and organized workspace sets the stage for your creative endeavors. By incorporating regular cleaning habits into your crafting routine, you can ensure that your workspace remains clutter-free and conducive to innovation.
Start by decluttering your crafting area to create a clean slate for your projects. Remove any unnecessary items, scraps, or materials that might hinder your creativity. Keep only the tools and supplies you need for your current projects within reach, while storing the rest neatly in designated storage solutions like bins or shelves.
Dusting and sanitizing your workspace should also be part of your cleaning routine. Dust can accumulate on surfaces, tools, and materials, affecting the quality of your work and potentially causing health issues. Regularly wipe down your workstations, tools, and storage areas to maintain a clean and hygienic environment for crafting.
Develop a schedule for cleaning your DIY crafting workshop based on your workflow and the frequency of use. For example, you may choose to tidy up at the end of each crafting session or dedicate specific days for deep cleaning and organization. Consistency is key to ensuring that your workspace remains inviting and conducive to creativity.
Invest in storage solutions that facilitate easy cleaning and organization, such as storage bins with labels for different materials or tools. By having a designated place for each item, you can streamline the cleaning process and prevent clutter from accumulating. Additionally, consider incorporating cleaning supplies like wipes, brushes, and vacuum cleaners into your crafting arsenal for quick and efficient cleaning sessions.
Remember, a clean workspace is not only visually appealing but also promotes a clear mind and focused creativity. By establishing a cleaning routine for your DIY crafting workshop, you can create a harmonious environment where your artistic vision can flourish without distractions.
Invite Creativity and Inspiration
Inviting creativity and inspiration into your DIY crafting workshop is essential for nurturing your artistic endeavors. Just as a painter needs a palette of colors to create a masterpiece, your crafting space should be a canvas waiting to be filled with imagination and innovation.
One way to infuse creativity into your workshop is by incorporating vibrant colors that energize your space. Consider painting an accent wall in a bold hue or adding colorful throw pillows and curtains to brighten up the room. Color has the power to evoke emotions and stimulate creativity, so choose shades that resonate with your artistic sensibilities.
Art and nature go hand in hand when it comes to inspiring creativity. Bring the outdoors inside by incorporating plants, flowers, or natural elements into your workspace. A touch of greenery can breathe life into your surroundings and create a tranquil atmosphere conducive to creative thinking.
Another way to spark inspiration is by displaying artwork or handmade creations that resonate with you. Surround yourself with pieces that speak to your soul and ignite your passion for crafting. Whether it's a gallery wall of your own projects or artwork from your favorite artists, let these pieces serve as a source of motivation and inspiration.
Creating a vision board can also be a powerful tool for inviting creativity into your workshop. Gather images, quotes, and ideas that inspire you and arrange them on a board that you can easily reference. A vision board serves as a visual representation of your creative aspirations and can help guide your projects in exciting new directions.
Remember, creativity thrives in an environment that nurtures it. By infusing your DIY crafting workshop with elements that inspire and uplift you, you create a space where imagination knows no bounds. Embrace the power of creativity and let it guide you on a journey of artistic exploration and self-expression.
Frequently Asked Questions
- Can I use any room in my house for a DIY crafting workshop?
While you can set up your DIY crafting workshop in any room, it is recommended to choose a space with good natural light, ample storage, and easy access to power outlets for a more conducive creative environment.
- What are some essential tools I should have in my DIY crafting workshop?
Essential tools for a DIY crafting workshop include scissors, glue guns, cutting mats, rulers, and other specific tools based on your crafting projects. Maintaining these tools properly ensures their longevity and efficiency.
- How can I keep my crafting supplies organized?
Organize your crafting supplies by categorizing them, using storage containers, and labeling them for easy access. This helps create a clutter-free workspace that promotes creativity and makes finding materials hassle-free.
- What is the importance of establishing a cleaning routine in a DIY crafting workshop?
Maintaining a clean and organized DIY crafting workshop is crucial for a productive creative process. Regular cleaning, decluttering, and sanitizing ensure a tidy and inspiring workspace that enhances your crafting experience.
- How can I personalize my DIY crafting workspace?
You can personalize your DIY crafting workspace by adding decorative elements, inspirational quotes, and items that reflect your style. Creating a space that resonates with you helps fuel your creativity and makes the workspace inviting.