How to Create a DIY Gallery Wall in Your Home
Tired of staring at plain, boring walls in your home? Want to add a touch of creativity and personality to your living space? Creating a DIY gallery wall might just be the perfect solution for you! This article will guide you through the process of designing and setting up a personalized gallery wall that will not only enhance your home decor but also showcase your unique style and taste.
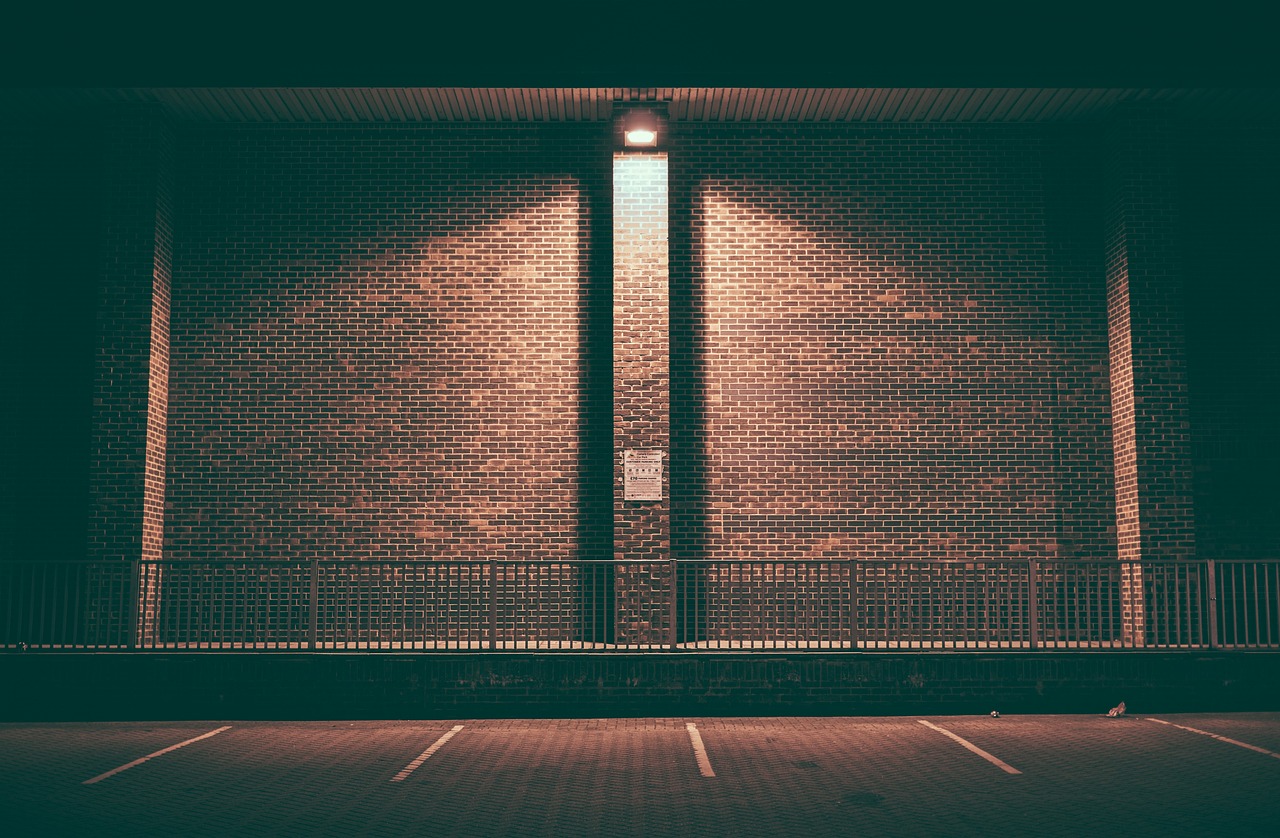
First things first, when embarking on this creative project, you need to carefully choose the right wall in your home to serve as the canvas for your gallery. Consider a wall that complements the layout of the room and receives ample natural or artificial light to highlight your curated pieces effectively. Remember, the wall you choose will act as the backdrop for your gallery, so make sure it's a space that you love and that can accommodate your vision.
Next, it's time to decide on a theme for your gallery wall. Will it feature a collection of family photos that tell a story, a display of artwork that inspires you, or perhaps a mix of both? Choosing a cohesive theme will help create a harmonious look and feel for your gallery wall, tying all the pieces together in a visually appealing way.
Now comes the fun part - collecting art and photos that will adorn your gallery wall. Take the time to curate a selection of pieces that resonate with you and align with your chosen theme. Whether it's framed artwork, photographs, or other decorative items, make sure each piece adds to the overall aesthetic of your gallery.
With your collection in hand, it's time to start arranging the layout of your gallery wall. Experiment with different configurations on the floor before committing to hanging anything on the wall. This step will help you achieve a balanced composition and ensure that your pieces are displayed in a visually pleasing manner.
When it comes to choosing frames and displays for your gallery wall, opt for options that complement the style and colors of your pieces. Whether you prefer sleek frames, floating shelves, or unconventional display methods, make sure they enhance the overall aesthetic of your gallery wall.
Before hanging your pieces, consider creating a mock-up of your gallery wall design using paper templates or digital tools. This will allow you to visualize how the final arrangement will look on the wall and make any necessary adjustments before making it permanent.
Now, it's time to hang and secure your artwork. Follow step-by-step instructions to ensure that each piece is level, secure, and well-arranged on the wall. Take your time with this step to ensure that your gallery wall looks polished and professional.
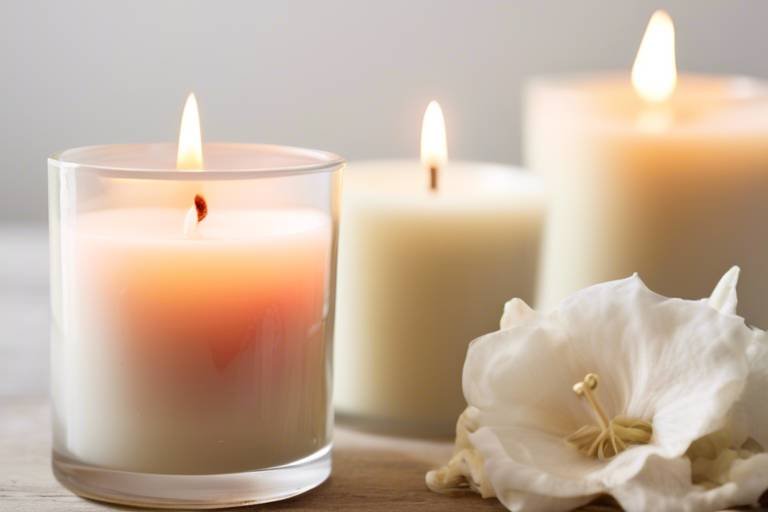
Finally, don't forget to add personal touches to your gallery wall to make it truly unique. Incorporate DIY crafts, memorabilia, or other decor items that reflect your personality and style. These personal touches will infuse your gallery wall with individuality and make it a true reflection of who you are.

Choosing the Right Wall
When it comes to creating a DIY gallery wall in your home, one of the crucial decisions you'll need to make is choosing the right wall to showcase your collection of art and photos. The selected wall will serve as the backdrop for your gallery pieces, setting the stage for a visually appealing display that adds character and style to your living space.
Start by assessing your room's layout and identifying a wall that complements the overall design aesthetic. Consider walls that receive ample natural light during the day or are well-lit with artificial lighting in the evenings to ensure that your gallery pieces are showcased effectively. A well-lit wall can help highlight the details and colors of your artworks and photos, creating a captivating focal point in the room.
Furthermore, take into account the size and dimensions of the wall to determine how many pieces you can comfortably hang without overcrowding the space. A larger wall may accommodate a gallery wall with multiple artworks and photos, while a smaller wall might be better suited for a more concise display. Remember, the goal is to create a balanced composition that enhances the overall look and feel of the room.
Consider the color scheme and decor style of the room when selecting the right wall for your gallery display. Choose a wall that complements the existing color palette and furniture to ensure a cohesive and harmonious look. Whether you opt for a bold statement wall or a subtle backdrop, the chosen wall should serve as a seamless extension of your home's interior design.
Deciding on a Theme
When it comes to deciding on a theme for your DIY gallery wall, the possibilities are endless. Your theme sets the tone for the entire display, so it's essential to choose something that resonates with you and complements your space. Whether you prefer a cohesive look with family photos, an eclectic mix of artwork, or a themed collection, your choices will reflect your personal style and create a visually appealing gallery wall.
One approach to selecting a theme is to start by considering the existing décor and color scheme of the room where your gallery wall will be located. You can choose a theme that complements these elements or opt for a contrasting style to make a bold statement. Think about the mood you want to convey – whether it's cozy and intimate, vibrant and energetic, or elegant and sophisticated.
Another way to decide on a theme is to focus on a specific subject or interest that holds personal significance to you. This could be travel photography, nature-inspired artwork, vintage posters, or even a collection of quotes and typography. By centering your gallery wall around a theme that reflects your passions and experiences, you can create a space that feels truly unique and meaningful.
Consider the size and layout of your wall when choosing a theme. A larger wall may allow for a more expansive gallery with a diverse range of pieces, while a smaller wall might benefit from a more curated selection of artworks. Think about how the scale and arrangement of your chosen pieces will contribute to the overall impact of the gallery wall and enhance the visual flow of the space.
Remember, your theme can evolve over time as you add new pieces to your collection or refresh the display with seasonal updates. Don't be afraid to experiment and mix different styles, mediums, and textures to create a dynamic and engaging gallery wall that reflects your personality and creativity.

Collecting Art and Photos
When it comes to for your DIY gallery wall project, the key is to choose pieces that resonate with you and contribute to the overall theme you have selected. Whether you prefer family photos, artwork, or a mix of both, each piece should hold meaning and significance to you. Consider the size, color scheme, and style of each artwork or photograph to ensure they harmonize well together on your gallery wall.
One approach to gathering art and photos is to start by shopping your own home. Look through your existing collection of artworks, photographs, and decorative items to see if there are pieces that can be repurposed or incorporated into your gallery wall. This not only adds a personal touch but also gives a sense of nostalgia and familiarity to the display.
If you are looking to expand your collection, consider visiting local art galleries, thrift stores, or online marketplaces to find unique pieces that speak to you. Don't be afraid to mix different styles and mediums to create a dynamic and visually appealing gallery wall. Remember, the goal is to curate a collection that reflects your personality and taste.
When selecting art and photos for your gallery wall, think about the story you want to tell through your display. Each piece contributes to the narrative of your space and adds depth to the overall design. Whether you choose to showcase a series of family portraits, a collection of vintage posters, or a mix of contemporary artwork, ensure that each piece contributes to the cohesive look and feel of your gallery wall.
Arranging the Layout
When it comes to arranging the layout of your DIY gallery wall, it's essential to take a thoughtful and strategic approach. Start by gathering all your art pieces and laying them out on the floor in front of the designated wall. Experiment with different arrangements, considering the size, shape, and colors of each piece.
One effective technique is to create a focal point, such as a larger artwork or a collection of photos, and then build around it with smaller pieces. This helps establish a visual hierarchy and balance within your gallery wall. Don't be afraid to play around with different configurations until you find the perfect layout that speaks to you.
Consider the spacing between each piece to ensure they are evenly distributed and create a harmonious flow. You can use measuring tape or simply eyeball the distances to achieve a cohesive look. Keep in mind that the goal is to create a gallery wall that feels curated yet organic, showcasing your unique taste and style.
If you're struggling with the arrangement, try taking a photo of the layout or sketching it out on paper. This can provide a different perspective and help you identify any areas that need adjustment. Remember, the beauty of a gallery wall lies in its ability to evolve and change over time, so feel free to experiment and switch things up whenever inspiration strikes.
Once you're satisfied with the layout, it's time to transfer your design onto the actual wall. You can use painter's tape to outline the placement of each piece before hanging them to ensure everything lines up perfectly. Take your time during this step to avoid unnecessary holes or misalignments.
By carefully arranging the layout of your DIY gallery wall, you can create a visually stunning focal point in your home that showcases your creativity and personal style. Embrace the process, have fun with it, and let your imagination run wild!
Choosing Frames and Displays
When it comes to creating a stunning gallery wall, choosing the right frames and displays is crucial in enhancing the overall aesthetic appeal of your curated collection. The frames and displays you select should not only complement the artwork and photos but also tie the entire look together seamlessly.
One popular option for framing artwork is using gallery-style frames in black or white, which provide a classic and elegant look. These frames are versatile and can suit a variety of art styles, making them a safe choice for a cohesive gallery wall design.
For a more eclectic and bohemian vibe, consider mixing and matching different frame styles and colors. This approach adds a dynamic and personalized touch to your gallery wall, creating visual interest and depth.
If you prefer a minimalist and modern look, floating frames can be a great choice. These frames create the illusion that your artwork is floating within the frame, giving a sleek and contemporary feel to your gallery wall.
Additionally, incorporating shelves into your gallery wall design can break up the monotony of traditional framed pieces. Shelves provide a platform for displaying small sculptures, plants, or other decorative items that add texture and dimension to your gallery wall.
When selecting displays for your gallery wall, consider the size and weight of your artwork to ensure that the chosen displays can support and showcase your pieces effectively. Adjustable display options, such as floating shelves or ledge shelves, offer flexibility in arranging and rearranging your gallery wall layout as needed.
Remember, the frames and displays you choose should not overpower the artwork but rather enhance and elevate the visual impact of your gallery wall. Experimenting with different frame styles, colors, and display options can help you create a personalized and captivating gallery wall that truly reflects your unique style and personality.
Creating a Mock-Up
Creating a mock-up for your gallery wall is a crucial step in the design process. It allows you to visualize how your pieces will look once they are hung on the wall, helping you make necessary adjustments before committing to the final arrangement.
One effective way to create a mock-up is by using paper templates. Cut out pieces of paper in the same size as your frames and arrange them on the floor to represent the layout you have in mind. This method gives you the flexibility to try out different configurations and see what works best.
If you prefer a more high-tech approach, there are digital tools available that allow you to digitally mock up your gallery wall. These tools enable you to upload images of your artwork and photos, experiment with different arrangements, and get a realistic preview of how your gallery wall will look in your space.
When creating your mock-up, consider factors such as spacing between frames, overall balance, and visual flow. It's essential to step back and assess the arrangement from different angles to ensure it achieves the desired aesthetic impact.
Remember, the mock-up stage is the perfect time to play around with different ideas and get creative. Don't be afraid to try unconventional layouts or mix different frame styles to add depth and interest to your gallery wall.

Hanging and Securing Artwork
When it comes to hanging and securing artwork on your DIY gallery wall, precision and attention to detail are key. Start by gathering the necessary tools, including a tape measure, level, hammer, nails, and picture hooks. Before you begin hanging, it's essential to have a clear vision of how you want your pieces to be arranged on the wall.
One effective method is to lay out your artwork on the floor in front of the wall and experiment with different arrangements until you find the perfect layout. This allows you to visualize how the pieces will look together and make any necessary adjustments before committing to hanging them up.
When hanging your artwork, always use a measuring tape to ensure equal spacing between each piece. This creates a balanced and cohesive look for your gallery wall. Using a level is crucial to make sure your pieces are straight and aligned correctly.
If you're hanging heavier pieces or frames, consider using wall anchors or screws for added support. These will help secure your artwork firmly to the wall and prevent any accidental falls or damage. Additionally, using picture hooks designed for the weight of your pieces will ensure they stay in place securely.
Once you have all your artwork hung, take a step back and assess the overall look of your gallery wall. Make any final adjustments as needed to achieve the desired aesthetic. Remember, the goal is to create a visually appealing display that showcases your art pieces in the best possible way.

Adding Personal Touches
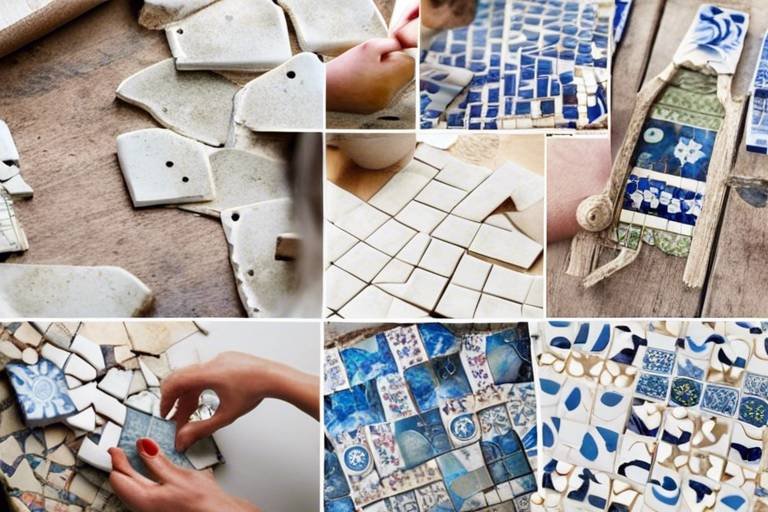
When it comes to creating a personalized gallery wall in your home, adding personal touches is key to making it truly unique and reflective of your style. One way to do this is by incorporating DIY crafts that hold sentimental value or represent your creative side. These handmade pieces can add a special charm to your gallery wall and make it stand out from generic wall art.
Another way to infuse your gallery wall with personal touches is by including memorabilia or souvenirs that hold special memories for you. Whether it's a ticket stub from a memorable concert, a postcard from a favorite travel destination, or a trinket passed down through generations, these items can add a personal story to your gallery wall and spark conversations with guests.
Consider incorporating unique decor items that showcase your personality and interests. This could be anything from vintage finds that speak to your love for nostalgia, quirky pieces that reflect your sense of humor, or bold statement items that add a pop of personality to the overall design. Mixing these elements with your art pieces can create a visually dynamic and engaging gallery wall.
If you have a knack for DIY projects, consider creating custom art pieces or decorations to add a personal touch to your gallery wall. Whether it's a hand-painted canvas, a macramé wall hanging, or a personalized photo display, these handmade creations can add warmth and individuality to your gallery wall, making it a true reflection of your style and creativity.
Frequently Asked Questions
- 1. Can I create a gallery wall in any room of my home?
Yes, you can create a gallery wall in any room of your home. Whether it's your living room, bedroom, hallway, or even a home office, a gallery wall can add a personalized touch to any space.
- 2. How do I choose the right size frames for my gallery wall?
When selecting frames for your gallery wall, consider the size of your wall space and the dimensions of your art pieces. Mix and match different frame sizes to create visual interest and balance in your gallery display.
- 3. Is it necessary to use professional hanging tools for my gallery wall?
While professional hanging tools can make the process easier, you can also use basic tools like a hammer, nails, and a level to hang your artwork securely. Just ensure that your pieces are properly anchored to the wall for stability.
- 4. How can I ensure that my gallery wall layout is visually appealing?
Experiment with different layout arrangements on the floor before hanging your pieces to find the most visually pleasing composition. Consider factors like spacing, symmetry, and color coordination to achieve a balanced look.
- 5. What are some creative ways to add personal touches to my gallery wall?
You can add personal touches to your gallery wall by incorporating DIY crafts, sentimental items, or unique decor pieces that hold special meaning to you. These personal elements will make your gallery wall truly unique and reflective of your personality.