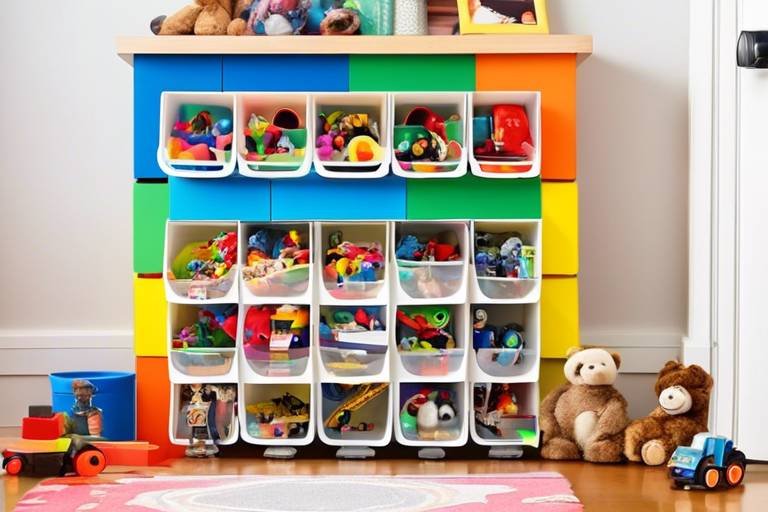
How to Create a DIY Toy Storage Solution
Are you tired of stepping on toys scattered all around your home? Do you wish for a magical solution to keep your child's play area organized and clutter-free? Well, you're in luck! In this article, we will delve into the world of DIY toy storage solutions that are not only practical but also creative, allowing you to customize the storage to fit your space and style perfectly.
Repurposed Furniture
When it comes to creating a DIY toy storage solution, repurposing old furniture can be a game-changer. Instead of throwing away that old bookshelf or cabinet, why not give it a new life as a toy storage unit? By repurposing furniture, you not only save money but also add a unique touch to your child's play area. Imagine turning an old crate into a colorful toy box or transforming a bookshelf into a dollhouse storage unit. The possibilities are endless, and the result is a personalized storage solution that fits your space and style perfectly.

Labeling and Organization
In this article, we will explore creative and practical ways to make your own toy storage solution to keep your child's play area organized and clutter-free.
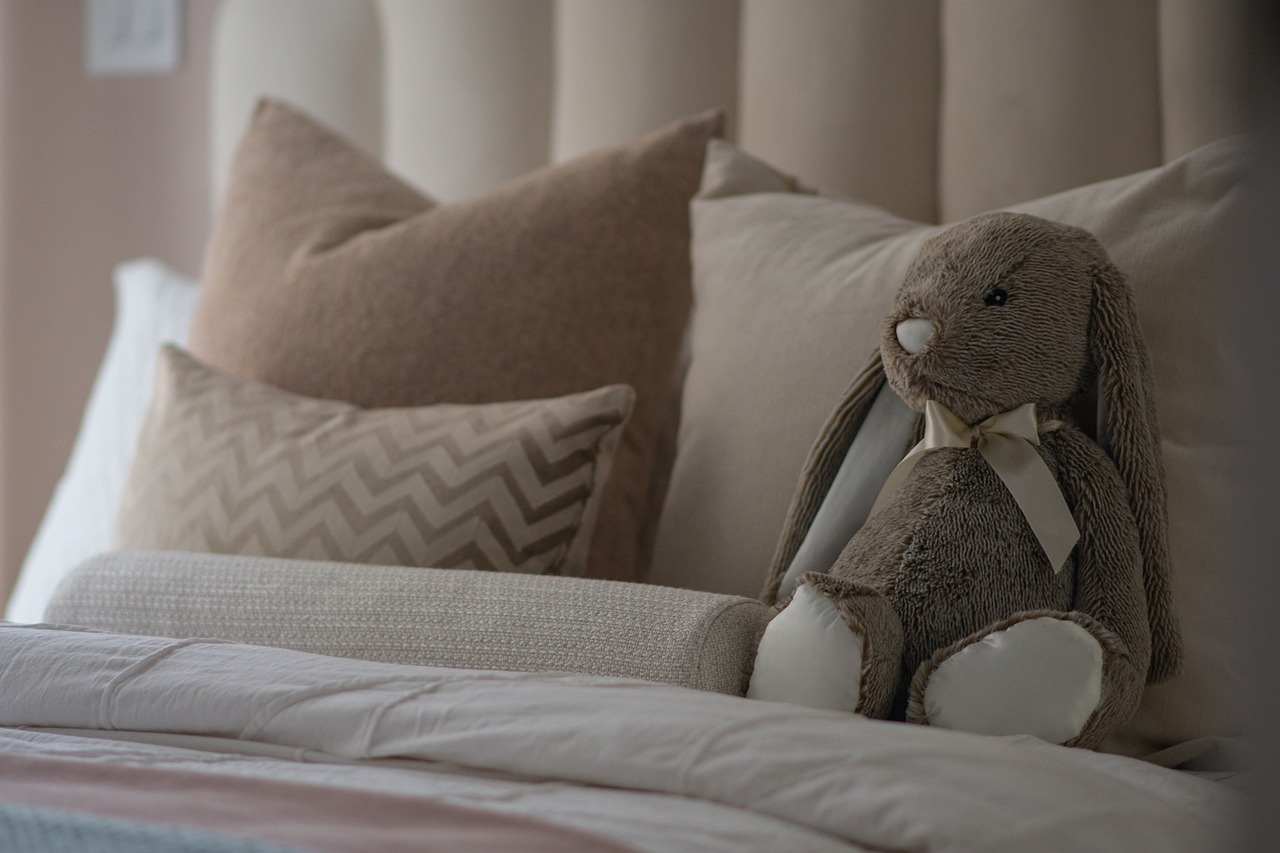
When it comes to maintaining an organized play area for your child, play a crucial role. Imagine a toy box without any labels or sorting - it's like a treasure hunt every time your child wants to find a specific toy. By categorizing toys based on type, size, or theme, you not only make it easier for your child to locate their favorite playthings but also encourage them to clean up after playtime. Picture clear bins labeled with colorful tags, guiding your child to where each toy belongs, fostering independence and a sense of order.
Moreover, organizing toys by category allows you to create designated spaces for different types of toys, preventing them from getting mixed up and lost in the sea of playthings. You can use storage bins for building blocks, a shelf for stuffed animals, and a drawer for puzzles, making it effortless for your child to access and return toys to their designated spots. This systematic approach not only keeps the play area tidy but also teaches your child valuable organizational skills that they can carry into other aspects of their life.
Imagine the satisfaction of seeing your child effortlessly pick out a toy, play with it, and then neatly return it to its designated bin without any prompting. The sense of accomplishment and independence they gain from a well-organized play area is priceless. By instilling the habit of labeling and organizing toys early on, you set the foundation for a lifelong appreciation of order and tidiness.

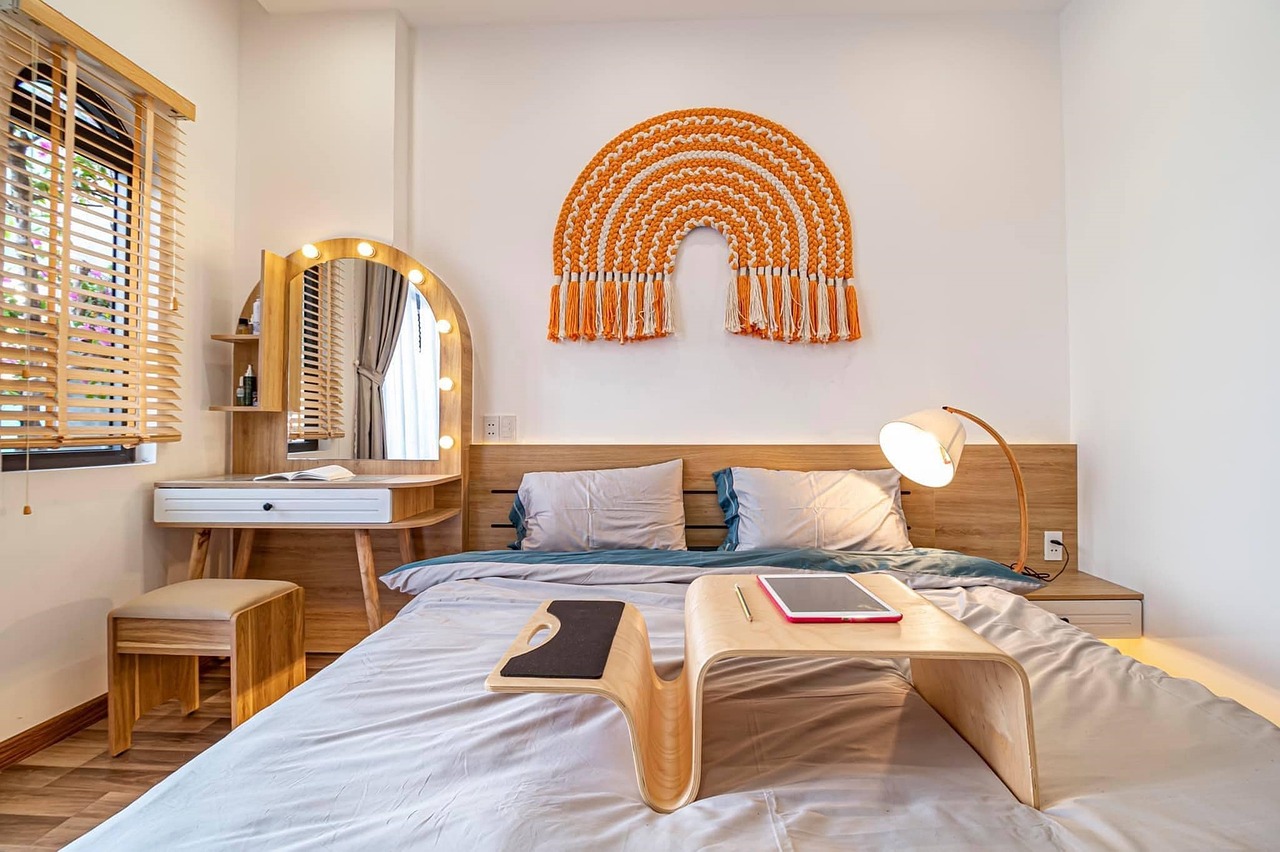
DIY Wall Storage
When it comes to maximizing space in your child's play area, can be a game-changer. By utilizing vertical space, you not only keep toys off the floor but also create a visually appealing and organized environment for your little one. One creative idea is to install hanging baskets on the wall to store smaller toys or art supplies. These baskets can add a decorative touch while serving a practical purpose.
Another option for DIY wall storage is to put up shelves that can hold various toys, books, or decorative items. You can customize the size and design of the shelves to fit the space and match the room's decor. By incorporating shelves, you create designated areas for different types of toys, making it easier for your child to locate and put away their belongings.
If you prefer a more versatile solution, consider using a pegboard on the wall. Pegboards allow you to customize the storage layout by adding hooks, baskets, or shelves wherever needed. This flexibility enables you to adjust the storage configuration based on your child's toy collection and play habits. Plus, pegboards can double as a display board for your child's artwork or achievements, adding a personal touch to the space.
Under-Bed Storage
When it comes to maximizing storage space in a child's room, under-bed storage is a game-changer. This often underutilized area can be transformed into a practical and efficient storage solution for toys, keeping the room tidy and organized. By utilizing the space under the bed, you can free up valuable floor space and create a clutter-free environment that encourages play and creativity.
One creative way to implement under-bed storage is by building or repurposing storage containers or drawers that fit perfectly under the bed frame. These containers can be customized to match the room's decor and provide a seamless storage solution for toys of all shapes and sizes. By incorporating wheels or handles, these containers can be easily pulled out for quick access to toys and pushed back under the bed when not in use.
Another option for under-bed storage is utilizing storage bags or bins specifically designed to fit under the bed. These storage solutions are often made of durable materials and come in various sizes to accommodate different types of toys. By neatly organizing toys in these bags or bins, you can maintain a clutter-free space while ensuring that toys are easily accessible when needed.
Furthermore, under-bed storage is ideal for seasonal or infrequently used toys, allowing you to rotate toys in and out based on your child's interests and preferences. This rotation system not only keeps the play area fresh and engaging but also prevents toy overload and maintains a sense of order in the room.
Overall, under-bed storage offers a practical and space-saving solution for toy organization, making it easier for both children and parents to keep the play area neat and tidy. By maximizing the use of this often overlooked space, you can create a functional and visually appealing storage solution that enhances the overall organization of the room.
Toy Rotation System
Toy rotation is a clever system that involves periodically swapping out a selection of toys for others to keep playtime fresh and engaging for children. By rotating toys, you can prevent boredom and stimulate creativity as toys regain novelty each time they are reintroduced. This method also helps in reducing clutter as fewer toys are out at once, making cleanup easier and teaching kids to appreciate and take care of their belongings.
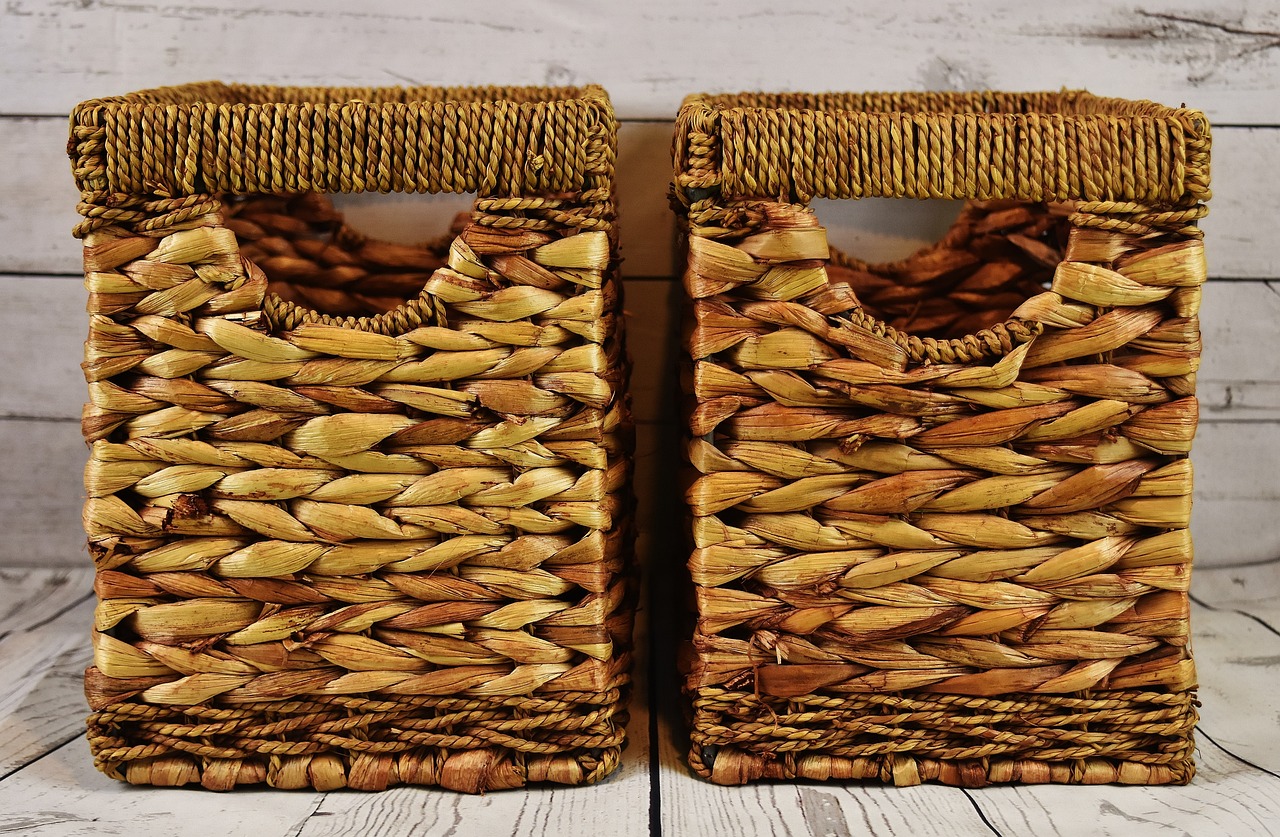
Personalized Toy Bins
Personalized toy bins are a fantastic way to add a touch of personality and fun to your child's play area. By customizing storage containers with your child's name, favorite colors, or themes, you can create a special space just for them. Imagine their excitement when they see their own name proudly displayed on their toy bins, making cleanup time more engaging and enjoyable.
You can easily personalize toy bins using a variety of materials such as stickers, paint, or even fabric. Let your child's imagination guide you as you decorate the bins together, fostering creativity and a sense of ownership over their toys. Additionally, personalized toy bins can help teach children about organization and responsibility as they learn to identify and sort their toys into designated bins.
Consider creating a themed storage area with personalized toy bins for specific toy categories, such as a "cars and trucks" bin or a "doll accessories" bin. This not only adds a decorative element to the room but also makes it easier for your child to locate and return toys to their designated spots. Personalized toy bins can also serve as a visual reminder for your child to clean up after playtime, promoting good habits and tidiness.
DIY Toy Hammock or Net
Are you tired of tripping over stuffed animals and soft toys scattered all over the floor? It's time to create a to keep them organized and displayed in a fun way. By following simple steps, you can craft a practical solution that not only saves space but also adds a touch of creativity to your child's play area.
Start by selecting a corner of the room where you want to install the toy hammock or net. Consider the size of the area and the number of toys you want to store to determine the appropriate dimensions for your project. You can easily customize the size to fit your specific needs.
Next, gather the necessary materials such as strong fabric or netting, hooks or brackets, and a sturdy rope or cord for hanging. You can choose a fabric that matches the room's decor or opt for a colorful net to create a playful look.
Using a measuring tape, determine the distances where you will attach the hooks or brackets to support the hammock or net. Make sure the installation is secure and can hold the weight of the toys without sagging or pulling away from the wall.
Once the hooks are in place, attach the fabric or netting securely, ensuring that it is taut and able to support the toys. You can create multiple layers or sections to organize different types of toys or designate specific areas for each child's belongings.
After installing the toy hammock or net, encourage your child to participate in organizing their toys by placing them in the designated storage space. This not only teaches them about responsibility but also makes tidying up a fun and interactive activity.
With a DIY toy hammock or net, you can transform a cluttered space into a neat and visually appealing area that sparks joy and creativity. Say goodbye to scattered toys on the floor and hello to a charming display that showcases your child's favorite playthings.
Toy Storage Solutions for Small Spaces
When living in a small space, every square inch counts, especially when it comes to organizing your child's toys. Finding efficient and space-saving toy storage solutions can be a game-changer in maintaining a clutter-free environment while maximizing the available space for play and other activities.
One clever solution for small spaces is investing in foldable storage bins. These bins can be easily collapsed and tucked away when not in use, providing a flexible storage option that adapts to your space's needs. Additionally, they come in various sizes and designs, allowing you to choose the ones that best suit your child's toy collection.
Hanging organizers are another fantastic way to utilize vertical space in small rooms. By hanging storage pockets or shelves on walls or the back of doors, you can keep toys off the floor and neatly organized. This not only saves valuable floor space but also makes it easier for your child to access and put away their toys independently.
Multi-functional furniture pieces are a smart choice for small spaces, serving dual purposes to maximize functionality. Consider investing in ottomans or benches with hidden storage compartments, where toys can be stashed away out of sight. These pieces not only provide seating or surface area but also offer discreet storage solutions that blend seamlessly into your decor.
Frequently Asked Questions
- Can I use any type of furniture for DIY toy storage solutions?
Yes, you can repurpose various types of furniture like bookshelves, cabinets, or crates to create unique and functional toy storage solutions.
- How important is labeling and organizing toys for a child's play area?
Labeling and organizing toys by category, size, or type is crucial as it helps children find and put away their toys independently, promoting a sense of order and responsibility.
- What are the benefits of a toy rotation system?
Implementing a toy rotation system keeps playtime fresh and exciting, reduces clutter, and helps children appreciate and engage with their toys more effectively.
- Are personalized toy bins necessary for toy storage?
Personalized toy bins add a personal touch to a child's play area and can make organizing and tidying up more enjoyable for both parents and children.
- How can I create a DIY toy hammock or net for storing soft toys?
You can follow step-by-step instructions to create a DIY toy hammock or net to store stuffed animals, keeping them off the floor and creating a visually appealing display in the room.