How to Create a DIY Memory Wall for Your Home
Transform your space with a personalized memory wall. Display cherished photos, travel mementos, and artwork creatively. Learn how to design, organize, and execute this meaningful project to add a unique touch to your home decor.
Gather Materials and Inspiration
When embarking on the journey of creating a DIY memory wall for your home, the first step is to gather materials and seek inspiration to kickstart your project. Delve into the realm of creativity by exploring various materials that will bring your vision to life. Consider incorporating frames, shelves, and hanging systems that will serve as the foundation for your memory wall. These elements will not only showcase your cherished memories but also add a touch of personalization to your space.
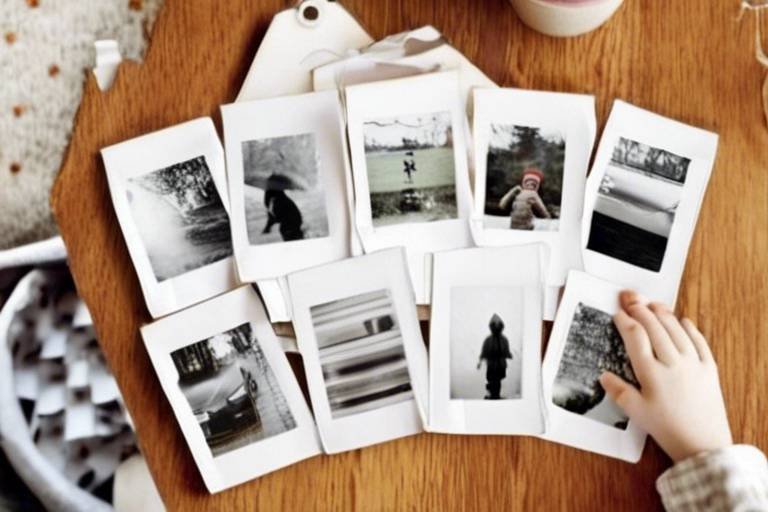
Furthermore, gather a collection of photos, postcards, souvenirs, and artwork that hold sentimental value to you. These items will form the heart and soul of your memory wall, telling the story of your life's adventures and special moments. As you gather these materials, allow yourself to reminisce and reflect on the significance each piece holds in your heart.
To ignite your creative spark, seek inspiration from various sources such as online platforms, design magazines, or even nature itself. Let your imagination run wild as you envision the layout and design of your memory wall. Draw inspiration from different themes like family memories, travel adventures, or a timeline of special events to guide the direction of your project.
By combining the right materials and drawing inspiration from the world around you, you can set the foundation for a memory wall that not only decorates your home but also captures the essence of your unique story.
Choose a Theme or Layout
When creating a memory wall for your home, one of the crucial steps is deciding on a theme or layout that will guide the overall design and arrangement of your cherished items. Think of your memory wall as a visual storybook that reflects your personality and experiences. Are you drawn to family memories, travel adventures, or perhaps a timeline of special events in your life? Your chosen theme will set the tone for the entire display, so choose wisely.
As you contemplate the theme, consider how it will harmonize with the existing decor of the room where the memory wall will be located. Will it be a focal point that stands out boldly, or a subtle addition that blends seamlessly with the surroundings? The theme you select should evoke emotions and memories, creating a cohesive narrative that resonates with anyone who views it.
Once you have settled on a theme, the next step is to choose a layout that best showcases your items. Explore different layout options such as a grid pattern for a neat and organized look, an asymmetrical display for a more eclectic feel, or a themed arrangement that groups items based on similarities or contrasts. The layout you choose should enhance the storytelling aspect of your memory wall while also considering the available space and aesthetic balance.
Remember, the theme and layout you choose should reflect your personal style and preferences, making your memory wall a true reflection of who you are. Let your creativity flow as you design a space that not only captures memories but also serves as a visual masterpiece in your home.
Organize and Arrange Items
Organizing and arranging items for your memory wall is a crucial step in creating a visually appealing and meaningful display. Start by sorting through the photos, postcards, souvenirs, and artwork you have collected. Consider grouping them based on size, color, or theme to create a cohesive look. Experiment with different layouts on the floor before committing to a final arrangement on the wall. This process allows you to play with the composition and flow of your memory wall, ensuring that each piece tells a part of your story.
One effective way to organize your items is by creating a visual hierarchy. Larger or more eye-catching pieces can serve as focal points, while smaller items can fill in the gaps and add interest. Consider using frames, shelves, or shadow boxes to add depth and dimension to your display. By arranging items strategically, you can guide the viewer's eye across the memory wall, creating a dynamic and engaging experience.
If you're struggling with how to arrange your items, consider creating a theme or narrative for your memory wall. This could be based on a specific time period, a memorable trip, or a collection of family milestones. By curating your items around a central theme, you can create a cohesive and meaningful display that resonates with both you and your visitors. Remember, the goal is not just to hang items on the wall but to tell a story through your cherished memories.
As you arrange your items, pay attention to balance and symmetry. Distribute the visual weight of your pieces evenly across the wall to create a harmonious look. Mix and match different shapes, textures, and colors to add visual interest and personality to your memory wall. Don't be afraid to experiment and rearrange items until you find a layout that feels just right.
DIY Wall Decor Projects
Are you ready to get creative and add a personal touch to your memory wall? DIY wall decor projects are the perfect way to infuse your unique style into the display. From custom photo frames to shadow boxes, there are endless possibilities to make your memory wall truly one-of-a-kind.
One popular DIY project is creating custom photo frames to showcase your favorite memories. You can repurpose old frames with a fresh coat of paint or embellishments to match your decor theme. Alternatively, you can make frames from scratch using materials like wood, cardboard, or even recycled items for a sustainable touch.
Another creative idea is to craft shadow boxes to display 3D objects or small mementos. Shadow boxes add depth and dimension to your memory wall, allowing you to showcase items like seashells from a beach vacation, ticket stubs from a concert, or small trinkets with sentimental value. You can customize the interior of the shadow boxes with decorative paper, fabric, or themed backgrounds to enhance the visual appeal.
For those looking to add a touch of whimsy to their memory wall, consider crafting decorative accents like paper flowers, origami shapes, or hanging mobiles. These handmade elements can add a playful and artistic flair to the display, creating visual interest and sparking conversations among viewers.
Remember, the key to successful DIY wall decor projects is to let your creativity shine and incorporate elements that reflect your personality and memories. Whether you're a seasoned crafter or a beginner, there are endless opportunities to experiment, explore, and elevate your memory wall with handmade touches that speak to your heart.
Install and Secure Items
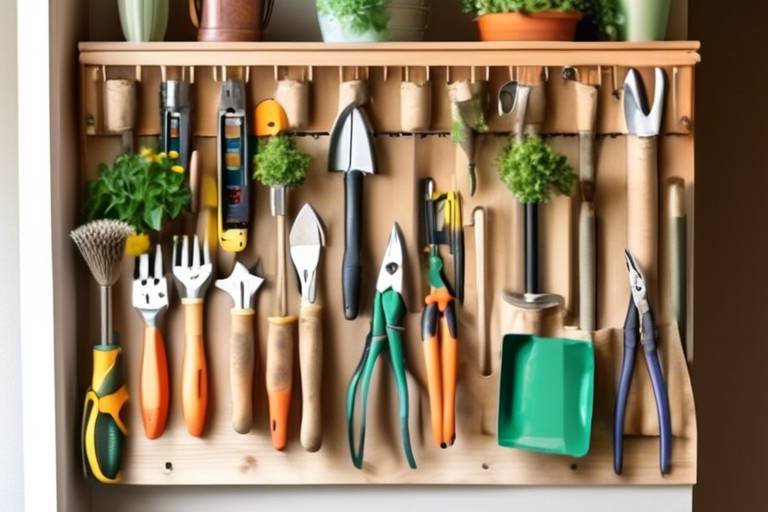
When it comes to creating a DIY memory wall, one of the crucial steps is to properly install and secure the items you've carefully chosen to display. It's essential to use the right hanging hardware to ensure that your cherished photos, mementos, and artwork stay safely in place. Whether you're hanging frames, shelves, or other decorative pieces, following proper installation techniques is key to preventing any mishaps.
Before you start hanging items on the wall, consider the weight and size of each piece. Use nails, hooks, or adhesive strips that are suitable for the specific items you're displaying. For heavier objects, such as framed artwork or shadow boxes, opt for sturdy hardware that can support the weight securely. Taking the time to choose the right hanging hardware will help prevent any accidents and keep your memory wall intact.
When installing items on your memory wall, make sure to measure and mark the placement of each piece beforehand. Use a level to ensure that your items are straight and aligned correctly. If you're creating a gallery wall with multiple frames or objects, lay out the arrangement on the floor first to experiment with different layouts and compositions.
For a cohesive look, consider the spacing between each item and aim for a balanced display. You can create visual interest by mixing different sizes and shapes while maintaining a harmonious arrangement. Remember that the goal is to showcase your memories in a way that is both aesthetically pleasing and meaningful.
Once you've installed all the items on your memory wall, give each piece a gentle tug to check if it's securely attached. It's important to double-check the stability of each item to avoid any potential accidents. Regularly inspect the hanging hardware to ensure that everything remains in place over time.
Lighting and Display Enhancements
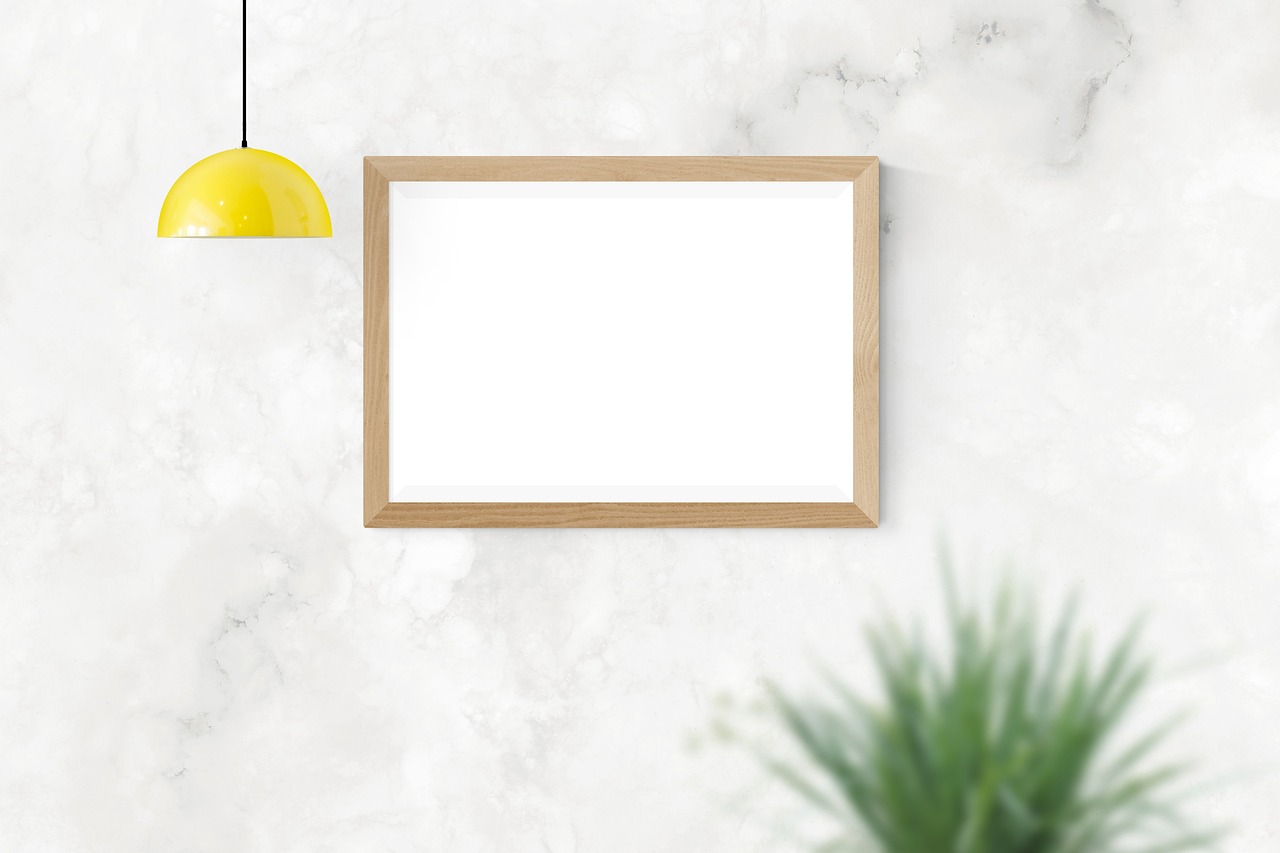
When it comes to enhancing your memory wall, lighting plays a crucial role in highlighting key pieces and creating a captivating display. Consider incorporating LED strips or spotlights to illuminate specific items and add a touch of drama to your arrangement. By strategically placing lights, you can create depth and shadows that enhance the overall visual appeal of your memory wall.
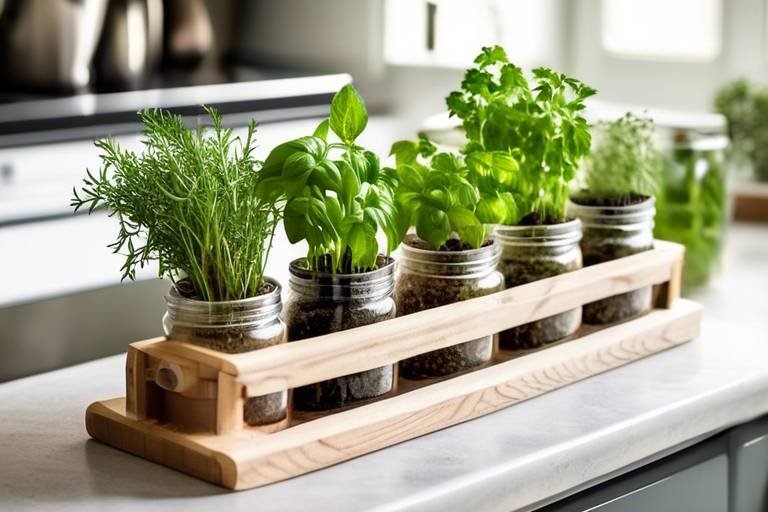
Furthermore, don't underestimate the power of decorative elements in elevating your display. Integrate items like plants, mirrors, or inspirational quotes to add texture and interest to the wall. These additions not only complement your cherished memories but also contribute to the ambiance of the space, making it more inviting and dynamic.
If you want to create a focal point within your memory wall, consider using to draw attention to specific items or sections. Whether you opt for subtle lighting accents or bold decorative pieces, the key is to strike a balance between functionality and aesthetics to create a visually stunning and personalized display.
Maintain and Update Regularly
Regular maintenance and updates are key to keeping your memory wall looking its best and ensuring it remains a vibrant part of your home decor. By incorporating these practices into your routine, you can preserve the beauty and significance of your personalized display for years to come.
Start by dusting your memory wall regularly to prevent buildup and maintain a fresh appearance. Use a soft, dry cloth or a gentle duster to gently clean the surfaces of frames, shelves, and decorative items. This simple step can make a big difference in the overall look of your display.
As you clean, take the opportunity to assess your memory wall and consider any updates or changes you'd like to make. Perhaps you've collected new photos or mementos that hold special meaning, or you want to rearrange the layout to create a new focal point. Embrace these opportunities for creativity and personalization.
Updating your memory wall with fresh memories and artwork is a wonderful way to reflect the ongoing journey of your life and add new layers of meaning to your display. Consider rotating items periodically to showcase different pieces and keep the arrangement dynamic. This practice can breathe new life into your memory wall and spark joy each time you refresh it.
Additionally, consider incorporating seasonal or thematic updates to your memory wall to celebrate holidays, milestones, or changing seasons. By adapting your display to reflect different occasions throughout the year, you can infuse your home with a sense of festivity and create a versatile showcase for your cherished memories.
Remember that your memory wall is a reflection of your unique story and experiences, so don't be afraid to experiment with new ideas and personal touches. Whether it's adding a new photo, rearranging the layout, or incorporating a DIY project, each update contributes to the evolving narrative of your memory wall.
By maintaining and updating your memory wall regularly, you not only preserve its visual appeal but also honor the memories and moments that hold significance in your life. Embrace the process of curating and refreshing your display, and let your memory wall continue to inspire and uplift you and your visitors.
Share Your Story
Sharing your story through your memory wall is a powerful way to connect with others and showcase the meaningful moments in your life. When inviting friends and family to view your memory wall, take the opportunity to share the stories behind each item. Whether it's a photo from a memorable vacation, a special memento from a loved one, or a piece of artwork that holds personal significance, each item has a story to tell.
As you guide your guests through your memory wall, narrate the significance of each piece. Share the adventures, emotions, and memories associated with the items on display. By opening up about the stories behind your memory wall, you invite others to connect with you on a deeper level and create shared experiences.
Consider incorporating a small notebook or journal near your memory wall where visitors can leave comments, share their own memories, or jot down their thoughts. This interactive element adds another layer of storytelling to your memory wall, allowing it to evolve and grow with the contributions of others.
Using your memory wall as a conversation starter can spark meaningful discussions and foster connections with your guests. Encourage them to share their own stories and experiences, creating a space for mutual sharing and bonding. Your memory wall becomes not just a decorative feature in your home, but a living, breathing reflection of the stories that shape who you are.
Frequently Asked Questions
- Can I use any type of items on a memory wall?
Yes, you can personalize your memory wall with a variety of items such as photos, postcards, souvenirs, artwork, and decorative accents. The key is to select items that hold sentimental value and contribute to the overall theme or story of your memory wall.
- How do I choose the right layout for my memory wall?
When selecting a layout for your memory wall, consider the available space, the theme of your display, and your personal style preferences. Experiment with different arrangements on the floor before hanging items to find a layout that is visually appealing and tells a cohesive story.
- What are some creative DIY projects I can incorporate into my memory wall?
You can get creative with DIY projects by making custom photo frames, creating shadow boxes for 3D objects, or crafting decorative accents that reflect your personal style. These handmade elements add a unique touch to your memory wall and help showcase your memories in a personalized way.
- How can I ensure that my items are securely attached to the wall?
It is important to use appropriate hanging hardware such as nails, hooks, or adhesive strips to securely attach items to your memory wall. Make sure to follow proper installation techniques and consider the weight and size of each item to prevent accidents and ensure a durable and safe display.
- How often should I update my memory wall?
It is recommended to regularly update your memory wall with new memories, photos, or artwork to keep it looking fresh and vibrant. Embrace the evolving nature of your memory wall as a dynamic home decor feature that reflects the ongoing journey of life.