How to Create a DIY Photo Booth for Parties
Are you ready to elevate your party experience and capture unforgettable moments with a touch of creativity? Setting up a DIY photo booth can be a game-changer, adding a fun and interactive element to any event. Whether it's a birthday bash, a wedding celebration, or a casual get-together, a photo booth can be the highlight of the party, allowing guests to strike a pose and create lasting memories.
Creating your own DIY photo booth is easier than you think, and it doesn't require a professional setup. With a few simple steps and some creative flair, you can design a personalized photo booth that reflects the theme of your party and entertains your guests throughout the event.
First things first, choosing the right location for your photo booth is key. Look for a spot with good lighting and enough space to accommodate the setup. Consider the flow of foot traffic and ensure easy access for guests to enjoy the photo booth without any hassle. Whether it's a corner of the room or a designated area, make sure the location is visible and inviting.
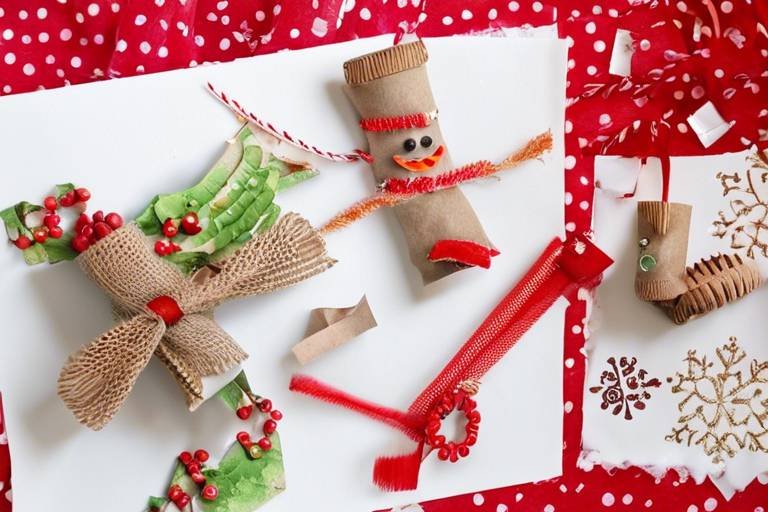
Once you have the location sorted, it's time to gather props and backdrops to enhance the photo booth experience. Get creative with props like funky hats, silly glasses, and playful signs that match the party theme. Mix and match different backdrops, from glittery curtains to floral arrangements, to add a touch of charm to your photos.
Setting up the camera and lighting is crucial for capturing picture-perfect moments. Position the camera at the right angle to frame the shots effectively, and adjust the lighting to ensure optimal exposure. Play around with different settings to find the perfect balance that highlights your guests and creates stunning images.
Designing engaging signage for your photo booth can add a fun and interactive element to the setup. Create signs with instructions on how to use the booth or include quirky prompts to encourage guests to get creative with their poses. Personalize the signage with themed designs or witty messages that resonate with your party theme.
To make the photo booth experience even more memorable, consider incorporating a shareable photo station. Set up a digital station where guests can instantly print, email, or share their photos on social media. Provide props and accessories for guests to use, and watch as the fun unfolds and memories are created.
Encourage guest participation by promoting the photo booth and inviting attendees to strike a pose. Add interactive elements like themed costumes, group photo challenges, or funny props to keep the energy high and the smiles wide. Capture candid moments and spontaneous laughs that will be cherished for years to come.
Managing the workflow of the photo booth is essential to ensure a smooth and hassle-free experience for all guests. Organize queues, provide clear instructions on how to use the booth, and assign a dedicated attendant to assist with any technical issues. By streamlining the process, you can create a seamless photo-taking experience that keeps the party vibe alive.
After the event, collect all the captured photos and compile them into a digital album or print them for guests to take home as keepsakes. Share the memories online, create a physical guestbook, or send out a digital gallery to reminisce about the fun moments shared at the party. Keep the joy alive long after the event has ended.

Choosing the Right Location
Choosing the right location for your DIY photo booth is a critical step in ensuring its success. The perfect spot can elevate the overall experience for your guests and make capturing memories a breeze. When selecting a location, consider factors such as lighting, space, and accessibility.
First and foremost, lighting plays a crucial role in photography. Opt for a spot with ample natural light to avoid harsh shadows and ensure clear, well-lit images. If natural light is limited, consider setting up additional lighting sources to brighten the area and enhance the photo quality.
Moreover, space is another essential factor to consider when choosing the location for your photo booth. Ensure that there is enough room for guests to move around comfortably and strike poses without feeling cramped. A spacious area will also allow for group photos and creative shots.
Additionally, foot traffic and accessibility are key considerations for the location of your DIY photo booth. Select a spot that is easily accessible to all guests, including those with mobility challenges. Avoid placing the photo booth in high-traffic areas to prevent congestion and disturbances during photo sessions.
By carefully considering these factors and selecting the right location, you can create a welcoming and functional setup for your DIY photo booth. Remember, the goal is to provide a memorable and enjoyable experience for your guests, so choose a location that enhances the overall atmosphere of the event.

Gathering Props and Backdrops
When it comes to creating a memorable DIY photo booth for parties, gathering the right props and backdrops plays a crucial role in enhancing the overall experience for guests. Imagine stepping into a whimsical world filled with colorful accessories and creative backgrounds that transport you to a different setting with each snapshot.
Props are like the spice to a dish, adding that extra flavor and fun to every photo taken. From silly hats and oversized glasses to mustaches on sticks and playful signs, the options are endless. Consider providing a mix of props to cater to different personalities and preferences, ensuring that everyone finds something that resonates with them.
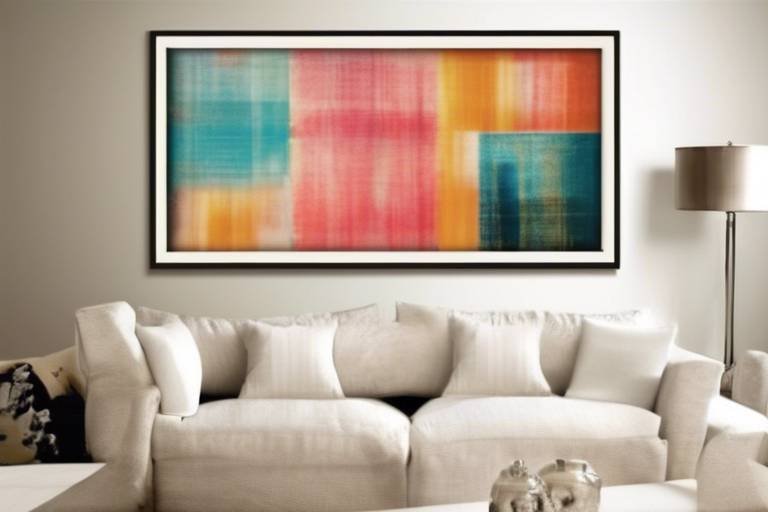
Backdrops, on the other hand, set the stage for the photoshoot, transforming a simple corner into a captivating scene. Whether you opt for a glittering sequin backdrop for a touch of glamour or a rustic wooden panel for a cozy vibe, the backdrop can tie the entire theme together. Think about the party's theme or color scheme when selecting backdrops to create a cohesive look that complements the props and enhances the photos.
Additionally, consider incorporating themed props and backdrops that align with the event's purpose or style. For example, if you're hosting a birthday party, you could include props like party hats, balloons, and confetti backdrops to capture the festive spirit. For a themed event like a retro disco night, disco balls, funky glasses, and neon backdrops can add a nostalgic touch to the photos.
Remember, the goal is to create a visual feast for the eyes that sparks joy and creativity in your guests. By carefully curating a collection of props and backdrops that reflect the party's vibe, you can ensure that every photo taken in the DIY photo booth becomes a cherished memory to look back on.

Setting Up the Camera and Lighting
Setting up the camera and lighting is a crucial step in creating a DIY photo booth that captures memorable moments at parties. The right angle, focus, and lighting can make a significant difference in the quality of the photos taken throughout the event. When positioning the camera, consider the height and angle that will best capture guests' poses and expressions. Additionally, adjusting the lighting to avoid harsh shadows or overexposure is essential for achieving well-balanced and flattering photos.
One effective way to ensure proper lighting is to use soft, diffused light sources such as umbrella lights or softboxes. These tools can help create a flattering and even lighting effect, reducing harsh shadows and highlighting the subjects in the photos. Experimenting with different lighting setups before the event can help determine the most flattering and effective lighting arrangement for the photo booth.
Moreover, setting the camera to the right exposure and focus settings is essential for producing sharp and well-exposed images. Consider using a tripod to stabilize the camera and prevent blurry photos, especially in low-light conditions. Adjusting the camera settings to optimize for the lighting conditions of the venue can help achieve consistent and high-quality results throughout the event.
When it comes to creating a DIY photo booth, the camera and lighting setup play a significant role in capturing the essence and excitement of the party. By paying attention to these details and experimenting with different setups, you can create a photo booth experience that delights guests and preserves cherished memories for years to come.

Designing Photo Booth Signage
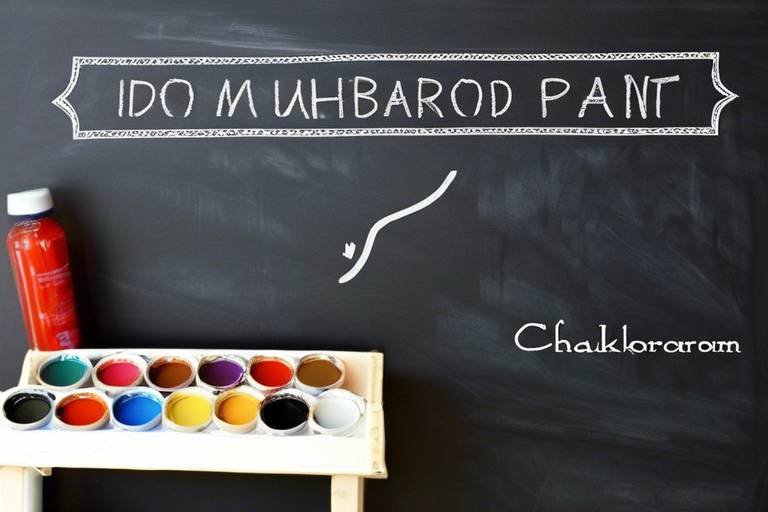
Designing photo booth signage is a crucial aspect of creating an engaging and interactive experience for guests at any party or event. The signage serves as a guide for attendees, prompting them to strike a pose, smile, or showcase their creativity in front of the camera. A well-designed sign not only adds a touch of flair to the photo booth setup but also sets the tone for the overall photo-taking experience.
When crafting photo booth signage, consider the theme of the event and the preferences of the guests. Incorporate catchy phrases, witty quotes, or themed messages that resonate with the occasion. Whether it's a birthday celebration, a wedding reception, or a corporate gathering, the signage should reflect the mood and atmosphere of the event, enticing guests to participate and have fun.
Utilizing vibrant colors, bold fonts, and eye-catching designs can make the signage visually appealing and easily noticeable amidst the party crowd. Include clear instructions on how to operate the photo booth, whether it's pressing a button to start the countdown or using props to enhance the photos. Engaging prompts such as "Strike a Pose" or "Say Cheese" can prompt guests to unleash their inner models and create memorable snapshots.
For a personalized touch, consider customizing the signage with the event date, names of the hosts, or a special hashtag for social media sharing. This not only adds a unique element to the photo booth setup but also encourages guests to connect and share their photos online, extending the reach of the event beyond the venue.
In addition to instructional signage, you can also incorporate interactive elements into the design. Include speech bubbles, thought bubbles, or frames that guests can hold up while posing for photos, adding a playful and creative twist to the photo booth experience. Encourage guests to write messages, draw doodles, or express themselves through the signage, turning each photo into a personalized keepsake.
Remember, the goal of designing photo booth signage is to enhance the overall guest experience, spark joy and laughter, and create lasting memories that attendees will cherish long after the event is over. By putting thought and creativity into the design of the signage, you can elevate the photo booth setup from a simple backdrop to a captivating focal point that brings people together in celebration.

Creating a Shareable Photo Station
Creating a shareable photo station is a key element in ensuring that guests can easily capture and share their favorite moments from the event. By incorporating technology and interactive features, you can enhance the overall experience and encourage social sharing.
One way to create a shareable photo station is by setting up a digital kiosk where guests can instantly access and share their photos. Provide options for printing physical copies, emailing digital versions, or directly posting to social media platforms. This versatility allows guests to choose how they want to share their photos, making it convenient for everyone.
To make the sharing process even more engaging, consider adding themed filters or overlays that guests can apply to their photos before sharing. This customization adds a fun and personal touch to the images, making them more share-worthy and memorable.
Additionally, integrating a live slideshow display near the photo station can create a sense of excitement and encourage guests to check out the photos being captured in real-time. This feature not only entertains guests but also prompts them to participate in the photo-taking process, knowing that their images will be part of the display.
Another way to boost social sharing is by incorporating a designated hashtag for the event and encouraging guests to use it when posting their photos online. This not only organizes all event-related posts in one place but also allows guests to easily find and share each other's photos, fostering a sense of community and connection.

Encouraging Guest Participation
Encouraging guest participation is the key to creating a lively and interactive atmosphere at any event. By implementing creative strategies and engaging elements, you can entice guests to visit the photo booth and capture memorable moments. One effective way to encourage participation is to provide a variety of props and themed costumes for guests to use. Whether it's silly hats, funky glasses, or playful signs, these accessories can inspire guests to get creative and have fun posing for photos.
Additionally, incorporating group photo challenges can spark friendly competition and camaraderie among attendees. Consider setting up a mini contest with specific themes or poses for groups to reenact, encouraging teamwork and laughter. This not only adds excitement to the photo booth experience but also creates shared memories that guests will cherish long after the event.
Furthermore, interactive props and backdrops can enhance guest participation by offering unique opportunities for customization. From green screens that transport guests to exotic locations to interactive props that trigger special effects in photos, these elements can surprise and delight guests, encouraging them to engage with the photo booth in creative ways.
To ensure a seamless and enjoyable experience, it's essential to have a dedicated attendant at the photo booth. The attendant can guide guests on how to use the equipment, suggest fun poses, and troubleshoot any technical issues that may arise. Their presence not only adds a personal touch to the photo booth but also reassures guests that assistance is readily available, encouraging even the shyest attendees to join in the fun.

Managing the Photo Booth Workflow
When it comes to managing the photo booth workflow at your party, organization is key to ensuring a smooth and enjoyable experience for all guests. By establishing a structured process and providing clear instructions, you can help participants navigate the photo booth with ease.
One effective way to manage the workflow is by creating designated queues for guests waiting to use the booth. This helps prevent overcrowding and confusion, allowing each person to take their time and enjoy the photo-taking experience. Consider using ropes or stanchions to guide the line and maintain order.
Additionally, having a dedicated attendant stationed near the photo booth can greatly assist in managing the workflow. The attendant can welcome guests, provide instructions on how to use the equipment, and troubleshoot any technical issues that may arise. Their presence ensures that the process runs smoothly and efficiently.
Clear signage with step-by-step instructions on how to operate the photo booth can also streamline the workflow. Include guidance on posing, capturing photos, and accessing the digital or print options available. This helps guests feel confident in using the booth and reduces any potential confusion.
Consider incorporating a guestbook or digital album where attendees can leave messages or comments alongside their photos. This not only adds a personal touch to the experience but also provides a keepsake for the host and guests to cherish after the event. Managing the workflow effectively ensures that everyone can participate and create lasting memories at the photo booth.

Collecting and Sharing Memories
After the event, collecting and sharing memories from the DIY photo booth experience is a delightful way to preserve the fun moments and create lasting connections. By compiling all the captured photos into a digital album or printing them for guests to take home, you can ensure that the memories are cherished for years to come. Additionally, sharing these memories online through social media platforms allows for a wider audience to enjoy and reminisce about the event.
To enhance the memory-sharing process, consider creating a physical guestbook where attendees can leave personal messages alongside their photo booth pictures. This interactive element adds a personal touch to the event and serves as a tangible memento for both hosts and guests. Moreover, organizing a slideshow or video montage of the photo booth images can be a captivating way to relive the excitement and joy of the party.
For a more organized approach, you can categorize the photos based on themes, groups, or specific moments captured during the event. This segmentation not only makes it easier for guests to locate their pictures but also adds a creative flair to the overall memory collection. Additionally, providing guests with access to a secure online gallery where they can view and download their photos ensures convenient and instant sharing among friends and family.
Frequently Asked Questions
- What are the essential materials needed for setting up a DIY photo booth?
For a DIY photo booth, you will need a camera, tripod, lighting equipment, props, backdrops, and signage. These materials are crucial for creating a fun and engaging photo booth experience for your guests.
- How can I ensure good lighting for my DIY photo booth?
To achieve good lighting, position your photo booth in an area with natural light or use artificial lighting sources such as softboxes or ring lights. Proper lighting is essential for capturing clear and vibrant photos at your event.
- What are some creative ideas for props and backdrops?
You can get creative with props by including items like funny hats, oversized glasses, feather boas, and themed accessories related to your party's theme. For backdrops, consider using patterned fabrics, colorful curtains, or customized banners to enhance the visual appeal of your photos.
- How can I encourage guests to participate in the photo booth?
Encourage guest participation by making the photo booth area inviting and interactive. Use engaging props, provide clear instructions, and consider running contests or challenges to incentivize guests to take photos and create lasting memories.
- What options do I have for sharing photos from the DIY photo booth?
You can offer various sharing options such as instant printing, emailing digital copies, or sharing on social media platforms. Providing multiple sharing choices ensures that guests can easily access and enjoy their photos long after the event has ended.


