How to Make Your Own Decorative Bunting for Parties
Are you ready to add a touch of charm and whimsy to your next party or event? Let's dive into the creative world of making your very own decorative bunting! This DIY project is not only fun and easy but also allows you to showcase your unique style and creativity. Whether you're celebrating a birthday, baby shower, or simply hosting a gathering with friends, personalized bunting is sure to elevate the ambiance and add a festive flair to any space.
First things first, gather all the materials you'll need to bring your bunting vision to life. Grab some colorful paper or fabric, a pair of scissors, glue, string, and any additional decorations you want to use to customize your bunting. The key here is to let your imagination run wild and choose materials that resonate with the theme or mood of your event.
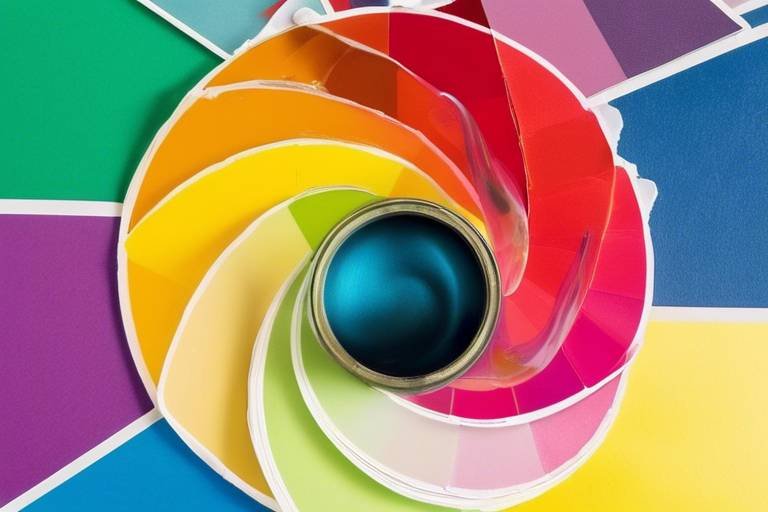
Once you have your materials ready, it's time to decide on a design theme for your bunting. Are you aiming for a vibrant and eclectic look with a mix of colors, or do you prefer a more cohesive and elegant color scheme? Consider the occasion and your personal preferences to guide your design choices. Remember, there are no rules when it comes to creativity!
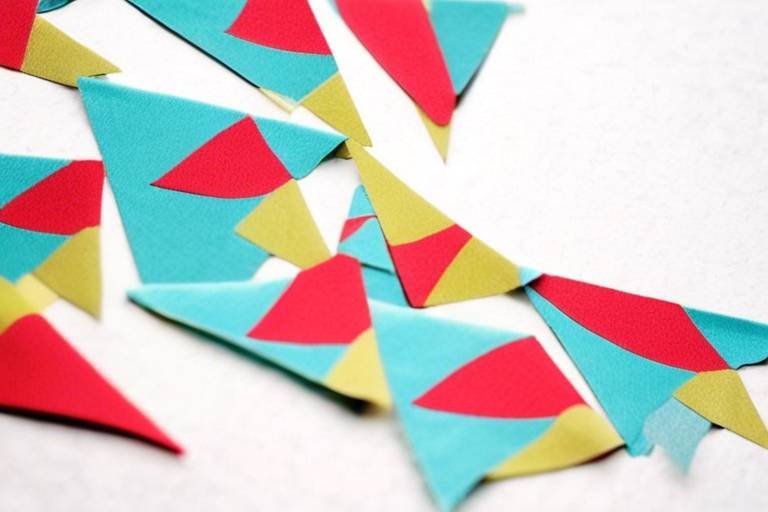
Now comes the fun part – measuring and cutting out the shapes for your bunting flags. You can either use a template for uniformity or freehand cut the shapes for a more organic feel. Triangles are a classic choice, but feel free to experiment with different shapes and sizes to add visual interest to your bunting.
Once you have your flags cut out, it's time to let your creativity shine by decorating them. Add a touch of sparkle with glitter, stick on some fun stickers, or unleash your inner artist with hand-drawn designs. The goal is to make each flag unique and eye-catching, so don't hold back!
After decorating your flags, it's time to assemble your bunting by attaching the flags to a piece of string or ribbon. You can use glue or tape to secure the flags, making sure to leave some space between each flag for a balanced and airy look. As you string them together, watch your bunting come to life before your eyes!
Now that your bunting is ready, find the perfect spot to display it. Whether you choose to hang it across a mantelpiece, drape it along a wall, or string it up outside in the garden, make sure it's prominently showcased for all to see. Your bunting will not only serve as a decorative element but also as a conversation starter and focal point of your event.
To add a personal touch, consider spelling out a message or the name of the event using letters attached to the bunting flags. This customization adds a heartfelt and meaningful element to your decor, making it truly one-of-a-kind and special.
Finally, don't forget to share your creative masterpiece with the world! Snap some photos of your DIY bunting and share them on social media to inspire others with your creativity. Alternatively, use your bunting as a festive decoration for your party or gathering, allowing your guests to marvel at your handiwork and attention to detail.
Gather Materials
When preparing to make your own decorative bunting for parties, the first step is to . This crucial stage sets the foundation for your creative project. To start, make sure you have colorful paper or fabric that aligns with your desired theme. Scissors will be essential for cutting out the shapes, while glue will help you secure everything in place. Additionally, you'll need string or ribbon to string the bunting together, and decorations to add that personalized touch.
Choosing the right materials is like selecting the ingredients for a recipe - each component plays a vital role in the final product. Imagine your bunting as a delicious dish; the paper or fabric is the base, the decorations are the seasoning, and the string is the binding agent that brings it all together. Just like a chef carefully selects the freshest ingredients, you must choose materials that resonate with your vision for the bunting.
Once you have gathered all your materials, it's time to embark on the creative journey of making your bunting. Think of it as a blank canvas waiting to be transformed into a masterpiece. The paper and fabric are your medium, and the scissors are your brush, ready to shape and mold your creation into a work of art. With each piece carefully chosen and prepared, you are now set to bring your vision to life.
Consider the colors and textures of the materials in front of you. How do they complement each other? How can you combine them to create a harmonious design? These questions will guide you as you embark on the process of crafting your bunting. Remember, the beauty of DIY projects lies in the freedom to experiment and let your creativity soar.
As you gather your materials, envision the final result. Picture the bunting hanging proudly at your party, adding a touch of charm and personality to the space. With each item in hand, you are one step closer to creating a decorative masterpiece that will leave your guests in awe. So, gather your materials, unleash your creativity, and let the bunting-making adventure begin!

Choose a Design Theme
When it comes to creating your own decorative bunting for parties, one of the most exciting steps is choosing a design theme. This is where you get to let your creativity shine and set the tone for the entire decoration. Whether you're planning a birthday bash, a baby shower, or a holiday gathering, the design theme of your bunting can make a big impact on the overall atmosphere of the event.
Imagine your bunting as the protagonist of a story, setting the stage for the party to unfold. Will you go for a classic and elegant color scheme with golds and whites, perfect for a sophisticated soirée? Or perhaps you prefer a vibrant and playful theme with a rainbow of colors, ideal for a lively celebration. Your design theme will guide the choice of materials, decorations, and overall style of your bunting.
Think of your bunting design theme as the thread that ties everything together, creating a cohesive look that will impress your guests and elevate the party atmosphere. Consider the venue where the bunting will be displayed and how the chosen theme will complement the space. Whether you opt for a rustic chic theme with burlap and lace or a modern and sleek theme with metallic accents, make sure it reflects your personal style and the mood you want to convey.
Measure and Cut the Shapes
When it comes to creating your own decorative bunting for parties, one of the essential steps is measuring and cutting the shapes for your flags. This process allows you to customize the size and design of each flag according to your preferences. You can either use a template for precise shapes or get creative and freehand cut unique designs. Imagine it like sculpting, but with paper or fabric as your canvas!
Before cutting, consider the overall look you want to achieve with your bunting. Will you go for classic triangle flags, whimsical circles, or perhaps something more intricate like stars or hearts? The possibilities are endless, so let your creativity guide you as you measure and cut each shape.
Once you have decided on the shape of your flags, grab your colorful paper or fabric, a sharp pair of scissors, and get ready to bring your vision to life. Precision is key here, as accurately cut shapes will ensure a polished and professional finish to your bunting. Think of it as creating a masterpiece, where each cut contributes to the overall beauty of the final product.
If you're using a template, make sure to secure it firmly to your material before cutting to avoid any slips or mistakes. Take your time with each cut, paying attention to detail to ensure uniformity across all your flags. It's like crafting a puzzle, where each piece fits perfectly to complete the bigger picture of your bunting.
Remember, the process of measuring and cutting shapes for your bunting is where your creativity truly shines. Embrace the opportunity to experiment with different sizes, patterns, and textures to make your bunting truly unique and personalized. So, grab your materials, unleash your imagination, and let the cutting begin!

Decorate the Flags
When it comes to decorating the flags for your bunting, the possibilities are endless. This is where you can let your creativity shine and make each flag unique and eye-catching. Consider adding embellishments such as glitter, stickers, or drawings to give your bunting a personalized touch. You can also experiment with different textures and materials to create a visually appealing design.
If you're looking for inspiration, consider creating a theme for your bunting and decorating the flags accordingly. For example, for a summer party, you could use bright and vibrant colors with tropical motifs. Or for a more elegant event, opt for metallic accents and delicate embellishments. The key is to have fun and let your imagination run wild as you decorate each flag.
To make the decorating process easier, you can lay out all the flags in front of you before attaching them to the string. This way, you can ensure a cohesive design and make any adjustments as needed. Don't be afraid to mix and match different decorations to create a visually stunning bunting that will impress your guests.
Attach the Flags to String
When it comes to attaching the decorative flags to the string for your bunting, precision and creativity play key roles. Start by laying out your string on a flat surface and arranging your decorated flags in the desired order. Ensure that there is equal spacing between each flag to maintain a balanced look. You can use a ruler or measuring tape to help with this process.
If you prefer a more secure attachment, consider using a small amount of glue or double-sided tape on the back of each flag before pressing it onto the string. This will help prevent the flags from sliding or falling off during display. Alternatively, you can opt for sewing the flags onto the string for a durable and professional finish.
For a whimsical touch, you can also incorporate additional elements such as mini clothespins or decorative clips to attach the flags to the string. This not only adds visual interest but also allows for easy customization and rearrangement of the flags as needed. Experiment with different attachment methods to find the one that best suits your bunting design and style.
Hang Your Bunting
When it comes to hanging your bunting, the placement can truly make a statement at your party or event. Imagine your bunting dancing in the breeze, adding a touch of whimsy and charm to the atmosphere. Whether you're hosting a birthday bash, a baby shower, or a backyard barbecue, hanging your bunting in the perfect spot can elevate the overall look and feel of the space.
One popular way to hang your bunting is by draping it across a mantelpiece. This creates a focal point in the room and draws attention to the decorative flags. The mantelpiece serves as a natural display area, allowing the bunting to shine and become a conversation starter among your guests.
If you're hosting an outdoor event, consider hanging your bunting along a wall or fence. This not only adds a festive touch to your outdoor space but also helps define the party area. Your bunting will flutter in the wind, creating a joyful and celebratory ambiance that complements the outdoor setting.
For a more whimsical look, why not hang your bunting in a zigzag pattern across the ceiling? This unexpected placement adds a playful element to the decor and can transform any room into a whimsical wonderland. Your guests will be delighted by the unique and creative display.
Don't forget that lighting can also enhance the beauty of your bunting. Consider hanging string lights along with your bunting to create a magical and enchanting atmosphere. The soft glow of the lights combined with the colorful bunting will create a visually stunning backdrop for your party or event.
Personalize with Messages
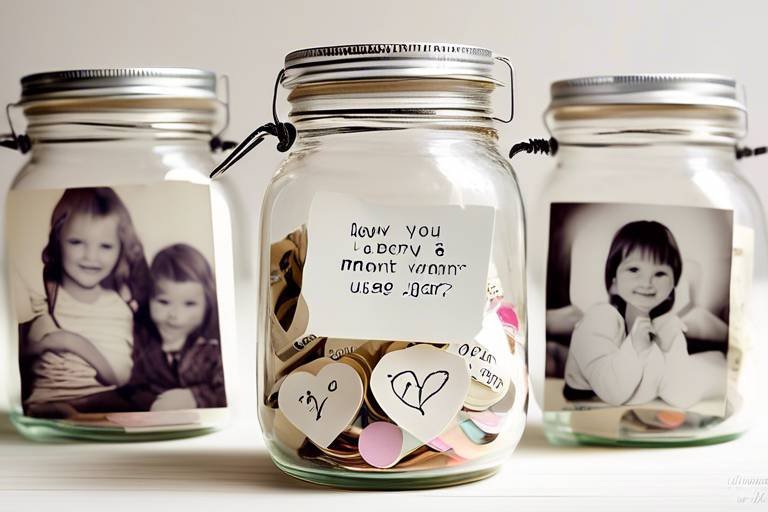
When it comes to adding a personal touch to your DIY bunting, the option to personalize it with messages opens up a world of creative possibilities. Imagine the excitement of your guests when they see their names or a special message beautifully displayed on the bunting at your party. It's like giving each flag its own voice, speaking volumes without uttering a word.
To achieve this customization, you can opt for various methods. One approach is to handwrite messages on each flag using colorful markers or pens. This adds a charming handmade feel to the bunting, making it truly one-of-a-kind. Alternatively, you can print out letters or words on different colored paper or cardstock and then affix them to the flags. This method ensures a consistent look and professional finish.
If you want to take it a step further, consider using stencils to create uniform lettering or even incorporating decorative elements like small flowers or stars between the letters. This attention to detail can elevate the overall design of your bunting and make it even more visually appealing.
Another creative idea is to spell out a specific message or phrase across the entire bunting. Whether it's a celebratory "Happy Birthday" or a heartfelt "Congratulations," these messages can set the tone for your event and create a memorable atmosphere for your guests. You can mix and match different fonts, colors, and sizes to add depth and interest to the message.
Share Your Creation
After creating your stunning DIY bunting, it's time to share your creation with the world! Whether you've made it for a birthday bash, a baby shower, or just to add a pop of color to your space, your bunting deserves to be showcased. One of the best ways to share your masterpiece is by snapping some photos and posting them on social media. Let your friends and followers admire your handiwork and maybe even get inspired to make their own bunting!
If you're hosting a party or gathering, don't hesitate to use your bunting as a festive decoration. Hang it across a mantelpiece, along a wall, or even outside in the garden to create a whimsical and celebratory atmosphere. Your personalized bunting will undoubtedly be a conversation starter and a focal point of your event.
Another fun idea to personalize your bunting even further is to add messages or words to it. You can write or print out letters to spell out a special message, a name, or the theme of your event. Attach these letters to the bunting flags to make a statement and give your creation an extra touch of charm.
Remember, the beauty of DIY bunting lies in its versatility and creativity. Feel free to experiment with different colors, patterns, and embellishments to truly make it your own. Whether you're a seasoned crafter or a beginner looking for a fun project, making your own decorative bunting is a rewarding and enjoyable experience that you can proudly share with others.
Frequently Asked Questions
- Can I use different shapes for the bunting flags?
Yes, you can definitely get creative with the shapes of your bunting flags. While triangles are traditional, you can experiment with circles, squares, or even custom shapes to suit your theme or personal style.
- What is the best way to attach the flags to the string?
The most common methods to attach the flags to the string are using glue or tape. Make sure to secure them well to prevent the flags from falling off. You can also sew the flags onto the string for a more durable hold.
- How can I make my bunting weatherproof for outdoor use?
If you plan to hang your bunting outdoors, consider using waterproof materials like plastic or laminated paper. You can also apply a clear sealant or laminate the flags to protect them from the elements and ensure they last longer.
- Is it necessary to add decorations to the flags?
Adding decorations to the flags is optional, but it can enhance the overall look of your bunting and make it more visually appealing. Get creative with embellishments like glitter, sequins, ribbons, or even small trinkets to make your bunting stand out.
- Can I reuse the bunting for future events?
Absolutely! Bunting is a versatile decoration that can be reused for multiple occasions. Simply store it carefully after the event, and you can bring it out again for birthdays, holidays, or any other celebrations in the future.