How to Make Your Own Handmade Soap Bars
Making your own handmade soap bars can be a rewarding and creative process that allows you to customize your skincare routine. By using natural ingredients and personalized scents, you can craft unique soaps tailored to your preferences or as thoughtful gifts for loved ones. Whether you're a beginner or experienced crafter, creating handmade soap bars at home is a fun and fulfilling activity that results in high-quality products.
Benefits of Handmade Soap
Handmade soap offers a plethora of benefits that go beyond just cleansing the skin. One of the primary advantages is the use of natural ingredients in handmade soaps. Unlike commercial soaps that often contain harsh chemicals and synthetic fragrances, handmade soaps are crafted using organic oils and botanicals that nourish and moisturize the skin.
Moreover, handmade soap allows for customization options that cater to individual preferences. You have the freedom to choose specific oils, scents, colors, and additives to create a soap that suits your skin type and personal taste. This level of personalization is a luxury that commercial soaps simply cannot provide.
Another significant benefit of handmade soap is the avoidance of harmful chemicals commonly found in commercial products. By making your own soap, you have full control over the ingredients, ensuring that your skin is not exposed to harsh detergents, preservatives, or artificial dyes that can cause irritation or dryness.
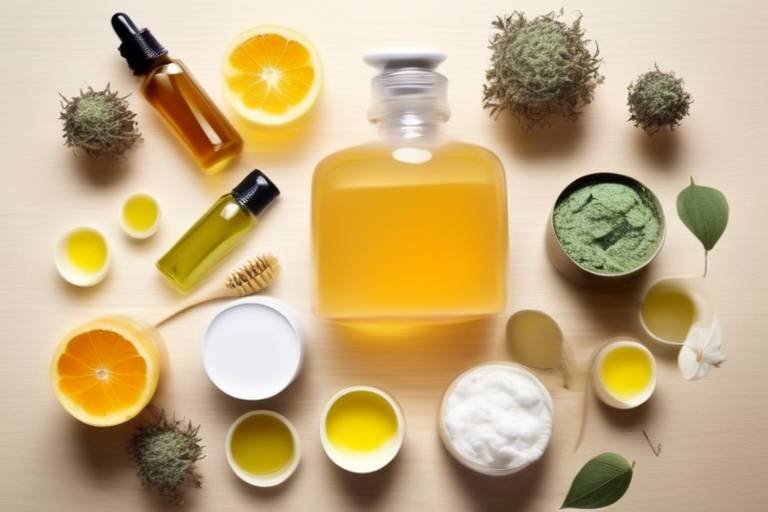
Essential Ingredients for Soap Making
When it comes to creating your own handmade soap bars, understanding the essential ingredients for soap making is crucial. These components play a vital role in determining the quality, texture, and properties of the final product. Let's delve into the key elements required to craft personalized and natural soap bars right in the comfort of your home.
First and foremost, oils are the foundation of any soap recipe. Different oils bring unique properties to the soap, such as coconut oil for a luxurious lather, olive oil for moisturizing benefits, and shea butter for added nourishment. The combination of oils you choose will influence the final texture and feel of your soap, allowing you to customize it according to your preferences.
Another essential ingredient in soap making is lye, also known as sodium hydroxide. While lye is a caustic substance that requires careful handling, it is crucial for the saponification process that turns oils into soap. By following safety precautions and precise measurements, you can work with lye safely to create high-quality soap bars.
In addition to oils and lye, water is needed to dissolve the lye and initiate the chemical reaction that transforms the mixture into soap. The amount of water used in the recipe can affect the hardness and curing time of the soap, so it's essential to follow the recipe guidelines accurately.
Furthermore, essential oils are often added to soap recipes not only for fragrance but also for their skin-nourishing properties. Essential oils like lavender, tea tree, or peppermint can provide aromatherapy benefits and enhance the overall sensory experience of using handmade soap.
Understanding the role of each essential ingredient in soap making is the first step towards creating personalized and natural soap bars that cater to your skin's needs and preferences. By carefully selecting and combining oils, lye, water, and essential oils, you can embark on a rewarding journey of crafting unique and customized soap creations.

Choosing the Right Oils
When it comes to creating your own handmade soap bars, choosing the right oils is a crucial step in determining the final quality and properties of your soap. Different oils bring unique characteristics to the soap, such as hardness, lather, moisturizing properties, and scent. Understanding the properties of various oils will help you craft a soap that suits your preferences and skin type perfectly.
Common oils used in soap making include coconut oil, olive oil, shea butter, and castor oil, each offering distinct benefits. Coconut oil produces a rich lather and adds hardness to the soap, while olive oil provides moisturizing properties and a gentle cleanse. Shea butter is known for its nourishing and conditioning effects on the skin, making it ideal for dry or sensitive skin types. Castor oil contributes to a creamy lather and helps with moisture retention.
It's essential to consider the fatty acid composition of oils when choosing the right combination for your soap. A balance of saturated and unsaturated fats is key to creating a well-rounded soap that cleanses effectively without drying out the skin. Experimenting with different oil blends can lead to unique soap formulations tailored to your preferences.

Working with Lye Safely
When it comes to making handmade soap, one of the most crucial aspects is working with lye safely. Lye, also known as sodium hydroxide, is a key ingredient in soap making that can be dangerous if not handled properly. It is essential to take necessary precautions to ensure your safety throughout the soap-making process.
Before you start working with lye, make sure to wear appropriate safety gear, including gloves, goggles, and a mask to protect your skin, eyes, and respiratory system from any potential contact with the caustic substance. Additionally, ensure that you are working in a well-ventilated area to minimize exposure to fumes.
When mixing lye with water, always remember to add the lye to the water and not the other way around. This process can generate heat and fumes, so it is crucial to mix the solution in a heat-resistant container and avoid inhaling the vapors produced during the reaction.
Keep in mind that lye should be handled with care and stored in a secure place away from children and pets. Label the containers clearly to avoid any accidental misuse, and always clean up any spills immediately with water and vinegar to neutralize the lye.
It is also essential to be mindful of the potential reactions that lye can have with other substances. Avoid using metal containers or utensils when working with lye, as it can cause a dangerous chemical reaction. Stick to using plastic, glass, or stainless steel materials for a safe soap-making process.
By following these safety guidelines and handling lye with caution, you can enjoy the process of making your own handmade soap without compromising your well-being. Remember, safety always comes first when working with lye in soap making.
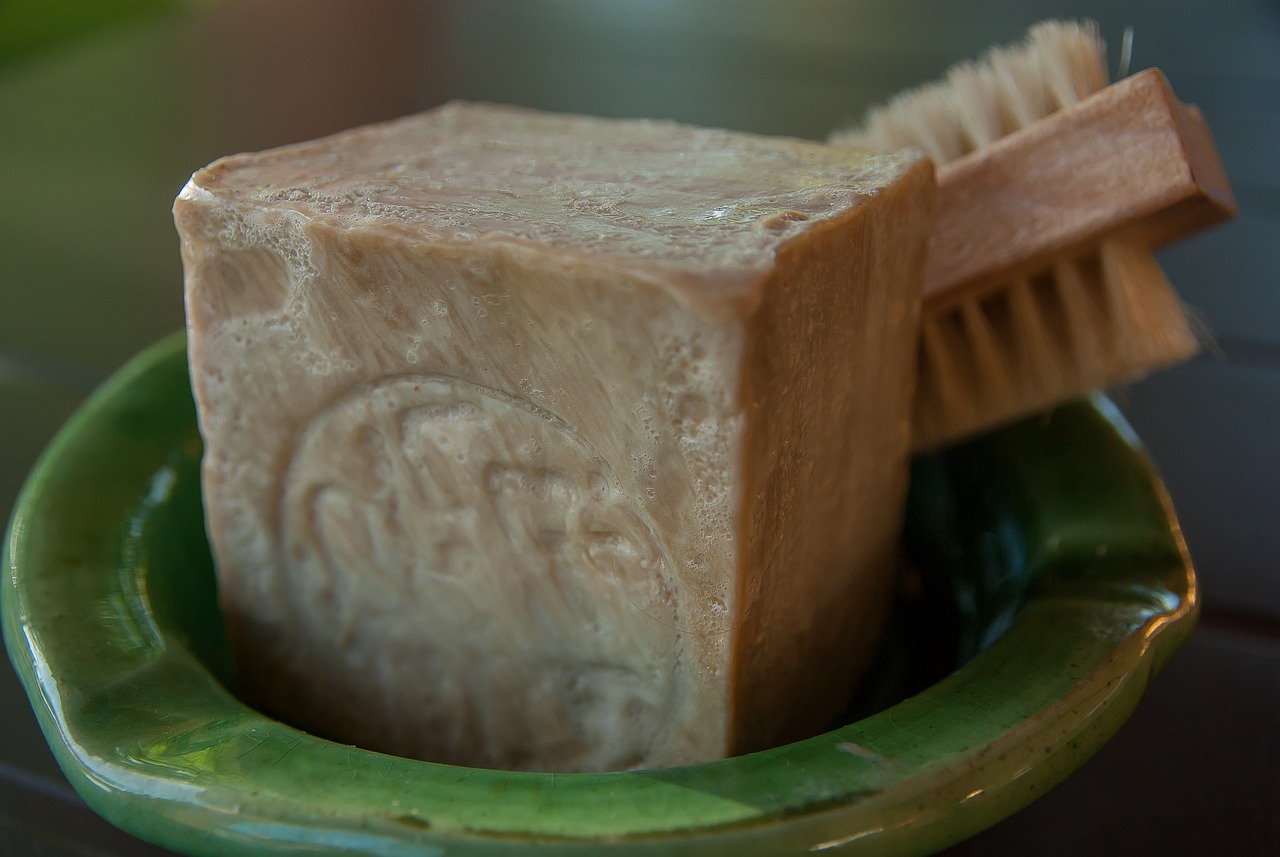
Equipment Needed for Soap Making
When it comes to creating your own handmade soap bars, having the right equipment is essential for a successful and enjoyable soap-making experience. From molds to safety gear, each tool plays a crucial role in crafting unique and natural soaps. Let's explore the equipment needed for soap making and how each item contributes to the process.
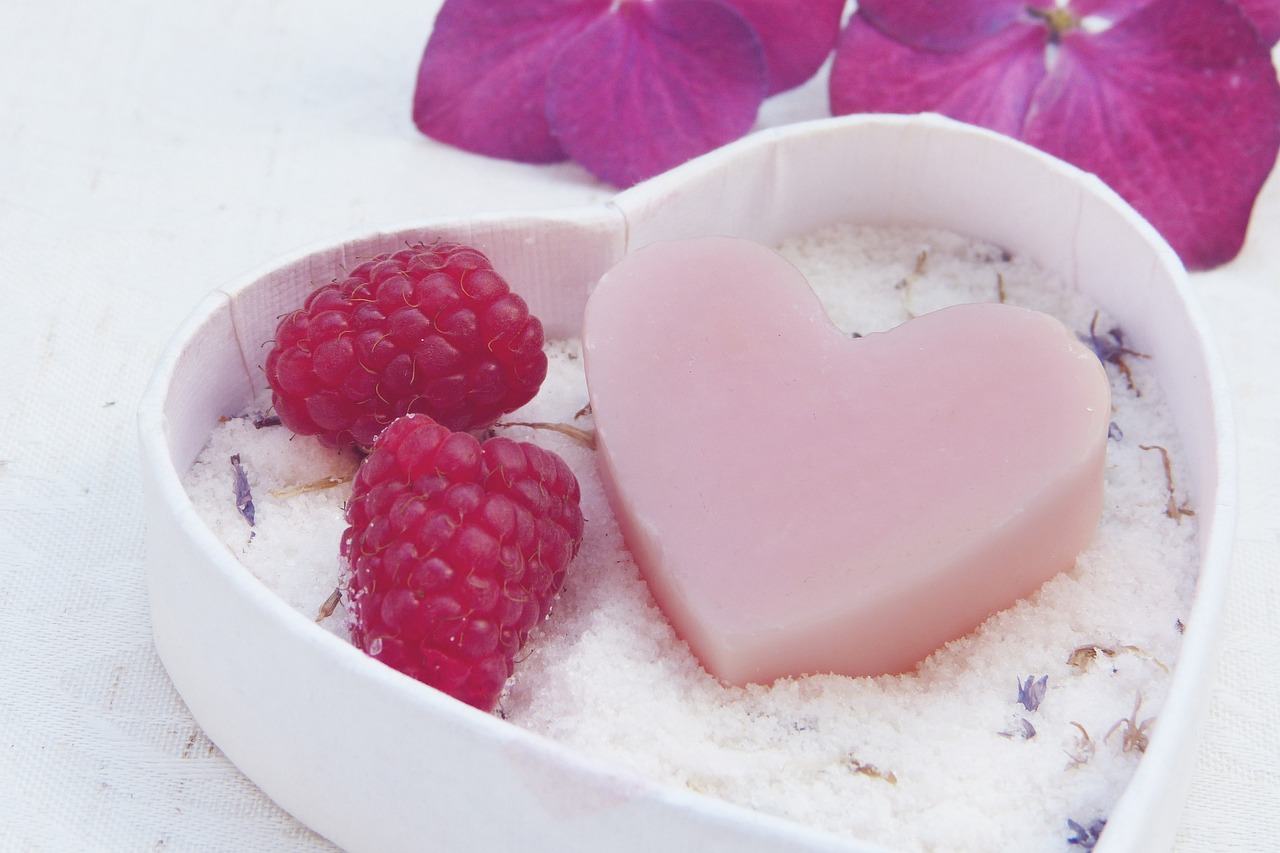
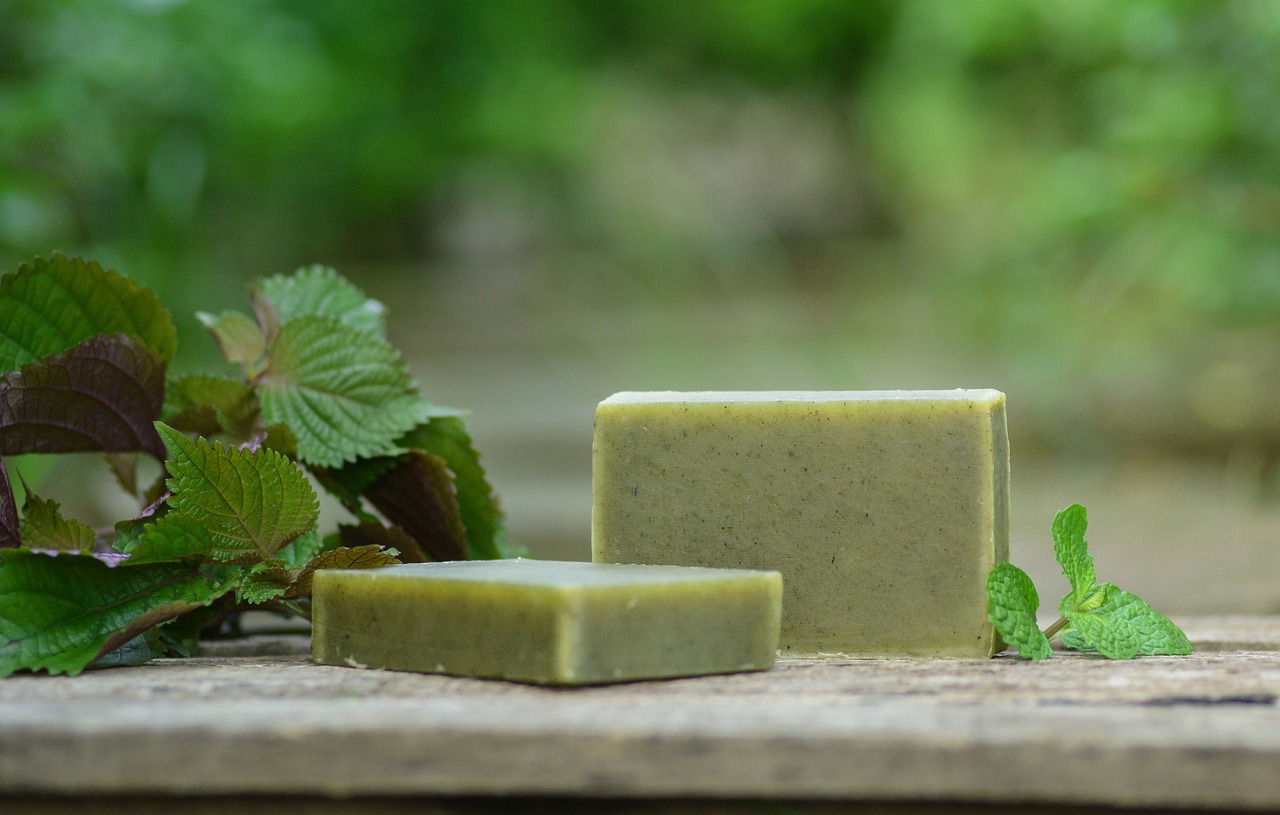
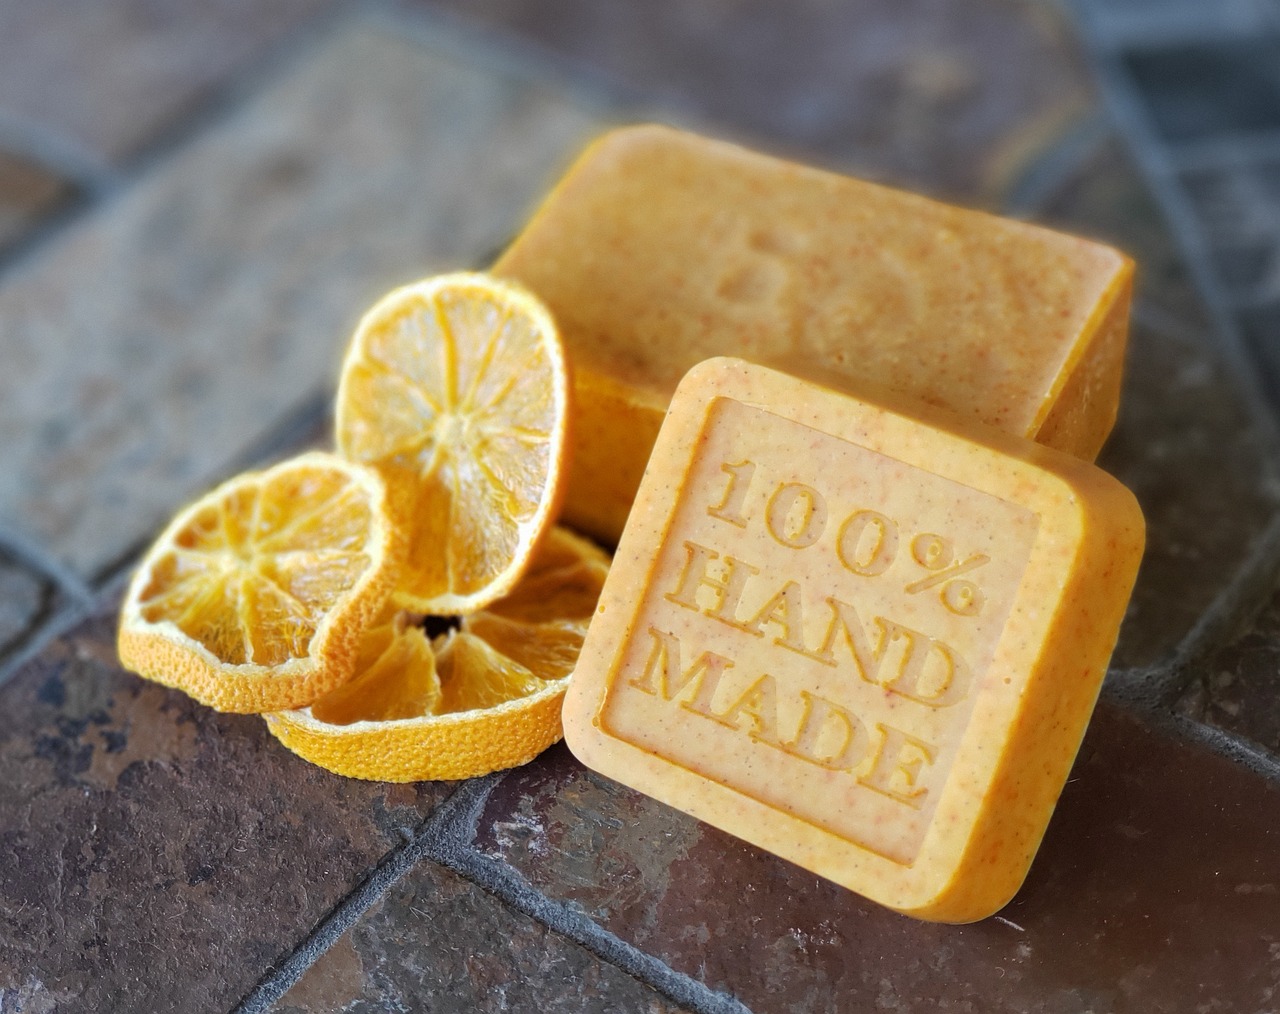
Customizing Your Soap Bars
When it comes to customizing your soap bars, the possibilities are endless. You can add a personal touch to your creations by incorporating various elements that cater to your preferences and skin needs. From selecting colors to choosing scents and additives, customizing your soap bars allows you to craft unique combinations that truly stand out.
One way to customize your soap bars is by incorporating natural colorants. These can range from herbs and spices to clays and botanical extracts, providing not only vibrant hues but also additional skin benefits. For example, turmeric can impart a warm yellow tone while offering anti-inflammatory properties, whereas activated charcoal can create a striking black color while drawing out impurities from the skin.
Furthermore, selecting the right scents for your soap bars can elevate the sensory experience of each use. Essential oils, such as lavender, peppermint, or citrus blends, not only add delightful fragrances but also contribute aromatherapy benefits to promote relaxation or invigoration during bathing.
If you prefer exfoliating properties in your soap bars, consider adding natural exfoliants like ground coffee, oatmeal, or poppy seeds. These gentle abrasives help slough off dead skin cells, leaving your skin feeling smooth and rejuvenated after each use.
To enhance the nourishing qualities of your soap bars, you can include additives such as shea butter, honey, or aloe vera gel. These ingredients provide extra moisture and conditioning to the skin, making your handmade soap bars not only cleansing but also pampering.
By customizing your soap bars with a thoughtful selection of colors, scents, exfoliants, and additives, you can create a personalized bathing experience that caters to your unique preferences and skin requirements. Experimenting with different combinations allows you to craft soap bars that are not only visually appealing but also beneficial for your skin health.

Step-by-Step Soap Making Process
Creating your own handmade soap bars can be a rewarding and creative process. To start, gather all the necessary ingredients and equipment before diving into the step-by-step soap making process. Remember, patience and precision are key to achieving the perfect soap bars tailored to your preferences.
Begin by measuring out the required oils, such as coconut oil, olive oil, and shea butter, based on your chosen recipe. Each oil contributes unique properties to the soap, affecting its texture and moisturizing capabilities. Understanding the role of each oil will help you create a well-balanced soap bar.
Next, carefully prepare the lye solution by mixing it with water in a well-ventilated area while wearing appropriate safety gear. Lye is a crucial component in soap making but requires caution due to its corrosive nature. Follow safety guidelines to handle lye safely throughout the soap making process.
Once the oils and lye solution are ready, it's time to combine them to initiate the saponification process. Use a thermometer to ensure both mixtures are at the correct temperature before carefully blending them together. Stir the mixture until it reaches trace, a stage where the soap batter thickens and traces remain on the surface.
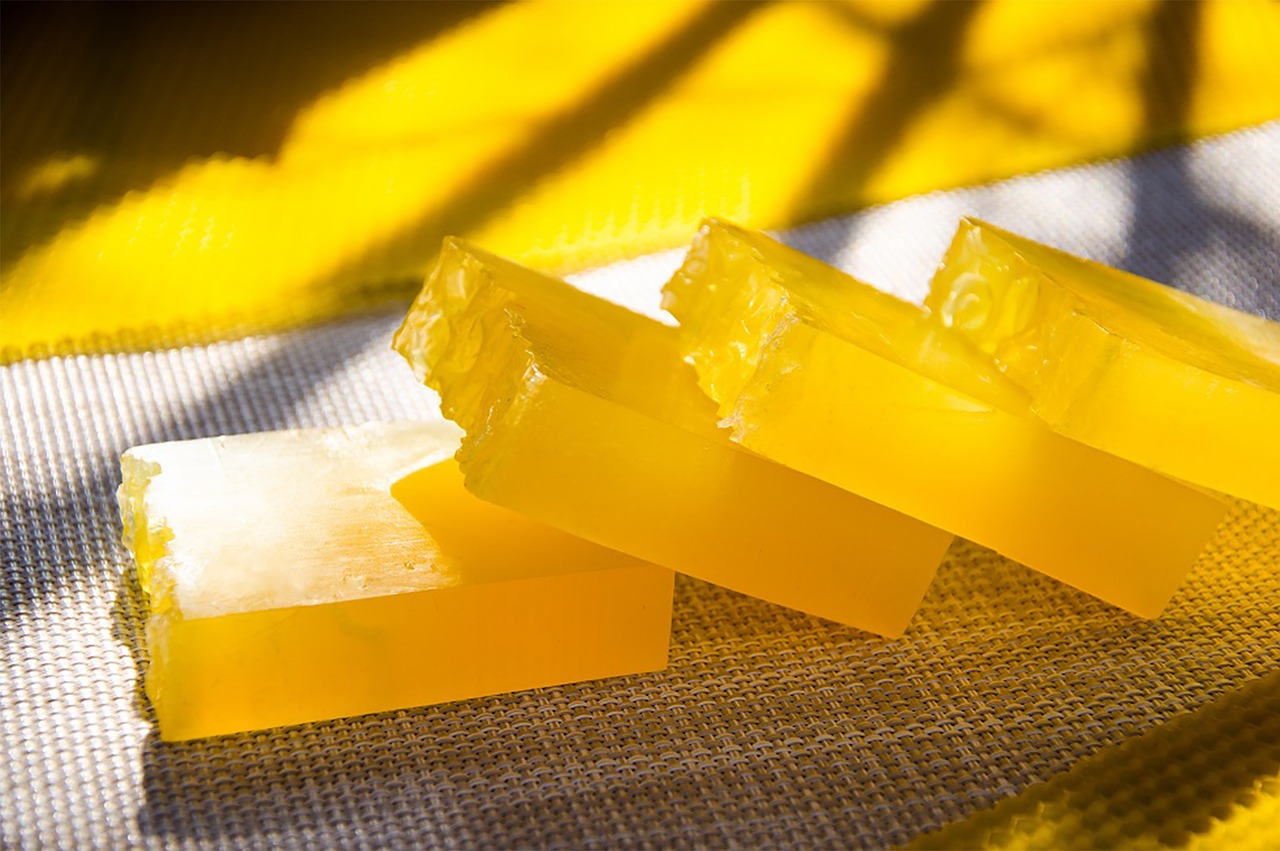
After achieving trace, you can add fragrance oils, essential oils, colorants, exfoliants, or other additives to customize your soap bars. Experiment with different combinations to create unique scents and textures that suit your preferences. Pour the soap batter into molds and allow it to set for a few days to cure and harden.
Once the soap bars have cured, unmold them and cut them into individual bars. Let the bars further cure for several weeks to allow the saponification process to complete, resulting in a mild and gentle soap suitable for everyday use. Enjoy the satisfaction of using handmade soap crafted by your own hands!
Troubleshooting Common Issues
When making your own handmade soap bars, it's common to encounter some issues along the way. Understanding how to troubleshoot these common problems can help ensure a successful soap-making experience. One common issue that soap makers face is lye miscalculations. It's crucial to accurately measure and calculate the amount of lye needed for your recipe to avoid ending up with a lye-heavy soap that can be harsh on the skin.
Another issue that may arise is soap seizing, which occurs when the soap mixture thickens and hardens unexpectedly, making it difficult to work with. This can be caused by adding fragrances or additives at the wrong time or mixing too vigorously. To prevent seizing, it's essential to follow the recipe instructions carefully and add ingredients gradually.
Acceleration is another common problem in soap making, where the soap mixture thickens and sets faster than expected, making it challenging to pour into molds or create intricate designs. This can be caused by certain fragrance oils or essential oils that accelerate the saponification process. To avoid acceleration, choose oils and additives that are known to work well together and pour the soap into molds promptly.
Additionally, fragrance fading can occur when the scent of your soap diminishes over time, leaving it less aromatic than desired. To prevent fragrance fading, consider using high-quality fragrance oils and storing your cured soap in a cool, dry place away from direct sunlight. Properly wrapping the soap in airtight packaging can also help preserve the scent for longer.
By being aware of these common issues and knowing how to troubleshoot them effectively, you can overcome challenges that may arise during the soap-making process and create beautiful handmade soap bars that meet your expectations.
Frequently Asked Questions
- Can I use any type of oil to make handmade soap?
While you can experiment with different oils, it is essential to use oils that are safe for skin contact and suitable for soap making. Oils like coconut, olive, and shea butter are popular choices due to their beneficial properties for soap.
- Is lye dangerous to work with?
Lye is a caustic substance that requires careful handling. It is crucial to follow safety precautions, wear protective gear, and work in a well-ventilated area when using lye in soap making to ensure your safety.
- How long does it take for handmade soap to cure?
The curing process for handmade soap typically takes 4-6 weeks. During this time, the soap hardens and the excess moisture evaporates, resulting in a milder and longer-lasting bar of soap.
- Can I add colors and fragrances to my handmade soap?
Absolutely! You can customize your soap bars with a variety of colors, scents, and even exfoliants to create unique and personalized soaps. Make sure to use skin-safe and soap-compatible additives for the best results.
- What are some common issues faced during soap making?
Common issues in soap making include lye miscalculations, seizing (when the soap mixture thickens too quickly), acceleration (when the soap mixture speeds up its chemical reaction), or fragrance fading. Understanding these issues can help troubleshoot and prevent them in your soap-making process.