How to Set Up a Smart Thermostat in Your Home
Setting up a smart thermostat in your home can revolutionize the way you control your heating and cooling systems. Not only does it offer convenience, but it also helps in saving energy and reducing utility costs. The process may seem daunting at first, but with the right guidance, you can easily install and configure a smart thermostat in your home.
First and foremost, it is crucial to choose the right smart thermostat that suits your needs. Ensure compatibility with your HVAC system and consider features like programmable schedules, remote access, and energy usage reports. Select a thermostat that aligns with your preferences and lifestyle for optimal efficiency.
Gathering the necessary tools before starting the installation is essential. You will need basic tools such as a screwdriver, drill, and level, along with wire labels to identify connections. Additionally, check if the thermostat manufacturer recommends any specific materials for a smooth installation process.
Prior to beginning the installation, always prioritize safety by turning off the power supply to your HVAC system at the circuit breaker. This precautionary measure prevents any electrical mishaps during the installation of the smart thermostat.
Removing the old thermostat carefully is the next step. Take note of the wire connections and label them accordingly. This labeling will make it easier to connect the wires to the new thermostat correctly, ensuring a hassle-free installation.
Now comes the exciting part - installing the new smart thermostat. Mount the device on the wall at a suitable location, connect the labeled wires to the corresponding terminals as per the manufacturer's instructions, and securely fasten the thermostat in place.
Once the physical installation is complete, it's time to connect the smart thermostat to your home's Wi-Fi network. Follow the setup guidelines provided by the manufacturer to establish a connection, enabling remote access and control via a dedicated mobile app or web portal.
Setting up a personalized schedule on the thermostat is crucial for optimizing energy usage. Program the thermostat to adjust temperatures based on your household's routine, ensuring comfort when needed and energy savings when away.
Lastly, take the time to explore and optimize the thermostat settings. Adjust temperature preferences, experiment with features like geofencing for automatic adjustments based on your location, and utilize learning algorithms to fine-tune the thermostat for maximum efficiency and comfort in your living space.
By following these steps diligently, you can successfully set up a smart thermostat in your home, enhancing energy efficiency, convenience, and comfort while reducing utility costs.

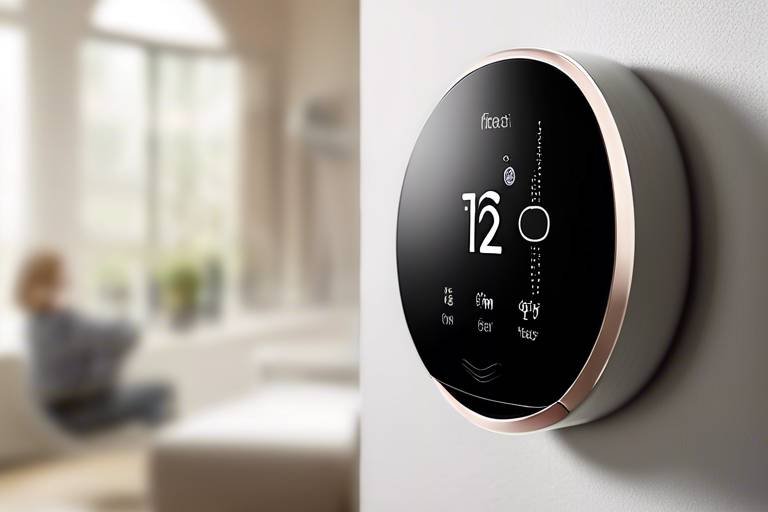
Choose the Right Thermostat
When it comes to selecting the perfect smart thermostat for your home, there are several key factors to consider. First and foremost, you need to ensure that the thermostat is compatible with your HVAC system. Check the specifications provided by the manufacturer to guarantee a seamless integration with your heating and cooling setup.
Additionally, think about the features that matter most to you. Do you prioritize energy-saving capabilities, such as learning algorithms that adjust temperature settings based on your habits? Or perhaps you value remote access through a user-friendly mobile app for convenient control while you're away from home.
Design is another aspect to keep in mind. Some smart thermostats offer sleek, modern designs that blend seamlessly with your home decor, while others come with customizable display options to match your style preferences.
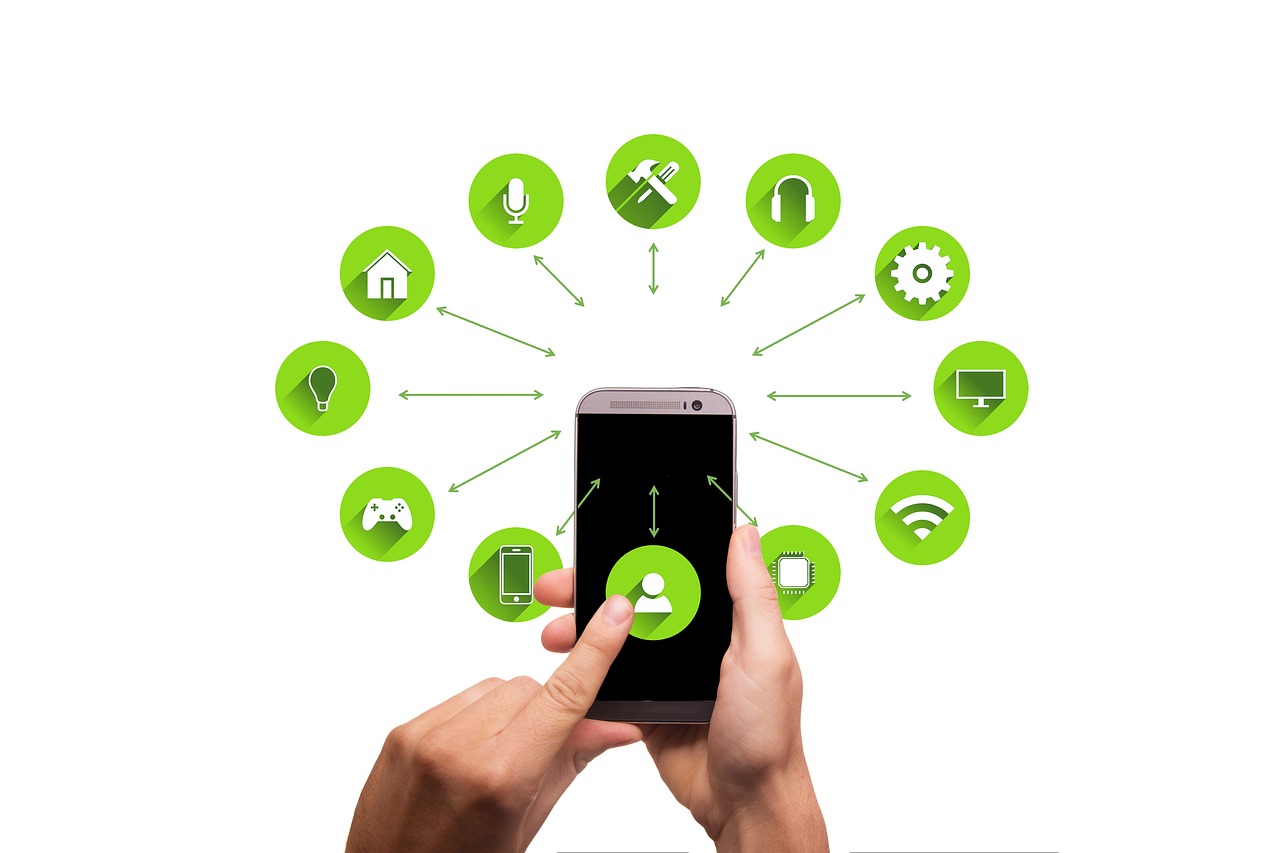
Moreover, consider the connectivity options available. Do you want a thermostat that can be integrated with other smart home devices, such as voice assistants or lighting systems? Make sure to choose a thermostat that aligns with your existing smart home setup for a cohesive and interconnected experience.

Gather Necessary Tools
When it comes to setting up a smart thermostat in your home, having the necessary tools on hand is crucial for a smooth installation process. Before you begin, gather the essential tools required to ensure everything goes according to plan. These tools include a screwdriver, drill, level, wire labels, and any additional materials recommended by the thermostat manufacturer.
Having a screwdriver will allow you to remove the old thermostat and secure the new one in place. A drill may be needed to create holes for mounting the new thermostat on the wall. A level will ensure that the thermostat is installed straight and evenly. Wire labels are essential for keeping track of the wires during the installation process, making it easier to connect them to the new device accurately.
It's important to follow the manufacturer's recommendations regarding additional materials that may be needed for your specific smart thermostat model. By having all the necessary tools ready before you start, you can streamline the installation process and avoid any delays or complications along the way.

Turn Off Power
Before you start the installation process of your new smart thermostat, it is crucial to prioritize safety by turning off the power to your HVAC system. This step is essential to prevent any electrical mishaps and ensure a smooth installation experience. Imagine this as the moment before a magician performs a grand trick, where the lights dim, creating an air of anticipation and caution.
To turn off the power, locate the circuit breaker that controls your heating and cooling system. It's like finding the switch to turn off a noisy machine; in this case, the silence indicates that the power is successfully cut off. Once you have located the correct breaker, switch it off to disconnect the power supply to your HVAC system completely. This action is akin to hitting the pause button before a thrilling scene in a movie, setting the stage for the next exciting act.
After turning off the power, double-check to ensure that the electricity is indeed off before proceeding with the installation. This verification step is akin to making sure the coast is clear before embarking on an adventurous journey. You wouldn't want any unexpected surprises along the way, so taking this extra precaution is key to a successful thermostat setup.
Remember, safety always comes first when dealing with electrical components. By turning off the power at the circuit breaker, you are not only safeguarding yourself but also protecting your HVAC system from any potential damage during the installation process. It's like putting on a helmet before riding a bike – a necessary precaution to ensure a smooth and secure ride.

Remove Old Thermostat
When it comes to upgrading to a smart thermostat, the first step is to bid farewell to your old, traditional thermostat. This process requires careful attention to detail to ensure a smooth transition to the new device. Begin by turning off the power to your HVAC system at the circuit breaker. Safety should always come first in any home improvement project. Once the power is off, you can proceed to remove the old thermostat from the wall. Take your time with this step to avoid damaging the wall or the wires behind the thermostat.
As you detach the old thermostat, you will notice several wires connected to it. It's crucial to remember the arrangement of these wires as you disconnect them. To make the installation of the new thermostat easier, use wire labels to mark each wire according to its terminal. This labeling will prevent confusion later on and streamline the setup process for your smart thermostat.
After carefully removing the old thermostat and labeling the wires, inspect the wall to ensure it is in good condition for installing the new device. Any repairs or adjustments needed should be addressed before proceeding further. Once the wall is ready, you can move on to mounting the new smart thermostat in place of the old one.
Remember, the removal of the old thermostat is a critical step in the installation process. Take your time, follow the manufacturer's instructions, and double-check the wiring before proceeding to the next phase. By handling this step with care and precision, you set the stage for a successful upgrade to a smart thermostat that will enhance your home's energy efficiency and comfort levels.
Install New Thermostat
When it comes to installing a new smart thermostat in your home, it's essential to follow the manufacturer's instructions carefully to ensure a smooth and successful setup process. The first step is to locate the ideal spot on your wall where the thermostat will be mounted. Make sure it is easily accessible and away from any obstructions that could affect its functionality.
Before mounting the new thermostat, it's crucial to turn off the power to your HVAC system at the circuit breaker to avoid any electrical mishaps. Safety should always be a top priority when dealing with any electrical components in your home. Once the power is off, you can proceed with removing the old thermostat from the wall.
As you detach the old thermostat, take note of the wire connections and label them accordingly. This step will make it much easier to connect the wires to the new thermostat later on. Different thermostat models may have varying wire configurations, so it's essential to keep track of where each wire was connected.
Now, it's time to install the new smart thermostat. Start by mounting the base plate securely on the wall using the provided screws. Make sure it is level to ensure proper alignment. Once the base plate is in place, connect the labeled wires to the corresponding terminals on the thermostat. Refer to the manufacturer's instructions to ensure the correct connections.
After the wires are securely connected, snap the smart thermostat onto the base plate. Ensure that it is firmly attached and level on the wall. Some models may require additional steps for calibration or setup, so be sure to follow the specific guidelines provided by the manufacturer to complete the installation process successfully.
Once the new thermostat is installed, you can power up your HVAC system again and proceed with the setup process. Follow the on-screen prompts or instructions in the user manual to configure the thermostat settings, including connecting it to your home's Wi-Fi network. This connectivity will enable you to control the thermostat remotely through a mobile app or web portal.
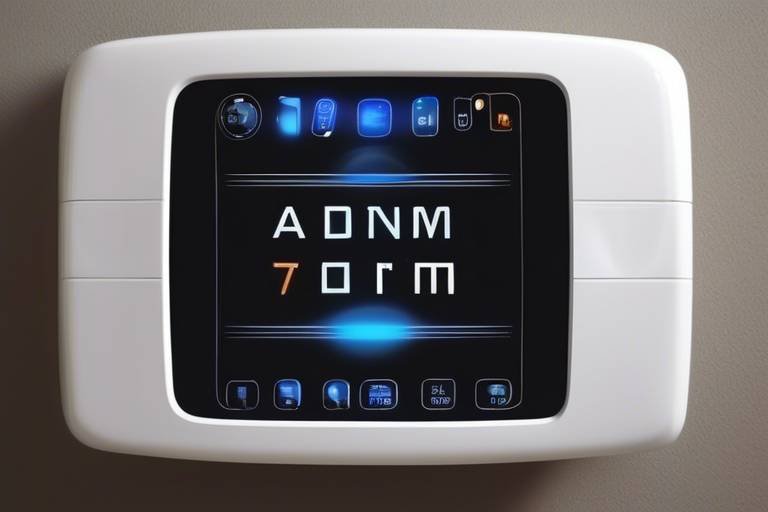
Connect to Wi-Fi
Connecting your smart thermostat to Wi-Fi is a crucial step in unlocking its full potential for remote access and control. By establishing a wireless connection, you can conveniently adjust the temperature settings and monitor your home's heating and cooling system from anywhere using a dedicated mobile app or web portal.
Before initiating the Wi-Fi setup process, ensure that your home network is stable and that you have the necessary credentials, such as the network name and password, readily available. Most smart thermostats are designed to be user-friendly, guiding you through the configuration process with clear instructions on the device's display.
To begin, access the settings menu on your smart thermostat and navigate to the Wi-Fi setup option. Select your home network from the list of available networks and enter the password when prompted. The device will then attempt to establish a secure connection to the network, allowing it to communicate with the accompanying app and central server.
Once the Wi-Fi connection is successfully established, you can customize additional settings, such as setting up alerts and notifications for temperature changes, system malfunctions, or filter replacements. These features enhance the overall efficiency and performance of your HVAC system, ensuring optimal comfort and energy savings.
Furthermore, connecting your smart thermostat to Wi-Fi enables advanced functionalities like geofencing, which uses your smartphone's location to adjust the temperature based on whether you are home or away. This smart technology adapts to your lifestyle, providing personalized comfort while maximizing energy efficiency.
By integrating your smart thermostat into your home network, you join the ranks of modern homeowners embracing smart home technology to streamline their daily routines and reduce energy consumption. Enjoy the convenience of controlling your home's climate settings with just a few taps on your smartphone, anytime and anywhere.
Set Up Scheduling
Setting up scheduling on your smart thermostat is a crucial step in maximizing its efficiency and convenience. By programming the thermostat to align with your household's routine, you can ensure optimal comfort while saving energy and reducing utility costs. Imagine having your home at the perfect temperature exactly when you need it, without any manual adjustments - that's the magic of scheduling with a smart thermostat.
When you dive into setting up the scheduling feature, you'll have the opportunity to create customized temperature settings for different times of the day. Whether you prefer a cozy warmth in the morning, a slightly cooler environment during the day, and a comfortable temperature in the evening, your smart thermostat can adapt to your preferences seamlessly.
Moreover, scheduling allows you to take advantage of energy-saving opportunities by adjusting the temperature when you're away from home or asleep. With just a few taps on your smartphone or computer, you can set your thermostat to lower the temperature when you're out and raise it before you return, ensuring comfort upon your arrival without wasting energy while you're away.
Additionally, some smart thermostats offer advanced features like geofencing, which uses your smartphone's location to automatically adjust the temperature based on whether you're home or away. This hands-free approach to temperature control adds a layer of convenience to your daily life, ensuring that your home is always at the perfect temperature without any manual intervention.
By setting up scheduling on your smart thermostat, you're not only enhancing the comfort and convenience of your living space but also contributing to a more energy-efficient and sustainable lifestyle. With the power to tailor your home's temperature settings to your unique routine, you can enjoy a cozy environment while reducing your carbon footprint and utility bills.

Optimize Settings
When it comes to optimizing the settings of your smart thermostat, it's essential to delve into the various features and functionalities it offers to maximize energy efficiency and comfort in your home. One key aspect to focus on is adjusting the temperature settings according to your preferences and daily routine. By fine-tuning the temperature based on when you are at home or away, you can ensure that energy is not wasted on heating or cooling an empty house.
Additionally, explore advanced features such as geofencing, which uses your smartphone's location to automatically adjust the temperature when you leave or return home. This smart technology can help save energy by ensuring that your HVAC system isn't running unnecessarily when no one is home. By leveraging geofencing, you can enjoy a comfortable indoor environment while reducing energy consumption.
Another important aspect of optimizing your smart thermostat settings is to take advantage of learning algorithms. Some smart thermostats have the ability to learn your temperature preferences over time and adjust the settings accordingly. This adaptive technology can help create a personalized heating and cooling schedule that aligns with your comfort needs while maximizing energy savings.
Furthermore, consider exploring additional settings and features offered by your smart thermostat, such as humidity control, fan circulation, and energy usage reports. By customizing these settings to suit your lifestyle and preferences, you can create an ideal indoor environment that is both energy-efficient and comfortable.
Frequently Asked Questions
- 1. Can I install a smart thermostat myself, or do I need professional help?
Installing a smart thermostat can be a DIY project for those with basic knowledge of electrical systems. However, if you are unsure or uncomfortable working with wiring and HVAC systems, it is recommended to seek professional assistance to ensure a safe and proper installation.
- 2. Will a smart thermostat work with my existing HVAC system?
Most smart thermostats are compatible with a wide range of HVAC systems, including central heating and cooling systems. Before purchasing a smart thermostat, it is advisable to check the compatibility with your specific HVAC system to ensure seamless integration.
- 3. How does a smart thermostat help save energy and reduce utility costs?
A smart thermostat allows you to create customized heating and cooling schedules, adjust settings remotely, and optimize energy usage based on your preferences and habits. By efficiently managing your home's temperature, a smart thermostat can lead to energy savings and lower utility bills over time.
- 4. Is it necessary to connect a smart thermostat to Wi-Fi?
Connecting your smart thermostat to Wi-Fi enables remote access and control through a mobile app or web portal. This feature allows you to adjust settings, monitor energy usage, and receive alerts from anywhere, enhancing convenience and efficiency in managing your home's temperature.
- 5. Can a smart thermostat learn my temperature preferences?
Some smart thermostats are equipped with learning algorithms that analyze your behavior and adjust settings automatically to maintain a comfortable environment. By adapting to your preferences over time, these devices offer personalized comfort and energy savings without the need for constant manual adjustments.