How to Create a DIY Bulletin Board for Organization
This article is your ultimate guide to creating a DIY bulletin board that will revolutionize your organization game. Say goodbye to scattered notes, forgotten reminders, and chaotic to-do lists. With a personalized bulletin board, you can keep track of everything important in one central place, whether it's in your home office, kitchen, or workspace.
Let's dive into the exciting world of DIY bulletin boards and unleash your creativity while boosting your productivity. Are you ready to embark on this organizational journey that will bring both style and functionality to your space?
First things first, gather all the necessary materials to kickstart your project. You'll need a corkboard as the base, along with fabric to cover it, scissors for cutting, glue for securing, and any decorative elements that speak to your unique style. Think of this as your blank canvas, waiting to be transformed into a practical work of art.
Once you have your materials in hand, it's time to prepare the corkboard for its makeover. Cut the fabric to fit the corkboard perfectly, ensuring a snug and smooth finish. Glue the fabric in place, making sure there are no wrinkles or creases that could hinder your pinning abilities. Your bulletin board is now ready to come to life!
But why stop there? Let's add some decorative touches to elevate the aesthetic appeal of your board. Ribbons, buttons, stickers - the options are endless. Personalize your bulletin board to reflect your personality and make it a focal point in your space. After all, organization doesn't have to be boring; it can be a delightful visual experience.
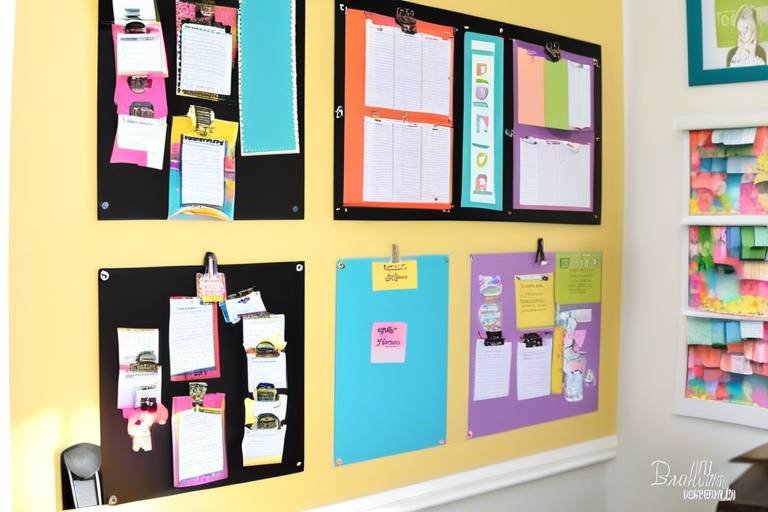
Now, it's time to think about the practical aspect of organizing your space. Choose a strategic location to hang your bulletin board, ensuring it's easily accessible and visible. Whether it's above your desk, in the kitchen, or by the entryway, placement matters. Divide your board into sections based on your needs - a calendar, to-do list, inspirational quotes, or reminders. Keep everything neatly categorized for maximum efficiency.
Utilize pins, clips, or magnets to secure your notes, photos, and other essentials on the board. Keep everything in place and within reach, so you never miss a beat. And don't forget to regularly update and maintain your bulletin board. Clear out the old, add the new, and keep it clutter-free for a seamless organization process.
Lastly, inject your personal flair into the bulletin board. Choose colors, patterns, and decorations that resonate with you and complement your space. Your DIY creation should not only be functional but also a reflection of your style and taste. Embrace the process of crafting a bulletin board that is as unique as you are.
Gather Necessary Materials
When embarking on the journey of creating your very own DIY bulletin board, the first step is to . To bring your vision to life, you will need a few essential supplies. Start by acquiring a corkboard as the base of your bulletin board. This will serve as the foundation for your organizational masterpiece. Additionally, gather fabric to cover the corkboard, scissors for cutting the fabric to size, glue to secure the fabric in place, and any decorative elements that resonate with your personal style.
Prepare the Corkboard
When it comes to creating a DIY bulletin board for organization, preparing the corkboard is a crucial step in ensuring a functional and visually appealing final product. To start, gather a corkboard of suitable size, fabric that complements your space, scissors, and glue. These materials will form the foundation of your bulletin board, providing a sturdy surface for pinning notes and reminders.
Once you have all the necessary materials, it's time to prepare the corkboard for customization. Begin by cutting the fabric to fit the dimensions of the corkboard, leaving some excess to wrap around the edges. This extra fabric will ensure a neat finish and prevent any fraying over time. Secure the fabric in place using glue, ensuring a smooth and wrinkle-free surface for pinning notes effectively.
To add a personal touch to your bulletin board, consider incorporating decorative elements such as ribbons, buttons, or stickers. These embellishments not only enhance the visual appeal of the board but also make it uniquely yours. Experiment with different combinations to create a design that reflects your style and personality.
As you prepare the corkboard, think about the functionality of the final product. Consider the layout of your space and where the bulletin board will be placed for easy access. Whether in your home office or kitchen, choose a location that is both convenient and visible, ensuring that important information is always within reach.
By carefully preparing the corkboard, you set the foundation for a well-organized and personalized bulletin board that will help you stay on top of your tasks and commitments. Take the time to create a space that inspires productivity and creativity, making the most of this DIY project to enhance your organization skills.
Add Decorative Touches
When it comes to creating a DIY bulletin board, adding decorative touches can take your project to the next level. These embellishments not only enhance the visual appeal of your bulletin board but also add a personal touch that makes it uniquely yours. From ribbons to buttons to stickers, there are countless ways to customize your bulletin board and make it stand out in your home or office.
One popular way to add decorative touches is by incorporating colorful ribbons. You can use ribbons to create borders around the edges of the corkboard or to divide sections for different purposes. The vibrant colors and textures of the ribbons can bring a pop of personality to your bulletin board, making it both functional and aesthetically pleasing.
Buttons are another fun and creative option for embellishing your bulletin board. Whether you choose vintage buttons for a nostalgic feel or bright, modern buttons for a pop of color, these small embellishments can add charm and character to your board. You can use buttons to pin up notes or photos, or simply scatter them across the fabric for a whimsical touch.
If you're looking for a quick and easy way to add flair to your bulletin board, stickers are a convenient option. With a wide variety of designs and themes available, you can find stickers to suit any style or interest. Whether you prefer floral patterns, geometric shapes, or cute animals, stickers allow you to personalize your bulletin board with minimal effort.
Organize Your Space
When it comes to organizing your space with a DIY bulletin board, it's essential to consider both functionality and aesthetics. The placement of your bulletin board can significantly impact its usefulness in your daily life. Think about where you spend the most time in your home or office and choose a location that is easily accessible. It could be near your desk, in the kitchen, or by the entryway where you often drop important items.
Additionally, consider the height at which you'll hang the bulletin board. Make sure it's at eye level so you can easily see and access the information pinned on it. This will prevent you from straining your neck or having to bend down every time you need to check a note or reminder.
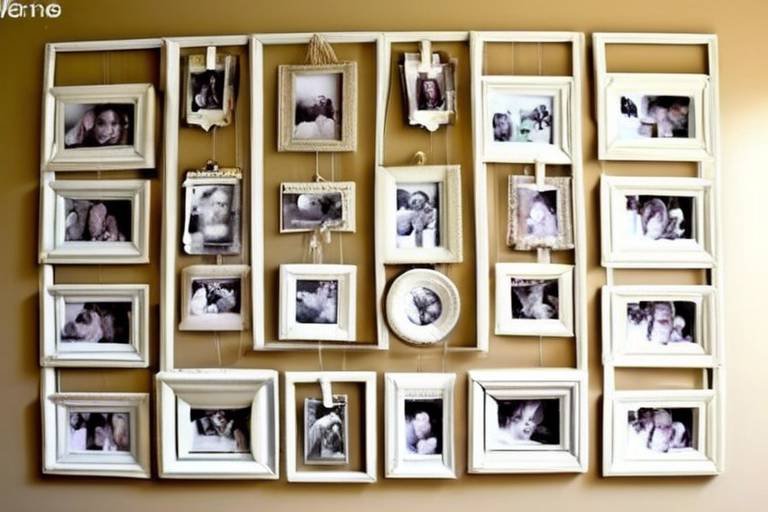
If you have multiple bulletin boards or other wall decorations in the same area, ensure they are spaced out evenly to avoid visual clutter. Creating a designated space for your bulletin board will not only help you stay organized but also add a touch of personalization to your surroundings.
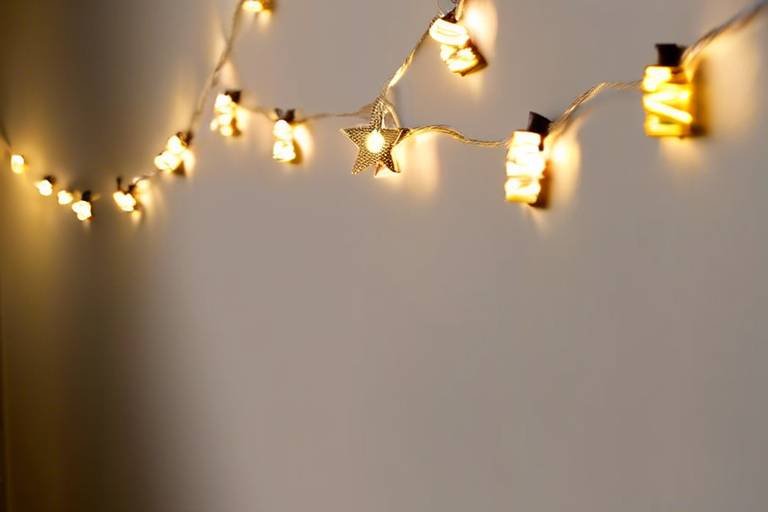
Furthermore, think about the lighting in the area where you plan to hang your bulletin board. Natural light can enhance visibility and make it easier to read notes and messages. If natural light is limited, consider adding a small lamp or light source nearby to illuminate the board effectively.
Arrange Sections
When it comes to creating a DIY bulletin board for organization, one crucial step is to arrange sections effectively. Think of your bulletin board as a canvas waiting to be filled with different compartments for various purposes. By dividing the board into sections, you can easily categorize and locate specific information whenever needed. Whether it's a calendar section to mark important dates or a space for inspirational quotes to boost your motivation, organizing your bulletin board into sections ensures a structured and efficient way to manage your tasks and reminders.
Utilize Pins and Clips
When it comes to organizing your bulletin board effectively, one of the key elements to utilize is the use of pins and clips. These simple yet versatile tools can help you keep your notes, photos, and other items securely in place, preventing them from getting lost or misplaced.
By using pins, you can easily attach papers, reminders, and important documents to the corkboard, ensuring they stay visible and easily accessible. Whether it's a grocery list, a favorite recipe, or a motivational quote, pins can help keep your information organized and within reach.
Clips, on the other hand, offer a convenient way to secure larger items such as photos, postcards, or printed materials. They can hold multiple sheets together without the need for punching holes, making them ideal for keeping related items grouped together on your bulletin board.
Consider creating designated areas on your bulletin board for specific types of pins and clips. For example, you could use colorful pins for urgent reminders or time-sensitive tasks, while using decorative clips for holding inspirational images or cards.
Experiment with different types of pins and clips to add a touch of personality to your bulletin board. Whether you prefer classic push pins, cute shaped clips, or magnetic holders, choose options that not only serve a practical purpose but also enhance the overall look of your organizational space.
Remember to regularly rearrange and update the items on your bulletin board to keep it fresh and engaging. By utilizing pins and clips effectively, you can create a visually appealing and functional display that helps you stay on top of your tasks and goals.
Personalize Your Board
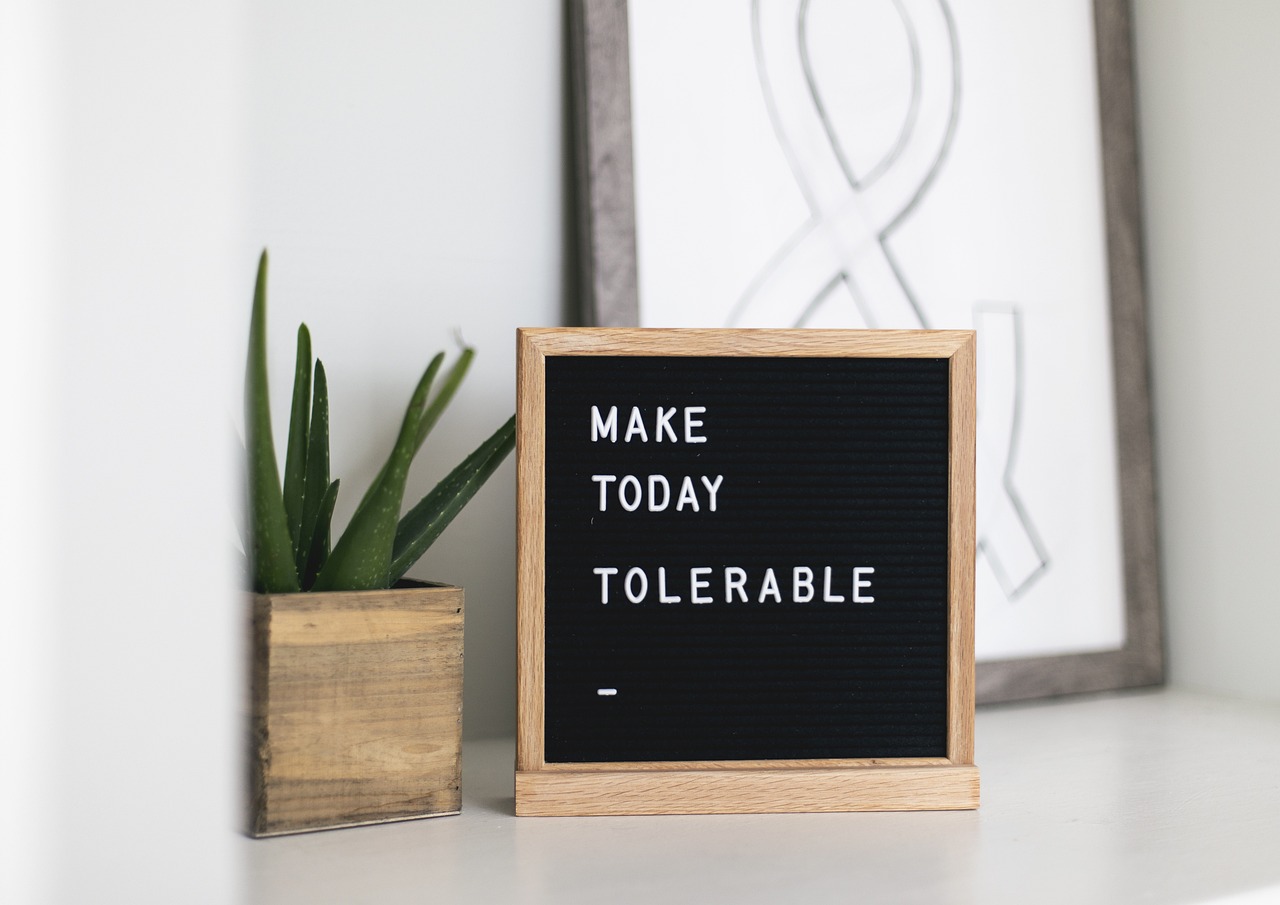
Personalizing your bulletin board is a fun and creative way to make it truly unique to you. Consider incorporating colors, patterns, and decorations that reflect your personality and style. Whether you prefer a minimalist design with neutral tones or a vibrant and colorful look, the choice is yours to make your bulletin board a reflection of your taste.
Maintain and Update Regularly
When it comes to maintaining and updating your DIY bulletin board regularly, consistency is key to ensuring its effectiveness in keeping you organized. By dedicating a small amount of time on a regular basis, you can prevent clutter from building up and ensure that your bulletin board remains a functional and visually appealing part of your space.
One important aspect of maintaining your bulletin board is to periodically review the items pinned to it. Remove any outdated notes, expired reminders, or completed tasks to prevent unnecessary clutter. This practice will not only keep your board looking tidy but also make it easier to find the information you need at a glance.
Updating your bulletin board with fresh content is essential to its usefulness. Consider adding new to-do lists, upcoming events, inspiring quotes, or important reminders to keep the information current and relevant. By regularly updating the content on your board, you can ensure that it continues to serve its purpose as a valuable organizational tool.
Another aspect of maintenance is to check the condition of your bulletin board itself. Ensure that the fabric covering is securely attached and free of any tears or wrinkles that could hinder pinning items effectively. If needed, replace the fabric or make any repairs to maintain the functionality and aesthetics of your bulletin board.
Creating a schedule for updating your bulletin board can help you stay on track with keeping it organized. Whether you choose to refresh the content weekly, bi-weekly, or monthly, having a routine in place will make it easier to stay consistent with maintaining and updating your board. Find a frequency that works best for your needs and stick to it for optimal organization.
Frequently Asked Questions
- What materials do I need to create a DIY bulletin board?
To create a DIY bulletin board, you will need a corkboard, fabric, scissors, glue, and decorative elements such as ribbons, buttons, or stickers to personalize your board.
- How do I prepare the corkboard for the project?
You can prepare the corkboard by cutting the fabric to fit its size and then gluing it in place to ensure a smooth and wrinkle-free surface for pinning notes and reminders.
- How can I maintain and update my DIY bulletin board regularly?
To maintain your bulletin board, make it a habit to remove old items, add new notes, and keep it clutter-free. Regular updates will ensure optimal organization and functionality.