How to Create a DIY Gardening Apron
This article will guide you through the process of creating your very own gardening apron from scratch. Whether you are an experienced gardener or just dipping your toes into the world of gardening, a personalized apron can not only add a touch of style but also enhance the functionality of your gardening routine.
First and foremost, let's talk about gathering the necessary materials for this DIY project. You will need fabric, scissors, measuring tape, and sewing supplies. It's crucial to choose durable and washable fabrics to ensure the longevity of your gardening apron. After all, it will be your trusty companion during all your gardening adventures.
Once you have all your materials ready, the next step is measuring and cutting the fabric. Proper measurements are key to achieving a comfortable fit and ensuring that your apron serves its purpose seamlessly while you are busy tending to your plants. Precision is essential here!
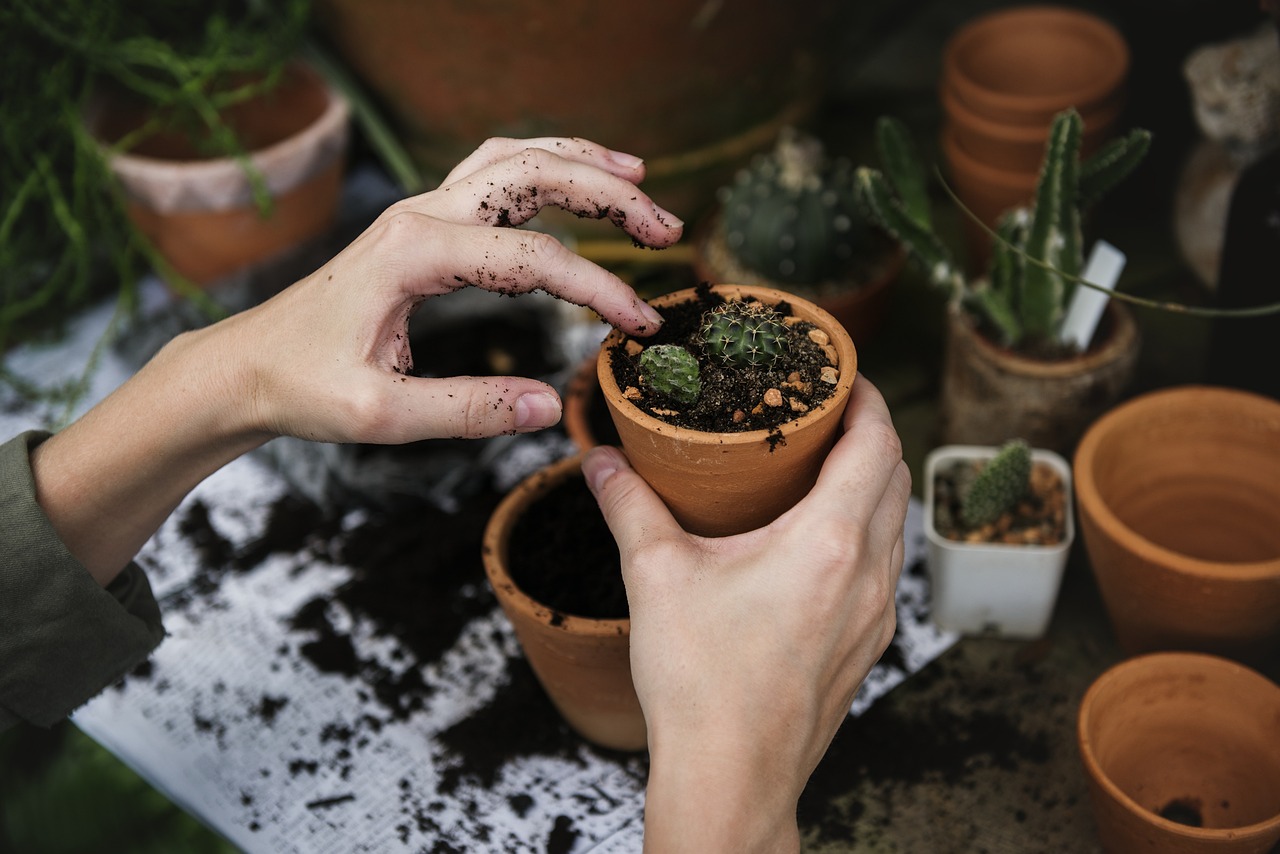
Now, let's dive into sewing the pockets onto your apron. These pockets will be your handy storage for tools, seeds, and any other gardening essentials you may need while working in your garden. Feel free to customize the size and quantity of pockets based on your personal preferences and requirements.
After sewing the pockets, it's time to focus on adding the straps and fasteners to your apron. The way you attach these elements can greatly impact the comfort and practicality of your apron during various gardening tasks. Adjustable straps and secure fasteners are key features to consider.
Once the functional aspects are in place, you can move on to the fun part – decorating and personalizing your gardening apron. Get creative with embellishments, patches, or even embroidery to make your apron truly unique and reflective of your gardening style and personality.
Next, let's talk about reinforcing seams and edges. This step is essential to ensure the durability of your apron. By reinforcing the seams and edges properly, you can prevent fraying and strengthen the apron for long-term use in the garden.
As you near the end of the DIY journey, focus on adding those final touches and finishing details to your apron. Trimmings and additional features can elevate the overall look of the apron and give it a polished appearance, perfect for all your gardening activities.
Lastly, don't forget about practical tips for maintaining your DIY gardening apron. Proper care and cleaning routines will help prolong the lifespan of your apron and keep it in top condition for all your future gardening endeavors. Treat your apron well, and it will serve you faithfully!
Gathering Materials
When embarking on the journey of creating your own DIY gardening apron, the first step is to gather all the necessary materials. To start off on the right foot, make sure to prepare a list of essential items required for this project. These materials typically include high-quality fabric, a sturdy pair of scissors, a measuring tape for accurate sizing, and various sewing supplies. Opting for durable and washable fabrics is crucial to ensure that your gardening apron stands the test of time amidst soil, water, and plant debris.
Choosing the right fabric is key to the functionality and longevity of your gardening apron. Fabrics that are easy to clean and maintain will make your gardening experience more enjoyable and hassle-free. Additionally, selecting a fabric that resonates with your personal style and preferences can add a touch of flair to your DIY creation.
Once you have gathered all the necessary materials, you are one step closer to crafting a personalized gardening apron that suits your needs and reflects your unique taste. The process of gathering materials sets the foundation for a successful DIY project, ensuring that you have everything you need at your fingertips to bring your apron to life.
Measuring and Cutting Fabric
When it comes to creating a DIY gardening apron, one of the crucial steps is measuring and cutting the fabric. This process sets the foundation for the entire project, ensuring that the apron fits comfortably and functions effectively while you're tending to your garden. Before you dive into this step, gather your chosen fabric, scissors, measuring tape, and any other sewing supplies you may need.
Start by laying out your fabric on a flat surface, ensuring it is smooth and free of wrinkles. Using a measuring tape, determine the dimensions you want for your apron. Consider factors like length, width, and any additional features you may want to incorporate, such as pockets or embellishments. Accurate measurements are key to creating a well-fitting apron that meets your gardening needs.
Once you have marked the measurements on the fabric, carefully cut along the lines using sharp scissors. Take your time during this step to ensure precision and avoid any jagged edges or uneven cuts. Remember, the quality of your cutting will impact the overall look and functionality of the apron, so attention to detail is crucial.
If you are planning to add pockets to your apron, this is the stage where you can also cut out the fabric pieces for the pockets. Consider the size and placement of the pockets based on your gardening tools and accessories. Whether you prefer large, spacious pockets or smaller compartments for specific items, tailor the pocket design to suit your gardening style.
Sewing the Pockets
This article provides step-by-step instructions on making your own gardening apron. Whether you're a seasoned gardener or just starting out, a personalized apron can add style and functionality to your gardening routine.
When it comes to sewing the pockets for your gardening apron, precision and functionality are key. Pockets serve as essential storage spaces for your gardening tools, seeds, and other necessities while working in the garden. To ensure your pockets are durable and practical, consider the following steps:
Firstly, select the fabric for your pockets that is sturdy and can withstand the weight of your gardening tools. Reinforcing the edges of the pockets with a double stitch can prevent tearing and ensure longevity.
Next, determine the size and placement of the pockets on your apron. Consider the accessibility and convenience of reaching into the pockets while wearing the apron. You can create multiple pockets of varying sizes to accommodate different tools and items.
When sewing the pockets onto the apron, use a strong thread that can withstand frequent use and weight. Double stitching the pockets along the edges and attaching them securely to the apron will prevent them from sagging or coming loose during gardening activities.
For added functionality, consider adding dividers within the pockets to keep smaller items organized and easily accessible. This will prevent tools from getting tangled and make it convenient to find what you need while gardening.
Lastly, personalize the pockets with decorative elements such as contrasting trim or embroidery to add a touch of style to your gardening apron. Adding embellishments not only enhances the aesthetic appeal but also makes the apron uniquely yours.
By following these steps and paying attention to detail, you can create sturdy and practical pockets for your DIY gardening apron that will enhance your gardening experience and keep your tools within reach.
Do you have any questions about creating your own DIY gardening apron? Check out the frequently asked questions below for more insights:
- Q: Can I use different types of fabric for the pockets?
- A: Yes, you can choose a variety of fabrics based on your preferences, but make sure they are durable and easy to clean for practicality.
- Q: How many pockets should I include in my gardening apron?
- A: The number of pockets is entirely up to you and depends on your gardening needs. Consider adding enough pockets to hold your essential tools and supplies.
- Q: Is it necessary to reinforce the pocket seams?
- A: Reinforcing the pocket seams is recommended to prevent tearing and ensure the longevity of the pockets, especially with frequent use.
Adding Straps and Fasteners
When it comes to adding straps and fasteners to your DIY gardening apron, there are various methods you can explore to ensure both comfort and practicality. The straps play a crucial role in providing a secure fit while working in the garden, allowing you to move freely without any restrictions. Additionally, fasteners help in keeping the apron in place, preventing it from shifting or coming loose during gardening tasks.
One popular option for straps is using adjustable ones, which allow you to customize the length to your preference. This feature is especially useful if multiple people of different sizes will be using the apron. Adjustable straps ensure a comfortable fit for everyone, making the apron versatile and accommodating.
When it comes to fasteners, consider using secure options such as buckles or snaps. These fastening mechanisms provide a reliable closure, keeping the apron securely fastened around your waist. By choosing sturdy and durable fasteners, you can ensure that the apron stays in place even during vigorous gardening activities.
Another creative idea is to incorporate decorative elements into the straps and fasteners. You can use colorful ribbons, buttons, or even embroidery to add a personalized touch to your apron. These embellishments not only enhance the aesthetic appeal of the apron but also make it uniquely yours, reflecting your style and personality.
Before finalizing the attachment of the straps and fasteners, ensure that they are securely sewn onto the apron. Reinforce the stitching at the attachment points to prevent any strain or tearing, especially when the apron is loaded with tools and supplies. Strong and durable stitching will ensure that the straps and fasteners withstand the rigors of gardening activities.
Decorating and Personalizing
When it comes to decorating and personalizing your DIY gardening apron, the possibilities are endless. You can truly make it your own by adding unique touches that reflect your personality and gardening style. One popular option is to incorporate decorative patches or embroidery that showcase your favorite flowers, plants, or gardening quotes. These embellishments not only add visual interest but also make your apron one-of-a-kind.
Another way to personalize your gardening apron is by choosing fabric patterns or colors that resonate with you. Whether you prefer vibrant florals, earthy tones, or whimsical designs, selecting a fabric that speaks to your aesthetic can elevate the overall look of the apron. Additionally, consider adding trimmings such as lace or ribbon to enhance the edges and give the apron a charming finish.
If you're feeling particularly crafty, you can experiment with fabric paints or markers to create custom designs on your apron. Whether you opt for a simple monogram, a colorful pattern, or a playful illustration, painting directly onto the fabric allows for endless creative possibilities. Just be sure to let the paint dry completely before using the apron to avoid any smudges or smears.
For those who enjoy a more minimalist approach, subtle personalization touches like decorative buttons, appliques, or even a small pocket for holding a plant label can add a touch of uniqueness to your apron. Remember, the goal is to make your gardening apron not only practical but also a reflection of your individual style and creativity.

Reinforcing Seams and Edges
When it comes to creating a durable and long-lasting DIY gardening apron, reinforcing seams and edges is a crucial step in the process. By reinforcing these areas, you can ensure that your apron withstands the rigors of gardening activities and remains in good condition for years to come.
One effective way to reinforce seams and edges is by using a technique called topstitching. This involves stitching along the edges of the fabric, both for decorative purposes and to provide extra strength. By sewing a second line of stitching close to the edge, you can prevent fraying and add durability to the apron.
Another method for reinforcing seams is by using binding tape. Binding tape is a narrow strip of fabric that is folded in half and used to encase raw edges. By applying binding tape to the seams of your apron, you can protect the edges from fraying and create a clean, professional finish.
For added reinforcement, consider double stitching critical seams and edges. Double stitching involves sewing two parallel lines of stitching, which adds extra strength and stability to the seams. This technique is particularly useful for areas of the apron that will undergo heavy use or strain.
Additionally, serging is a method commonly used to reinforce edges and prevent fraying. A serger is a type of sewing machine that trims the seam allowance and encases the raw edge in thread, creating a clean and secure finish. By serging the edges of your gardening apron, you can protect the fabric from unraveling and enhance the overall durability of the garment.
Remember, reinforcing seams and edges is not only about functionality but also about aesthetics. By taking the time to reinforce these areas using the right techniques, you can create a professional-looking gardening apron that is built to last.

Final Touches and Finishing
Final touches and finishing are crucial steps in creating a DIY gardening apron that not only looks great but also functions effectively. Once you have completed the main construction of the apron, it's time to add those extra details that will elevate its appearance and usability.
One popular way to enhance the aesthetic appeal of your gardening apron is by adding decorative trimmings. Whether it's a colorful ribbon, a patterned bias tape, or a row of decorative stitching, these small additions can make a big difference in the overall look of the apron. Consider using contrasting colors or textures to create a visually striking design that reflects your personal style.
In addition to trimmings, you can also incorporate practical features into the apron during the finishing stage. For example, attaching a loop or clip for hanging tools can make it easier to access frequently used items while gardening. You can also sew on additional pockets or compartments for storing specific tools or accessories, keeping everything you need within easy reach.
When adding final touches to your gardening apron, think about both form and function. While decorative elements can be visually appealing, it's important to ensure that they do not impede the apron's usability. Make sure that any embellishments are securely attached and do not interfere with the apron's ability to protect your clothing and hold essential gardening items.
Lastly, consider the overall presentation of your apron. Is there a particular theme or motif that you want to convey through your design choices? Adding personalized touches such as embroidered initials, appliqued designs, or themed patches can give your gardening apron a unique and distinctive look that sets it apart from generic store-bought options.

Practical Tips for Maintenance
Keeping your DIY gardening apron in top condition is essential for long-lasting use. Here are some practical tips to help you maintain and care for your apron:
1. Regular Cleaning: It's important to regularly clean your gardening apron to remove dirt, stains, and debris accumulated during gardening activities. Follow the care instructions specific to the fabric used to ensure proper cleaning without damaging the apron.
2. Storage: When not in use, store your apron in a cool, dry place to prevent mold or mildew growth. Hanging the apron or folding it neatly can help maintain its shape and prevent wrinkles.
3. Repairing Seams: Check the seams of your apron regularly for any signs of wear or loose threads. Repair any loose seams promptly to prevent further damage and ensure the apron remains sturdy and functional.
4. Avoid Harsh Chemicals: When cleaning your apron, avoid using harsh chemicals or bleach that can weaken the fabric and cause discoloration. Opt for gentle detergents and spot cleaning for targeted stain removal.
5. Air Drying: After washing, air dry your gardening apron instead of using a dryer. This helps preserve the fabric and prevents shrinkage or damage that can occur from high heat.
6. Check Fasteners: Periodically inspect the straps, buckles, or fasteners on your apron for any signs of damage or wear. Replace any damaged fasteners to ensure a secure fit and comfortable wear during gardening tasks.
By following these practical maintenance tips, you can extend the lifespan of your DIY gardening apron and continue to enjoy its functionality and style for many gardening seasons to come.
Frequently Asked Questions
- Can I use any type of fabric for making a gardening apron?
It is recommended to use durable and washable fabrics for making a gardening apron to ensure longevity and easy maintenance. Fabrics like canvas or denim work well due to their sturdiness and ability to withstand outdoor conditions.
- Do I need advanced sewing skills to create a DIY gardening apron?
No, basic sewing skills are sufficient to create a DIY gardening apron. The instructions provided in the article are beginner-friendly and guide you through each step of the process, making it accessible to individuals of all sewing levels.
- How can I personalize my gardening apron?
You can personalize your gardening apron by adding embellishments like patches, embroidery, or decorative trimmings. These personal touches not only make the apron unique but also reflect your individual style and creativity.
- What are some practical tips for maintaining a DIY gardening apron?
To maintain your DIY gardening apron, it is recommended to spot clean any dirt or stains promptly. Regularly check and reinforce seams to prevent fraying, and follow the manufacturer's instructions for washing and drying to prolong the apron's lifespan.