How to Make Traditional Polish Pierogi at Home
Making traditional Polish pierogi at home is a delightful culinary adventure that brings the flavors of Poland right to your kitchen. These beloved dumplings are a staple in Polish cuisine, loved for their comforting taste and versatility. Whether you're a seasoned cook or a beginner in the kitchen, crafting pierogi from scratch is a rewarding experience that will impress your family and friends.
To start your pierogi-making journey, you'll need to gather the essential ingredients for the dough. Simple yet crucial, the dough consists of basic pantry staples like flour, water, eggs, and a pinch of salt. These humble components come together to form a soft, pliable dough that serves as the perfect vessel for the flavorful fillings that await.
Once you have your dough ready, it's time to dive into the world of pierogi fillings. From classic potato and cheese to more adventurous combinations like sauerkraut and mushroom or sweet fruit fillings such as blueberry or strawberry, the options are endless. The filling is where you can get creative, infusing your pierogi with your favorite flavors and textures.
With your dough and filling prepared, the next step is to master the art of shaping and sealing the pierogi. Whether you prefer the classic half-moon shape or want to experiment with different designs, ensuring a tight seal is essential to prevent any delicious filling from escaping during cooking.
When it comes to cooking your pierogi, there are various methods to choose from. Boiling is a traditional approach that results in tender dumplings, while pan-frying offers a crispy exterior. For a healthier twist, baking your pierogi in the oven can also yield tasty results. Whichever method you choose, the goal is to achieve a perfect balance of texture and flavor.
Once your pierogi are cooked to perfection, it's time to serve and enjoy them. Whether you opt for a dollop of sour cream, a sprinkle of fried onions, or a garnish of fresh herbs, there are endless ways to elevate your pierogi eating experience. Pair them with a side salad or enjoy them as a standalone dish—the choice is yours.
For those moments when you crave pierogi but don't have the time to make them from scratch, learning how to freeze and reheat these dumplings is a game-changer. By following simple steps, you can stock up on pierogi in your freezer and enjoy them at a moment's notice, making meal prep a breeze.
As you become more comfortable with the traditional pierogi recipe, don't be afraid to explore different variations. Whether you're inspired to try new fillings, experiment with unique shapes, or play with unexpected flavors, the world of pierogi is ripe for exploration. Let your creativity run wild and make these beloved Polish dumplings your own.
Ingredients for Pierogi Dough
When it comes to making traditional Polish pierogi at home, one of the most crucial components is the dough. The perfect pierogi dough should be tender yet sturdy enough to hold the delicious fillings inside. To achieve this, you will need a few simple but essential ingredients.
The main components for the pierogi dough include flour, water, eggs, and salt. These basic ingredients come together to form a versatile dough that can be used for various types of pierogi fillings, from savory to sweet.
Flour serves as the foundation of the dough, providing structure and texture. The water helps bind the ingredients together, while the eggs add richness and flavor. A pinch of salt is essential to enhance the taste of the dough and balance the flavors of the fillings.
Creating the perfect pierogi dough is a delicate balance of these key ingredients, where the right proportions and proper mixing technique can make all the difference in the final result. Whether you prefer a classic potato and cheese filling or a more adventurous sauerkraut and mushroom combination, the dough serves as the canvas for your culinary creations.
Preparing the Pierogi Filling
When it comes to preparing the filling for traditional Polish pierogi, creativity knows no bounds. The filling is the heart and soul of these delectable dumplings, offering a burst of flavor with every bite. One of the most classic and beloved fillings is the combination of creamy mashed potatoes and tangy cheese, creating a rich and satisfying mixture that oozes out with each bite.
For those looking to add a savory twist to their pierogi, the sauerkraut and mushroom filling is a popular choice. The tanginess of the sauerkraut complements the earthy flavor of the mushrooms, creating a harmonious blend that is sure to tantalize your taste buds. This filling is a favorite among those who prefer a more robust and hearty flavor profile.
If you have a sweet tooth, fear not, as traditional Polish pierogi also offer a variety of sweet fruit fillings that are perfect for dessert or a sweet snack. Fillings like blueberry or strawberry provide a burst of freshness and sweetness, creating a delightful contrast to the savory options. These fruit-filled pierogi are a perfect way to satisfy your sweet cravings while still enjoying the beloved dumplings.
Experimenting with different fillings is a great way to put your own unique spin on traditional Polish pierogi. Whether you choose to stick with the classics or venture into uncharted territory with innovative fillings, the filling is where you can truly let your creativity shine. From traditional flavors to modern twists, the possibilities are endless when it comes to preparing the perfect pierogi filling.

Step-by-Step Dough Preparation
When it comes to making traditional Polish pierogi, the dough preparation is a crucial step that sets the foundation for these delectable dumplings. To start, gather the essential ingredients for the pierogi dough, including flour, water, eggs, and a pinch of salt. These simple yet key components will come together to create a versatile dough that can be filled with a variety of savory or sweet fillings.
Begin by sifting the flour into a large mixing bowl, creating a well in the center to crack the eggs into. Slowly incorporate the water and salt into the mixture, stirring gently to form a soft dough. Once the ingredients are combined, transfer the dough onto a floured surface for kneading.
Kneading the dough is a critical step in developing the gluten and achieving the right texture for your pierogi. Use the heel of your hand to push the dough away from you, then fold it back over itself and repeat. Continue this process for about 5-7 minutes until the dough becomes smooth and elastic.
After kneading, cover the dough with a clean kitchen towel and let it rest for at least 30 minutes. This resting period allows the gluten to relax, making the dough easier to roll out and shape. Once the dough has rested, divide it into smaller portions for rolling into thin sheets that will eventually encase the flavorful fillings.
Roll out each portion of dough to your desired thickness, ensuring it is thin enough to hold the filling but not too thin to tear during cooking. Use a round cutter or a glass to cut out circles from the rolled dough, ready to be filled with your favorite pierogi fillings. With the dough prepared, you are now ready to move on to the filling and sealing stage of creating your traditional Polish pierogi.

Filling and Sealing Pierogi
When it comes to making traditional Polish pierogi, a key step is filling and sealing these delectable dumplings. The process of requires precision and care to ensure that each dumpling is perfectly stuffed and sealed to prevent any fillings from leaking out during cooking.
To start, shape the pierogi dough into small circles, either using a cookie cutter or simply cutting the dough into rounds. Next, place a spoonful of your chosen filling in the center of each dough circle. Whether you opt for classic potato and cheese, flavorful sauerkraut and mushroom, or sweet fruit fillings like blueberry or strawberry, be generous but mindful not to overfill the pierogi.
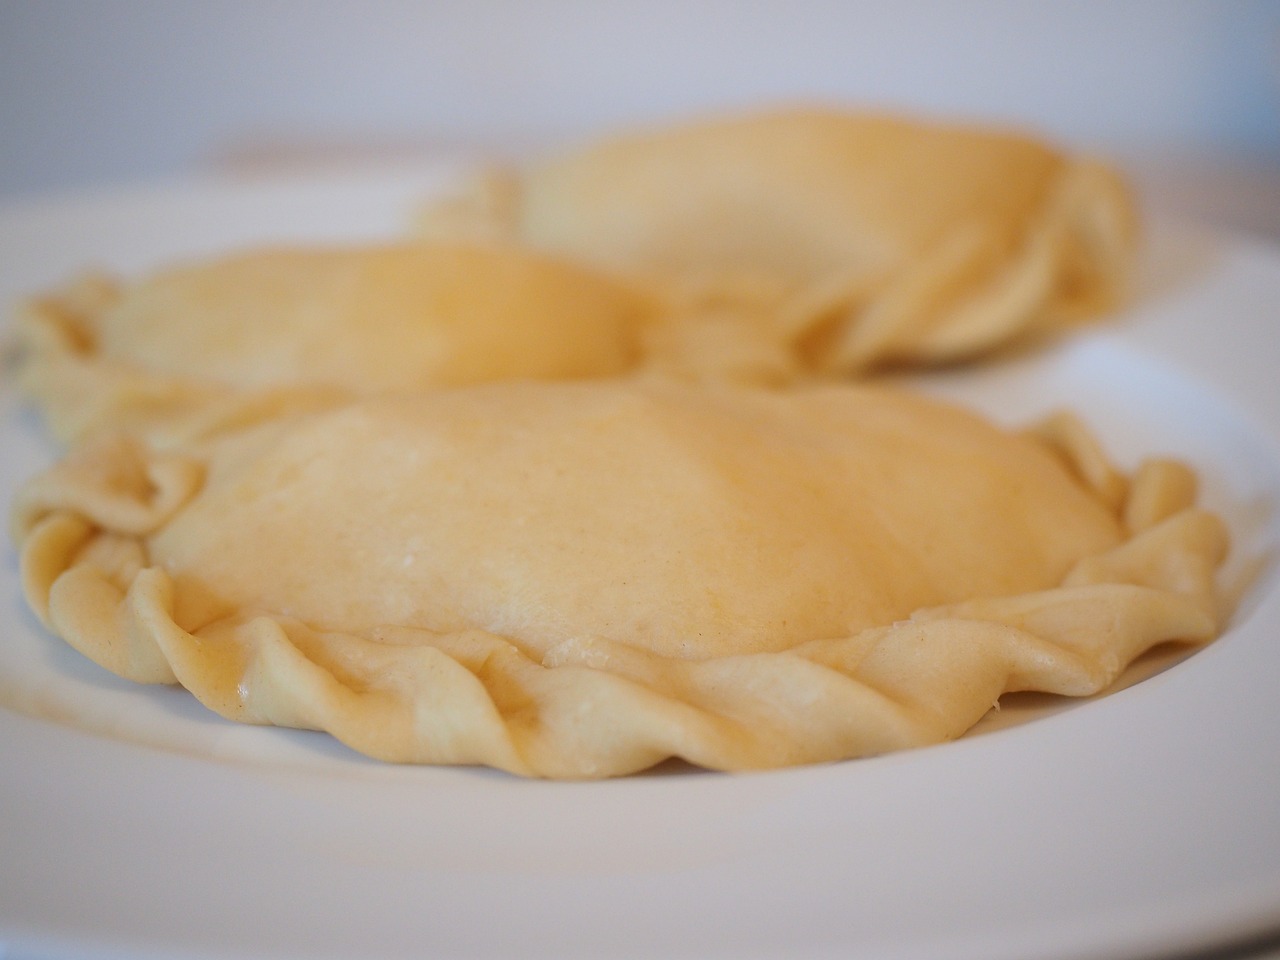
Once the filling is in place, gently fold the dough over the filling to create a half-moon shape. Press the edges firmly together to seal the pierogi, using a fork to crimp the edges for a decorative touch and extra security. This step is crucial to ensure that the pierogi hold their shape and maintain a perfect seal throughout the cooking process.
Remember, a well-sealed pierogi is essential for a successful outcome, as any gaps or openings could lead to the filling spilling out into the cooking water or oil. By taking your time to fill and seal pierogi properly, you guarantee that each dumpling is a delightful package of flavor waiting to be enjoyed.

Cooking Methods for Pierogi
When it comes to cooking traditional Polish pierogi, there are several methods you can use to achieve the perfect texture and flavor for these beloved dumplings. One common way to cook pierogi is by boiling them in a pot of salted water. This method ensures that the dough cooks evenly and the fillings are heated through, resulting in tender and delicious pierogi.
Another popular cooking method for pierogi is pan-frying. By pan-frying pierogi in a bit of butter or oil, you can achieve a crispy exterior that adds a delightful contrast to the soft filling inside. This method is perfect for those who enjoy a bit of crunch with their pierogi.
If you prefer a healthier cooking option, you can also bake pierogi in the oven. By brushing the dumplings with a bit of oil and baking them until golden brown, you can enjoy a lighter version of this classic dish without sacrificing any of the delicious flavors.
Each cooking method offers a unique twist on traditional Polish pierogi, allowing you to experiment and find your favorite way to prepare these tasty dumplings. Whether you prefer the classic boiled pierogi, the crispy pan-fried version, or the healthier baked option, each method is sure to result in a satisfying meal that will leave you craving more.

Serving and Enjoying Pierogi
When it comes to serving and enjoying traditional Polish pierogi, the possibilities are endless. These delectable dumplings can be enjoyed in various ways, each enhancing the flavors and textures of the dish. Whether you prefer a classic approach or want to get creative with your toppings, serving pierogi is a delightful experience that can cater to everyone's taste buds.
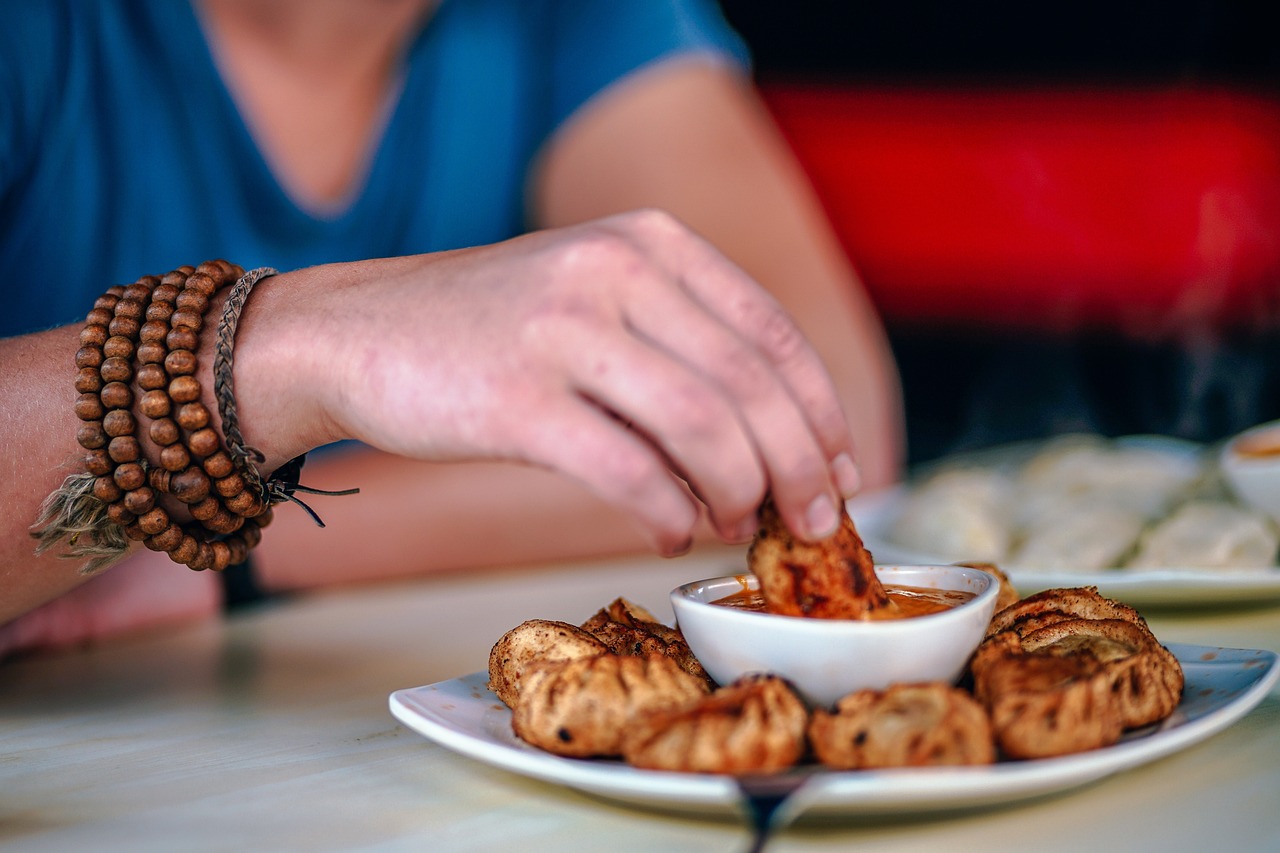
One popular way to enjoy pierogi is by topping them with a dollop of sour cream. The creamy and tangy flavor of sour cream complements the savory filling of the pierogi, adding a rich and luxurious element to each bite. Additionally, fried onions are a classic topping that adds a crunchy texture and a hint of sweetness to the dish, elevating the overall taste profile.
If you're looking to add a burst of freshness to your pierogi, consider sprinkling them with a variety of herbs. Fresh herbs like parsley, dill, or chives can bring a pop of color and a burst of flavor to the dumplings, enhancing the overall dining experience. The combination of savory pierogi with fragrant herbs creates a harmonious balance that will leave your taste buds craving more.
For those with a sweet tooth, serving pierogi with a dusting of powdered sugar or a drizzle of fruit compote can transform these savory dumplings into a delightful dessert. Sweet fruit fillings like blueberry or strawberry pierogi can be paired with a light dusting of powdered sugar for a simple yet satisfying treat.
Another way to elevate your pierogi experience is by serving them alongside a crisp and refreshing side salad. The contrast of the warm and comforting pierogi with the cool and crunchy salad creates a well-rounded meal that satisfies both your cravings and your nutritional needs.
Remember, the key to serving and enjoying pierogi is to get creative and experiment with different toppings and accompaniments. Whether you prefer a traditional approach or want to try something new, there are endless ways to savor the delicious flavors of Polish pierogi.
Freezing and Reheating Pierogi
When it comes to enjoying traditional Polish pierogi at any time, knowing how to properly freeze and reheat them is essential. Freezing pierogi allows you to prepare a large batch in advance and enjoy them later without compromising on taste or quality. Here's a simple guide on how to freeze and reheat pierogi to perfection.
To freeze pierogi, start by arranging the cooked dumplings in a single layer on a baking sheet lined with parchment paper. Make sure the pierogi are not touching each other to prevent them from sticking together. Place the baking sheet in the freezer and let the pierogi freeze completely for a few hours.
Once the pierogi are frozen solid, transfer them to a resealable plastic bag or an airtight container. Label the bag with the date of freezing to keep track of freshness. Frozen pierogi can be stored in the freezer for up to three months.
When you're ready to enjoy your frozen pierogi, there's no need to thaw them beforehand. Simply bring a pot of water to a gentle boil and add the frozen pierogi directly from the freezer. Boil the pierogi for a few minutes until they float to the surface, indicating they are fully heated through.
Alternatively, you can reheat frozen pierogi by pan-frying them for a crispy texture. Heat a skillet over medium heat with a bit of oil or butter, then add the frozen pierogi in a single layer. Cook them until they are golden brown on both sides, ensuring they are heated all the way through.
By mastering the art of freezing and reheating pierogi, you can enjoy the delicious taste of these traditional Polish dumplings whenever the craving strikes, with minimal effort and maximum flavor.
Exploring Pierogi Variations
When it comes to exploring pierogi variations, the possibilities are as vast as your imagination. Traditional Polish pierogi are incredibly versatile, allowing you to experiment with different fillings, shapes, and flavors to create a unique culinary experience. Whether you prefer savory or sweet, there are endless combinations to try that will tantalize your taste buds and impress your guests.
One popular variation is the addition of meat fillings, such as ground pork or beef mixed with onions and spices, creating a hearty and satisfying pierogi option. For a vegetarian twist, consider fillings like spinach and feta cheese or caramelized onions and mushrooms, providing a flavorful alternative for non-meat eaters.
For those with a sweet tooth, exploring fruit-filled pierogi variations is a must. Fillings like blueberry, strawberry, or apple cinnamon offer a delightful dessert option that can be enjoyed on its own or topped with a dollop of whipped cream or a sprinkle of powdered sugar.
Experimenting with different shapes can also add a creative touch to your pierogi. While the classic half-moon shape is traditional, you can also try shaping your pierogi into squares, triangles, or even intricate braided designs for a visually appealing presentation that will elevate your dining experience.
When it comes to flavors, the sky's the limit. From traditional Polish flavors like potato and cheese to more exotic combinations like spicy chorizo and peppers, don't be afraid to think outside the box and create pierogi variations that reflect your personal taste preferences and culinary creativity.
Frequently Asked Questions
- Can I make pierogi dough ahead of time?
Yes, you can prepare the pierogi dough ahead of time and store it in the refrigerator for up to 2 days. Just make sure to wrap it tightly in plastic wrap to prevent it from drying out.
- What is the best way to seal pierogi?
The best way to seal pierogi is to lightly brush the edges of the dough with water before folding and pressing them together. This helps create a tight seal to prevent the filling from leaking out during cooking.
- Can I bake pierogi instead of boiling or frying them?
Yes, you can bake pierogi in the oven for a healthier alternative. Simply brush them with melted butter or oil and bake at 375°F (190°C) for about 20-25 minutes until they are golden brown and crispy.
- How do I reheat frozen pierogi?
To reheat frozen pierogi, you can either boil them for a few minutes until they float to the surface or pan-fry them in a skillet with a bit of butter until they are heated through and crispy on the outside.
- What are some creative pierogi filling ideas?
Some creative pierogi filling ideas include spinach and feta, bacon and cheddar, or even dessert fillings like Nutella and banana. Feel free to experiment with different combinations to create your own unique pierogi flavors!