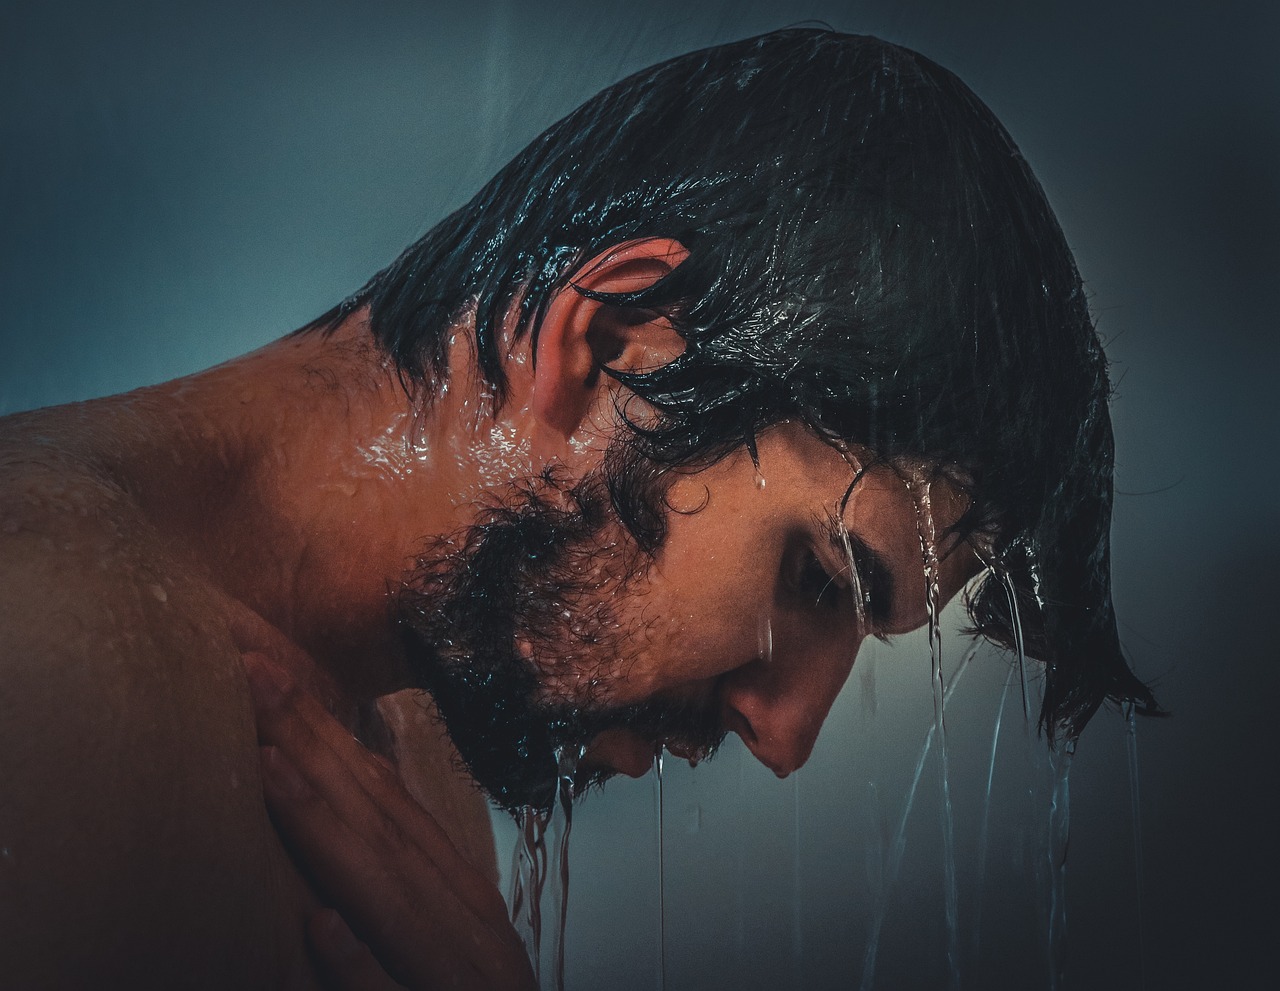
How to Build a DIY Outdoor Shower
Are you dreaming of a refreshing outdoor shower experience right in your own backyard? Building a DIY outdoor shower can turn that dream into a reality, providing a convenient and stylish way to rinse off after a swim or enjoy a spa-like experience under the open sky. In this guide, we will walk you through the steps, materials needed, and design tips to help you create a functional and aesthetically pleasing outdoor shower space.
Planning Your Outdoor Shower
Planning your outdoor shower is a crucial step in creating a functional and enjoyable space in your outdoor area. Before diving into the construction process, consider various factors that will impact the design and usability of your DIY outdoor shower. Firstly, think about the location of the shower. It should be easily accessible from your house and provide enough privacy. Additionally, consider the water source for your shower. Will you connect it to your existing water supply or use a separate system?
Another important aspect to consider is drainage. Proper drainage is essential to prevent water pooling and potential damage to the surrounding area. You can opt for a simple drainage system or a more advanced solution depending on your budget and needs. Privacy is also a key consideration when planning your outdoor shower. Think about how you can create a private and comfortable space, whether through landscaping, fencing, or a purpose-built enclosure.
When planning the layout and design of your outdoor shower, take into account the size of the space available and how you can optimize it for functionality. Explore different designs, from open-air showers to enclosed structures, and choose one that suits your preferences. Consider the overall aesthetic of your outdoor area and how the shower can complement it seamlessly.
Gathering Materials and Tools
When embarking on the journey of building your very own DIY outdoor shower, one of the crucial steps is . To bring your project to life, you'll need to ensure you have all the necessary components at hand. From pipes to fittings, showerheads to wrenches, drills to saws, each item plays a vital role in the construction process. Selecting durable and weather-resistant materials is key to ensuring the longevity of your outdoor shower. Remember, quality materials will withstand the elements and provide you with a shower that stands the test of time.
Building the Shower Base
When it comes to building the shower base for your DIY outdoor shower, you have several options to consider based on your preferences and the overall design of your outdoor space. The shower base is a critical component that provides stability and support for the entire structure, ensuring a safe and functional shower experience.
If you opt for a concrete base, you'll need to prepare the area by leveling the ground and creating a form to pour the concrete into. This method offers durability and a solid foundation for your shower but requires careful planning and execution to ensure proper drainage and stability.
On the other hand, using wood for the shower base provides a more natural and rustic look to your outdoor shower. You can choose from various wood types such as cedar or teak, known for their weather-resistant properties. Wooden bases are relatively easier to construct and can be customized to fit your desired size and shape.
Gravel bases offer a simple and cost-effective solution for building your outdoor shower. By creating a gravel bed with proper drainage, you can achieve a permeable surface that allows water to flow through easily. Gravel bases are ideal for temporary or portable showers and are easy to adjust or relocate as needed.
Regardless of the material you choose for the shower base, it's essential to ensure proper slope and drainage to prevent water pooling and potential damage. Adequate ventilation underneath the base is also crucial to prevent mold and mildew growth in damp conditions.
Before proceeding with the construction of the shower base, carefully evaluate the location and soil conditions to determine the most suitable option for your outdoor shower. By selecting the right base material and design, you can create a sturdy foundation that complements the overall aesthetic of your outdoor space.
Installing the Plumbing System
When it comes to installing the plumbing system for your DIY outdoor shower, precision and proper connection are key to ensure a seamless shower experience. Begin by carefully mapping out the layout of the water supply, drainage, and hot/cold water lines. Consider the distance from the main water source and the shower location to determine the length of pipes needed.
Next, gather the necessary materials including pipes, fittings, connectors, and waterproof sealants. Opt for high-quality materials that are durable and weather-resistant to withstand outdoor conditions. PVC pipes are commonly used for outdoor plumbing due to their affordability and resistance to corrosion.
Before proceeding with the installation, make sure to turn off the main water supply to avoid any leaks or water damage. Begin by connecting the pipes to the water source using appropriate fittings and connectors. Use a wrench to securely tighten the connections and prevent any potential leaks.
When installing the hot and cold water lines, ensure proper insulation to prevent freezing during colder months. Consider using insulation sleeves or heat tape to protect the pipes from temperature fluctuations. Proper insulation will also help maintain consistent water temperature for a comfortable shower experience.
For the drainage system, create a sloped channel to allow water to flow away from the shower area efficiently. Use a level to ensure proper slope and avoid any water pooling around the shower base. Connect the drainage pipes to the main sewer line or a designated drainage area using watertight connectors.
Once the plumbing system is in place, conduct a thorough inspection to check for any leaks or loose connections. Turn on the water supply and test the functionality of the shower by running water through the system. Adjust the water flow and pressure as needed to achieve the desired shower experience.
Remember, proper installation of the plumbing system is essential for the functionality and longevity of your outdoor shower. By following these steps and ensuring a secure connection of all components, you can enjoy a refreshing and hassle-free shower in your outdoor oasis.

Constructing the Shower Enclosure
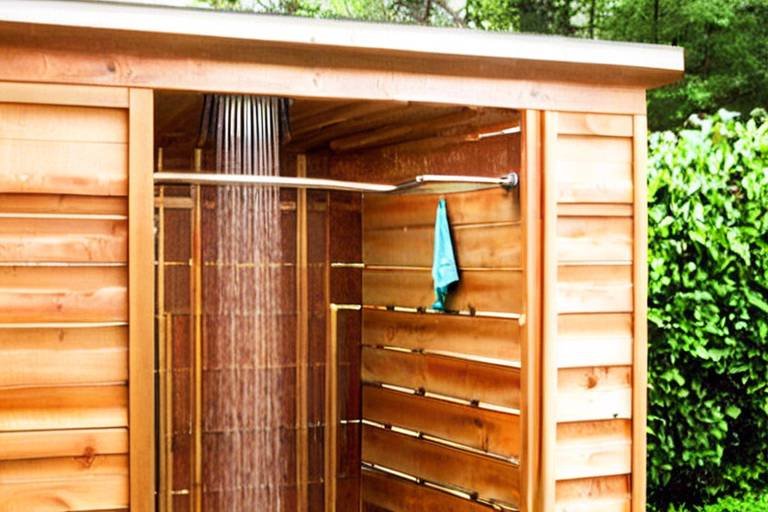
When it comes to constructing the shower enclosure for your DIY outdoor shower, there are various materials and design options to consider. One popular choice is using wood to create a rustic and natural look for the enclosure. Wood offers a warm and inviting feel, blending seamlessly with outdoor surroundings. Additionally, bamboo can be a sustainable and eco-friendly alternative, providing a tropical and spa-like atmosphere to your outdoor shower space.
Another option for constructing the shower enclosure is using outdoor fabric. This versatile material allows for creativity in design and can be easily customized to match your outdoor decor. Outdoor fabric is lightweight, easy to clean, and offers flexibility in creating a private and stylish enclosure for your outdoor shower.
When designing the shower enclosure, it's essential to consider ventilation and lighting. Proper ventilation helps prevent mold and mildew growth while ensuring air circulation for a comfortable shower experience. Incorporating lighting fixtures such as waterproof LED lights can enhance the ambiance of the shower space, especially for evening use.
Accessibility is another crucial aspect to consider when constructing the shower enclosure. Ensure that the entrance is wide enough for easy access and that the enclosure provides adequate privacy for showering. You can also add features like hooks for hanging towels, shelves for storing toiletries, and seating options for added convenience and comfort.
For a more unique and personalized touch, you can incorporate decorative elements into the shower enclosure. Consider adding plants or greenery around the enclosure to create a natural and tranquil atmosphere. Additionally, using waterproof artwork or tiles can add a pop of color and style to the space, making your outdoor shower a focal point in your outdoor oasis.
Adding Finishing Touches
Adding the finishing touches to your DIY outdoor shower is where you can truly elevate both the functionality and aesthetics of your project. Consider incorporating elements that not only enhance the usability of the shower but also add a touch of style and personalization to the space. From practical additions to decorative accents, here are some creative ideas to complete your outdoor oasis.
One essential finishing touch is to install hooks for towels and robes near the shower area. This allows for easy access to towels while keeping them off the ground and within reach after a refreshing shower. Choose sturdy, weather-resistant hooks that can withstand outdoor conditions and complement the overall design of your shower space.
Another practical addition is the inclusion of shelves for storing toiletries, such as shampoo, conditioner, and body wash. These shelves can be mounted within the shower enclosure or on an adjacent wall for convenient access during shower time. Opt for materials that can withstand moisture and are easy to clean for a hassle-free maintenance routine.
For added comfort and relaxation, consider incorporating seating options into your outdoor shower design. A simple bench or stool provides a convenient spot to sit and relax while enjoying the outdoor surroundings. Choose materials that are comfortable, durable, and resistant to water damage to ensure longevity in your outdoor shower space.
To infuse personality and style into your DIY outdoor shower, explore creative ideas for decoration and personalization. Consider adding plants or potted flowers around the shower area to create a natural and inviting atmosphere. Additionally, decorative elements such as outdoor lights, lanterns, or waterproof artwork can enhance the ambiance and make your outdoor shower a visually appealing focal point in your outdoor space.
Remember that the finishing touches are what make your DIY outdoor shower unique and tailored to your preferences. By adding practical elements like hooks and shelves, as well as incorporating decorative accents and personal touches, you can create a functional and stylish outdoor shower that enhances your outdoor living experience.

Maintaining Your Outdoor Shower
Maintaining your DIY outdoor shower is essential to ensure its longevity and optimal performance. Regular upkeep will help protect your investment and keep your outdoor oasis in top condition. One important aspect of maintenance is cleaning. Regularly clean the shower walls, floor, and fixtures to prevent mold, mildew, and mineral buildup. Use a mild detergent and water solution to scrub surfaces and rinse thoroughly.
Winterizing your outdoor shower is crucial, especially if you live in a climate with freezing temperatures. Drain the water supply lines to prevent freezing and potential damage. Disconnect and store the showerhead indoors during the winter months to protect it from ice formation. Consider insulating exposed pipes to prevent freezing and bursting.
Protecting your outdoor shower from the elements is key to its longevity. Apply a waterproof sealant to wooden surfaces to prevent moisture damage and rot. Check for any signs of wear and tear regularly, such as loose fittings or leaks, and address them promptly to prevent further damage.
Regular maintenance routines are essential to keep your outdoor shower functioning efficiently. Inspect the plumbing system for any leaks or clogs and address them promptly. Check the water flow and pressure to ensure a satisfying shower experience. Replace any worn-out parts or components to prevent malfunctions.
Additionally, consider investing in a cover or enclosure to protect your outdoor shower when not in use. Covering the shower can help prevent debris buildup, UV damage, and exposure to harsh weather conditions. Proper storage and protection will extend the lifespan of your DIY outdoor shower.
Enjoying Your DIY Outdoor Shower
A guide on creating your own outdoor shower for a refreshing experience. Learn the steps, materials needed, and design tips to construct a functional and stylish addition to your outdoor space.
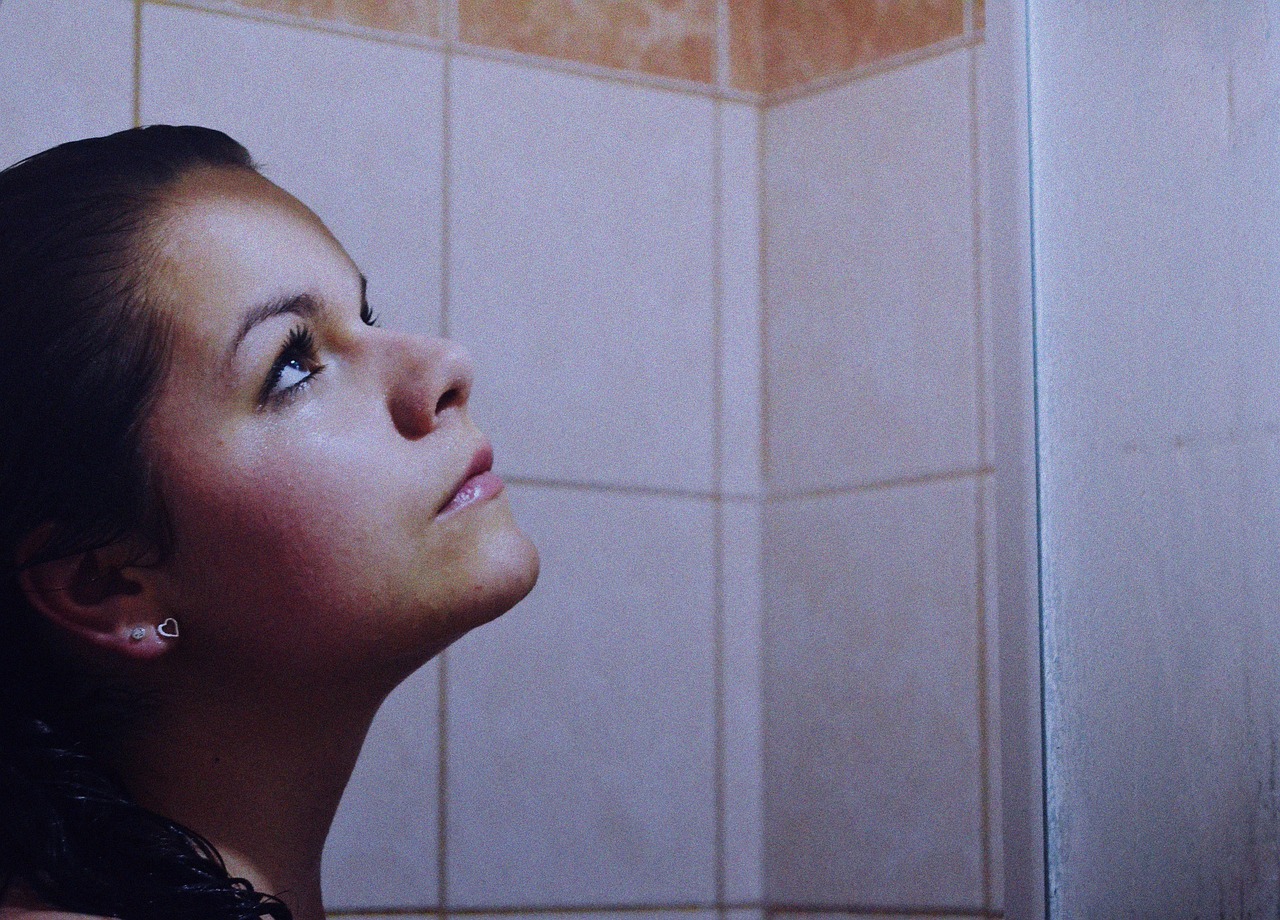
Now that you've successfully built your DIY outdoor shower, it's time to fully enjoy and make the most of this fantastic addition to your outdoor space. Picture yourself stepping into your private oasis, surrounded by nature's beauty, and feeling the warm water cascading down. Here are some tips to enhance your outdoor shower experience:
Consider incorporating natural elements around your outdoor shower to create a harmonious and tranquil atmosphere. Plant some lush greenery, install a small fountain nearby, or add pebbles to the ground for a spa-like feel.
Create a spa-like ambiance by adding essential oils or scented candles to your shower area. The soothing scents will elevate your shower experience and help you relax and unwind after a long day.
Install a rainfall showerhead for a luxurious and refreshing shower experience. The gentle cascade of water mimics a tropical rain shower, providing a rejuvenating and invigorating cleanse.
Set up a seating area next to your outdoor shower where you can relax and lounge after your shower. Consider adding a small table for drinks or books, creating a cozy nook where you can unwind and enjoy the outdoor ambiance.
Don't forget to add lighting to your outdoor shower area for evening use. Soft, ambient lighting can transform your shower space into a magical retreat, allowing you to enjoy a shower under the stars or a moonlit sky.
Embrace the simplicity and serenity of outdoor showering. Take the time to connect with nature, breathe in the fresh air, and appreciate the beauty of the outdoors while you cleanse and rejuvenate in your DIY outdoor shower.
1. How can I ensure the privacy of my outdoor shower?
2. What are the best materials for a durable outdoor shower?
3. How often should I clean and maintain my outdoor shower?
4. Can I use solar power to heat the water for my outdoor shower?
5. Are there any safety considerations I should keep in mind when using an outdoor shower?
6. What are some creative ways to decorate and personalize my outdoor shower space?
Frequently Asked Questions
- Can I build an outdoor shower without professional help?
Yes, building a DIY outdoor shower is a feasible project for many individuals. With proper planning, materials, and tools, you can create a functional and stylish outdoor shower without the need for professional assistance.
- What are the essential materials needed for constructing an outdoor shower?
The essential materials for building an outdoor shower typically include pipes, fittings, a showerhead, concrete or wood for the base, and various tools such as wrenches, drills, and saws. It is important to choose durable and weather-resistant materials for long-lasting construction.
- How can I ensure privacy in my outdoor shower?
Privacy in an outdoor shower can be achieved through the construction of a suitable enclosure using materials like wood, bamboo, or outdoor fabric. Consider factors like ventilation, lighting, and accessibility when designing the shower space to ensure privacy and comfort.
- What maintenance is required for an outdoor shower?
Maintaining an outdoor shower involves regular cleaning, winterizing, and protecting the shower from the elements. It is important to follow a maintenance routine to ensure the longevity and efficiency of the shower system.