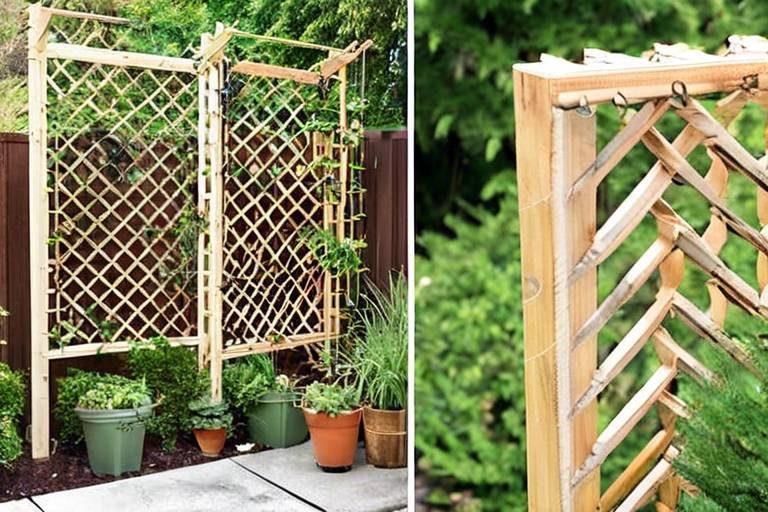
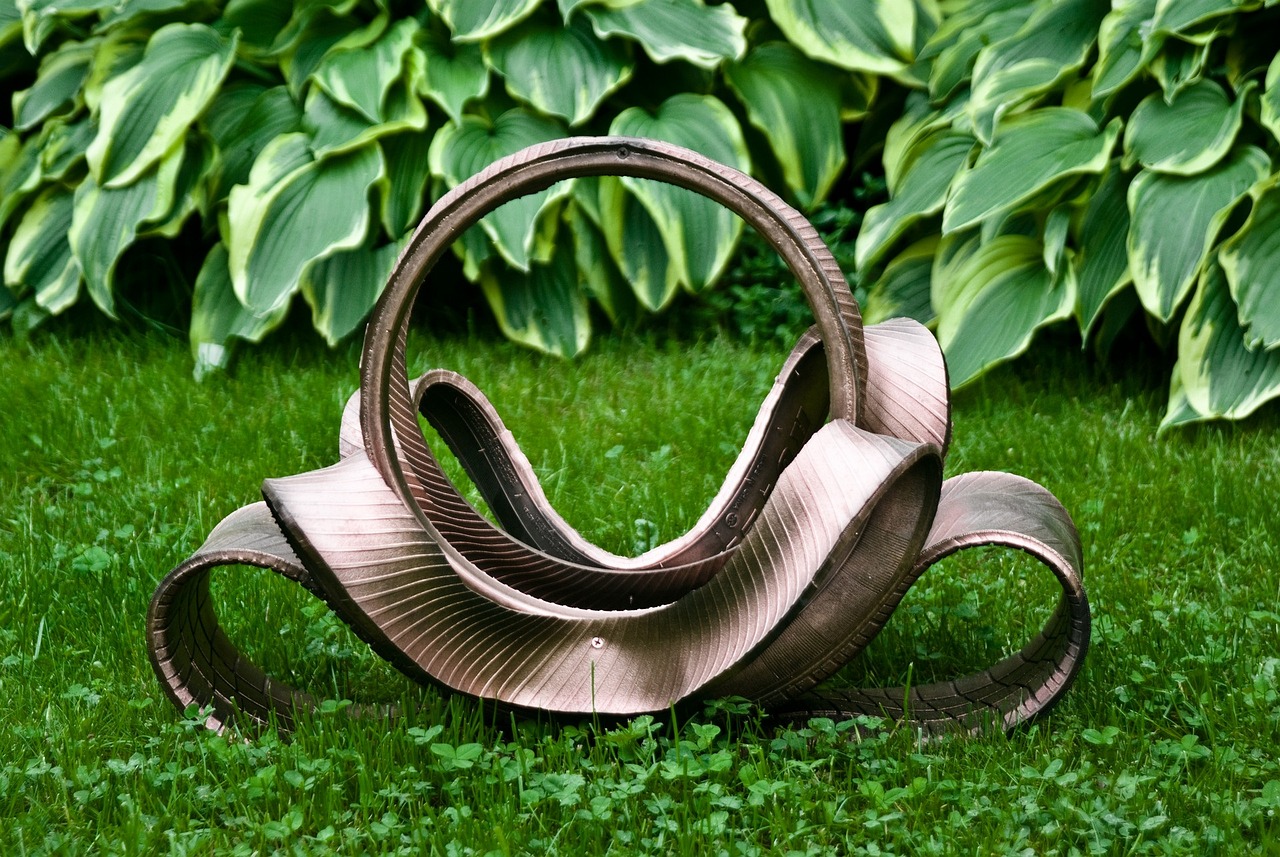
How to Build a DIY Trellis from Recycled Wood
Are you ready to embark on a journey of creativity and sustainability in your garden? Building a DIY trellis from recycled wood is not only a rewarding project but also a fantastic way to repurpose materials and add a unique touch to your outdoor space. Let's dive into the steps that will guide you through this eco-friendly endeavor.

Gathering Materials
Learn how to repurpose old wood into a beautiful trellis for your garden. This step-by-step guide will help you create a sustainable and unique structure to support your climbing plants.
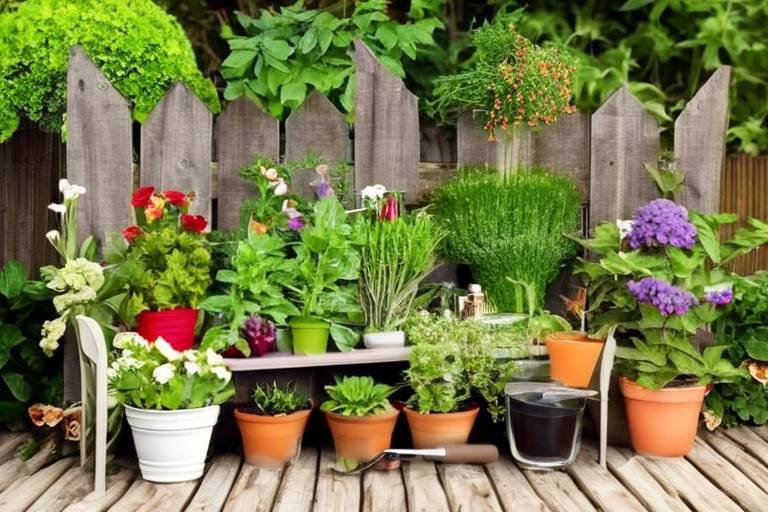
When embarking on the journey of building your own trellis from recycled wood, the first step is to gather all the essential materials and tools. Scour your surroundings for sturdy and weather-resistant wood pieces that are no longer in use. Remember, the beauty of this project lies in giving new life to old materials. Select pieces that are durable and can withstand outdoor conditions, ensuring the longevity of your trellis.
Once you have collected the wood, inspect each piece carefully. Look for any signs of damage or rot that may compromise the integrity of your trellis. It's crucial to start with quality materials to ensure the strength and durability of the final structure. If needed, clean the wood thoroughly to remove any dirt or debris that may have accumulated over time.
If the wood surfaces are rough, consider sanding them down to create a smooth finish. This not only enhances the appearance of the trellis but also makes it safer to handle. Additionally, treating the wood with a protective sealant can help prolong its lifespan and protect it from the elements, ensuring your trellis remains sturdy and reliable for years to come.
Remember, the success of your DIY trellis project hinges on the quality of the materials you use. By taking the time to gather the right wood pieces and prepare them properly, you are setting the foundation for a beautiful and functional garden structure that will enhance the beauty of your outdoor space.

Designing Your Trellis
When it comes to designing your trellis, the possibilities are endless. Picture your garden as a canvas, and the trellis as your brush to create a masterpiece. Consider the layout of your garden space and the specific needs of your climbing plants. Do you want a simple rectangular trellis or a more intricate design with curves and angles? Think about how the structure will blend harmoniously with the surrounding plants and landscape.
Designing your trellis is not just about functionality; it's also about aesthetics. Imagine your trellis as a piece of art that enhances the beauty of your garden. Think of it as a supporting actor that complements the main stars – your climbing plants. Choose a design that not only provides the necessary support but also adds visual interest to your outdoor space.
Consider the size of your trellis in relation to the plants it will support. Will it be a focal point in your garden or subtly blend into the background? Think of your trellis as a frame that showcases the natural beauty of your climbing plants. Just like choosing a frame for a painting, the design of your trellis should enhance and highlight the greenery it will support.
Experiment with different shapes and patterns to create a trellis that reflects your personality and style. Mix and match recycled wood pieces to form a unique structure that stands out in your garden. Let your creativity run wild as you envision the perfect trellis that will not only support your plants but also elevate the overall look of your outdoor oasis.

Prepping the Wood
When it comes to for your DIY trellis project, taking the time to properly prepare the recycled wood is essential for the longevity and aesthetic appeal of your structure. Before diving into construction, it's crucial to ensure that the wood is clean, smooth, and in good condition to withstand outdoor elements.
Start by cleaning the recycled wood pieces thoroughly to remove any dirt, debris, or old finishes. A simple solution of water and mild soap can work wonders in revitalizing weathered wood. Allow the wood to dry completely before moving on to the next step.
Once the wood is clean and dry, sand the surfaces to smooth out any rough edges, splinters, or imperfections. Sanding not only improves the appearance of the wood but also creates a nice, even surface for painting or staining later on. Be sure to use a fine-grit sandpaper for the best results.
Depending on the condition of the recycled wood, you may need to treat it with a wood preservative or sealant to protect it from moisture, rot, and pests. Applying a coat of sealant can significantly extend the lifespan of the wood and keep your trellis looking great for years to come.
Consider the type of wood you are using and its natural properties when prepping. Some woods may require specific treatments or finishes to maintain their durability and appearance. Research the characteristics of the wood species to ensure you are prepping it correctly.
Remember, the effort you put into prepping the wood will directly impact the overall quality and durability of your DIY trellis. By investing time in cleaning, sanding, and treating the recycled wood, you can create a trellis that not only serves its purpose but also adds a touch of charm to your garden space.

Assembling the Frame
When it comes to assembling the frame of your DIY trellis, you have the opportunity to unleash your creativity and design skills. The frame serves as the backbone of the trellis, providing support for your climbing plants while also adding visual interest to your garden.
Before you start assembling, take a moment to visualize the final look of your trellis. Do you want a simple rectangular frame, or are you inclined towards a more intricate design? Consider the overall aesthetic of your garden and how the trellis will fit into the landscape.
Once you have a clear idea of the design, gather your recycled wood pieces and lay them out according to your plan. Make sure to measure and cut the pieces accurately to ensure a snug fit during assembly. Precision is key to a sturdy and visually appealing trellis.
As you begin putting the pieces together, pay attention to the connections. Use screws or nails to secure the joints firmly, ensuring that the frame is stable and durable. You can opt for a traditional grid pattern or experiment with diagonal or zigzag arrangements for a unique touch.
If you're feeling adventurous, consider incorporating additional elements into the frame, such as shelves or hooks for hanging plants or garden tools. This not only adds functionality to your trellis but also enhances its versatility in the garden.
Remember to step back and assess your progress as you assemble the frame. Take your time to make adjustments as needed, ensuring that the structure is level and symmetrical. A well-built frame sets the foundation for a successful trellis that will showcase your climbing plants beautifully.

Adding Support Bars
When it comes to building a sturdy and reliable trellis for your climbing plants, adding support bars is a crucial step in the process. These bars not only provide structural integrity but also ensure that your trellis can withstand the weight of your plants as they grow and climb.
Support bars can be installed both horizontally and vertically within the frame of the trellis. Horizontal bars help distribute the weight of the plants evenly across the structure, preventing any one section from bearing too much strain. Vertical bars, on the other hand, offer additional support and stability, especially for taller trellises or heavy vegetation.
When selecting the materials for your support bars, opt for strong and durable wood that can withstand outdoor conditions. Pressure-treated lumber or cedar are excellent choices due to their resistance to rot and decay. Make sure the bars are securely attached to the frame of the trellis using screws or nails to prevent any wobbling or shifting.
Consider the spacing between the support bars based on the type of climbing plants you intend to grow. Thicker bars may be necessary for heavier plants, while thinner bars can suffice for lighter vines. By strategically placing the support bars, you can create a lattice-like structure that not only supports your plants but also adds visual interest to your garden.
Remember that the strength of your trellis ultimately depends on the quality and placement of the support bars. Take the time to measure and align the bars accurately to ensure a sturdy and reliable structure that will enhance the growth of your climbing plants for years to come.
Securing the Trellis
When it comes to securing your trellis, ensuring stability is key to its longevity and functionality. You wouldn't want all your hard work to go to waste due to a simple oversight in securing the structure. Whether you choose to anchor the trellis in the ground or against a wall, the method of securing it will determine how well it withstands the elements and the weight of climbing plants.
One effective way to secure your trellis is by using sturdy stakes driven into the ground. These stakes provide additional support and prevent the trellis from tipping over, especially in windy conditions. Make sure to drive the stakes deep enough into the soil to provide adequate anchoring.
If you prefer to attach the trellis to a wall, using brackets can be a reliable option. Secure the brackets firmly to the wall, ensuring they can bear the weight of the trellis and the plants it will support. This method is ideal for areas where space is limited or if you want to create a vertical garden against a wall.
Consider the location of your trellis when deciding how to secure it. If your garden is prone to strong winds, additional anchoring may be necessary to prevent the trellis from toppling over. By taking the time to secure your trellis properly, you can enjoy your garden structure for years to come without worrying about it becoming a hazard.
Personalizing Your Trellis
Personalizing your DIY trellis is where you can truly make it your own. Consider adding a pop of color by painting the wood in vibrant hues that complement your garden's color scheme. Alternatively, you can stain the wood for a more natural look that blends seamlessly with the outdoor environment. Think of your trellis as a blank canvas waiting for your artistic touch.
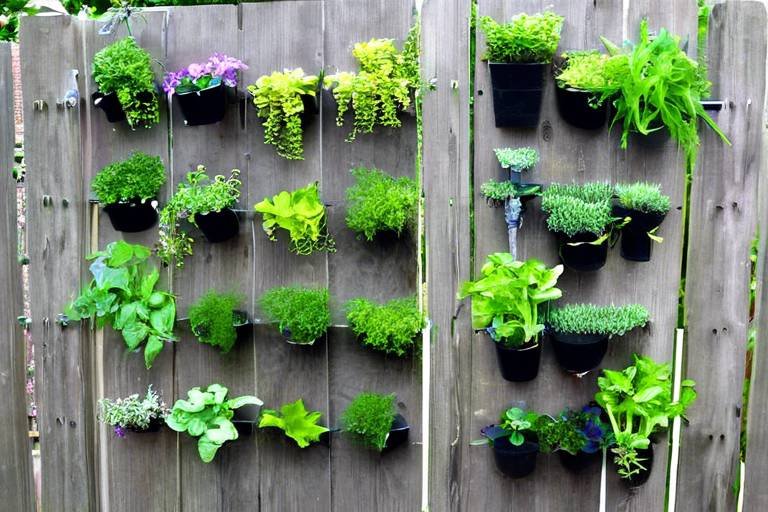
Adding decorative elements can also enhance the visual appeal of your trellis. Incorporate metal accents, such as hooks or brackets, to give it an industrial flair. You can even attach small pots or planters to the trellis to create a vertical garden effect. Let your imagination run wild as you personalize your trellis to reflect your unique style and personality.

Planting and Enjoying
After all the hard work and creativity put into building your DIY trellis from recycled wood, it's finally time to reap the rewards by planting your favorite climbing plants and enjoying the beauty of your sustainable garden structure. Planting on your newly constructed trellis is like adding the final brushstrokes to a masterpiece, bringing life and vibrancy to your outdoor space.
Before you start planting, consider the types of climbing plants that will thrive on your trellis. Whether it's fragrant jasmine, colorful clematis, or delicious grapevines, choose plants that suit your garden's aesthetics and climate. Think about how the plants will interact with the trellis, intertwining and climbing to create a stunning visual display.
When planting, make sure to provide adequate support for your climbing plants to attach and grow. Gently guide the plant tendrils towards the trellis, helping them find their way up the structure. As the plants grow, periodically check and adjust their positioning to ensure they are climbing securely and evenly across the trellis.
Consider creating a planting plan to maximize the visual impact of your trellis. Arrange plants of varying heights and colors to create a dynamic and harmonious display. Mix and match different species to add texture and interest, creating a living work of art that evolves with each passing season.
Once your plants are in the ground and starting to climb, sit back, relax, and enjoy the transformation of your garden. Watch as the greenery envelops the trellis, creating a natural backdrop that enhances the beauty of your outdoor space. Take pride in knowing that you not only built a functional structure but also a living sanctuary for your climbing plants.
Frequently Asked Questions
- Can I use any type of wood for building a DIY trellis?
While you can use various types of wood for your DIY trellis, it is recommended to choose sturdy and weather-resistant wood for durability. Cedar, redwood, or pressure-treated wood are popular choices due to their resistance to rot and insects.
- Do I need to treat the recycled wood before building the trellis?
It is advisable to treat the recycled wood if it shows signs of damage or wear. Cleaning, sanding, and applying a protective sealant can help prolong the lifespan of the wood and enhance its appearance.
- How tall should a trellis be for climbing plants?
The height of the trellis depends on the mature height of the climbing plants you intend to grow. As a general guideline, aim for a trellis height that is at least a foot taller than the mature height of the plant to provide ample support for growth.
- Can I move a trellis once it is installed?
While it is possible to move a trellis, it can be challenging once climbing plants have established themselves. It is best to plan the trellis location carefully before installation to avoid the need for relocation.
- What kind of climbing plants are suitable for a DIY trellis?
A variety of climbing plants can thrive on a DIY trellis, including clematis, jasmine, morning glories, and climbing roses. Choose plants that suit your climate and sunlight conditions for the best results.