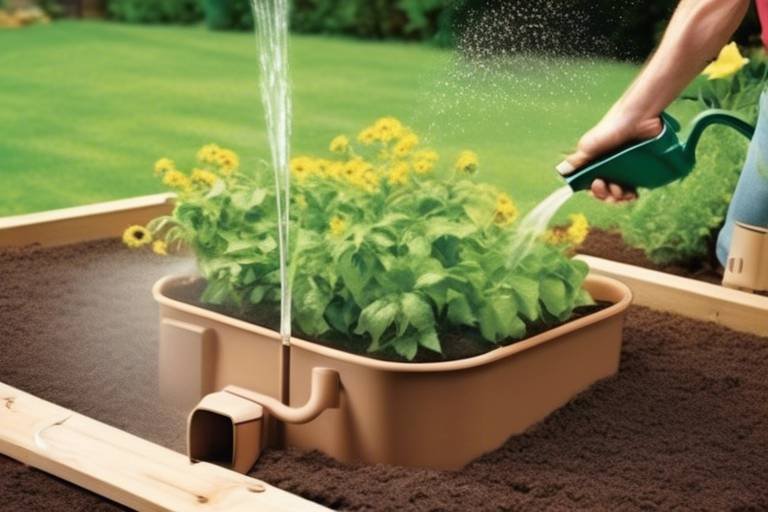
How to Build a DIY Watering System for Your Garden
Are you tired of manually watering your garden every day, or worried about your plants not getting enough water? Building a DIY watering system for your garden can be the perfect solution to ensure your plants are well-hydrated without the hassle of constant monitoring. In this article, we will guide you through the process of creating a cost-effective and efficient watering system using simple steps and materials that are easily accessible.
Planning Your Watering System
Learn how to create a cost-effective and efficient watering system for your garden with these simple steps and materials you can easily find at home or a hardware store.
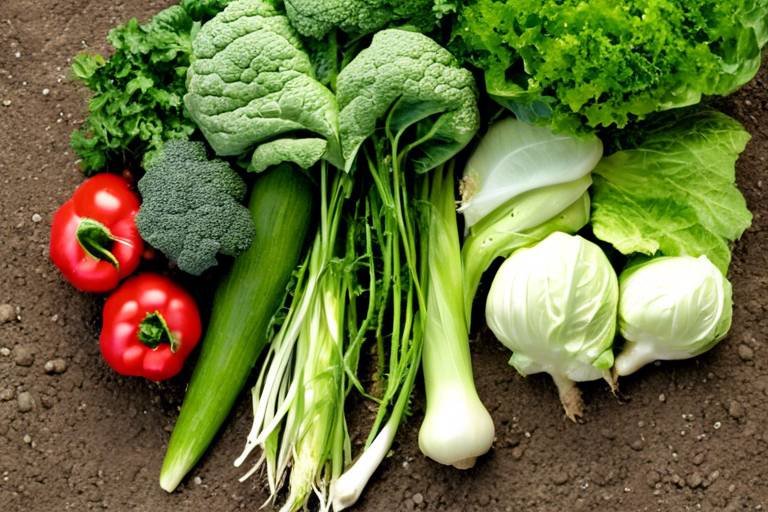
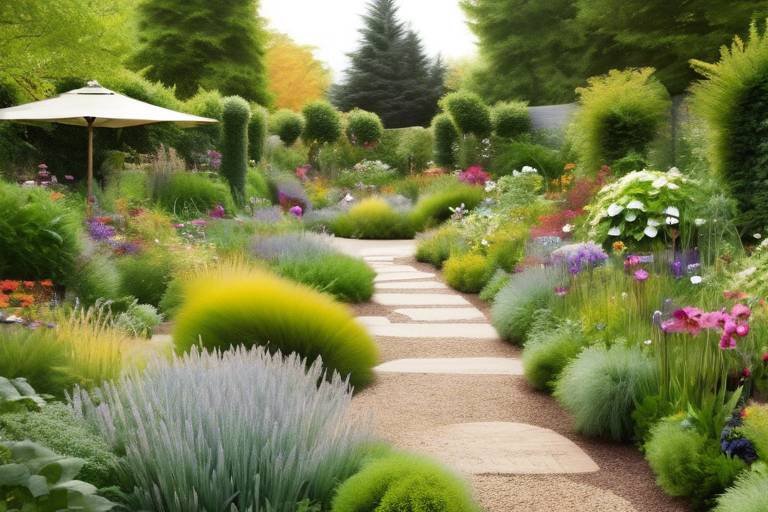
Planning your watering system is the crucial first step towards ensuring your garden thrives with the right amount of water. Take a moment to visualize your garden layout, considering factors like plant types, their water needs, and the available water sources. Are there areas that need more frequent watering? Are there plants that require less water? By understanding these key elements, you can tailor your DIY watering system to meet the unique needs of your garden.
Consider creating a rough sketch of your garden layout to help you determine the best placement for hoses, emitters, and timers. This visual aid can serve as a roadmap as you proceed with setting up your watering system. Think of it as plotting a course on a map before embarking on a journey; proper planning ensures you reach your destination efficiently.
Furthermore, assess the water pressure in your outdoor spigots to ensure it meets the requirements of your watering system. Different plants may need varying water pressure levels for optimal irrigation, so understanding your water source's capabilities is essential in planning the distribution of water throughout your garden.
If you have a large garden, dividing it into zones based on plant water requirements can help you design a more efficient watering system. This zoning approach allows you to customize the watering schedule for different areas, ensuring each plant receives the right amount of water without wastage.
Remember, a well-thought-out plan is the foundation of a successful DIY watering system. By investing time in planning and understanding your garden's specific needs, you set yourself up for a flourishing garden that thrives on the right amount of water.

Gathering Materials
When it comes to for your DIY watering system, it's essential to ensure you have all the necessary components to set up an efficient and effective system for your garden. One of the key items you will need is a mainline hose that will serve as the primary water source for your system. This hose will be responsible for carrying water from the faucet or water source to the various parts of your garden.
In addition to the mainline hose, you will also require connectors to join the different sections of the hose together. These connectors play a crucial role in ensuring a seamless flow of water throughout the system, preventing leaks and ensuring proper irrigation of your plants.
Another essential component to gather is emitters. These are devices that release water at a controlled rate to deliver precise amounts of water to your plants' roots. Emitters come in various types, such as drip emitters or soaker hoses, allowing you to choose the most suitable option based on your garden's layout and plant needs.
Furthermore, timers are indispensable for automating your watering schedule and ensuring consistent and timely irrigation. Timers can be set to water your garden at specific intervals, helping you save time and effort while ensuring your plants receive adequate moisture.
Lastly, don't forget to gather any additional tools you may need for the installation process, such as scissors for cutting hoses, tape for securing connections, and a measuring tape for precise placement of emitters. By having all these materials ready, you can streamline the setup process and create a reliable watering system for your garden.

Installing the Watering System
Installing the watering system is a crucial step in ensuring that your garden receives the proper hydration it needs to thrive. Begin by laying out the mainline, which will serve as the backbone of your DIY watering system. This mainline will be responsible for carrying water from the water source to the various parts of your garden.
Next, carefully connect the hoses to the mainline using connectors. These hoses will deliver the water to specific areas of your garden, ensuring that each plant receives the right amount of water. Make sure to secure the connections properly to prevent any leaks that could lead to water wastage.
Once the hoses are in place, it's time to position the emitters along the hoses. Emitters regulate the flow of water and ensure that it is distributed evenly to your plants. Place the emitters strategically based on the water needs of each plant, ensuring that no area of your garden is over or under-watered.
Setting up timers is essential to automate the watering process and ensure consistency. Timers allow you to schedule watering times, so your garden receives water even when you're not around. This not only saves you time but also helps in efficient water usage by avoiding overwatering.
After all the components are installed, it's crucial to test the system thoroughly. Turn on the water and check for any leaks, ensure that the emitters are working correctly, and the timers are set up as intended. Make any necessary adjustments to improve the system's performance and ensure that every plant in your garden is getting the right amount of water.
Remember, the key to a successful DIY watering system installation is attention to detail and precision. By following these steps carefully, you can create a watering system that not only keeps your garden healthy but also saves you time and effort in the long run.
Adding Automation
When it comes to taking your DIY watering system to the next level, can make a significant difference in efficiency and convenience. By incorporating smart controllers or sensors, you can optimize water usage and simplify the maintenance of your garden watering system.
Smart controllers are designed to automatically adjust watering schedules based on weather conditions, soil moisture levels, and plant requirements. This means you no longer have to manually tweak timers or worry about overwatering or underwatering your plants. With the help of sensors, you can ensure that your garden receives the right amount of water at the right time, promoting healthier plant growth and conserving water.
Imagine having a watering system that adapts to the specific needs of your garden without constant monitoring or adjustment. Automation not only saves you time and effort but also contributes to a more sustainable approach to gardening by preventing water wastage and promoting efficient irrigation practices.
Testing and Adjusting
Testing and adjusting your DIY watering system is a crucial step to ensure that your garden receives the right amount of water efficiently. Once you have completed the installation process, it's time to put your system to the test and make any necessary adjustments for optimal performance.
Start by turning on the water supply to the system and checking for any leaks or irregularities in the water flow. Walk around your garden to observe the distribution of water from the emitters and make note of any areas that may be receiving too much or too little water.
If you notice any issues with water distribution, you may need to adjust the placement of emitters or the positioning of hoses to achieve more balanced coverage. Additionally, check the timers to ensure they are set correctly for the watering schedule you desire.
It's also essential to monitor the water pressure in your system to ensure that all plants are receiving adequate moisture. Low water pressure can lead to uneven watering and may indicate a clog in the system that needs to be addressed.
After making initial adjustments, run the system for a full watering cycle and observe the results. Check the soil moisture levels in different areas of your garden to confirm that the water is reaching the roots of your plants effectively.
If you encounter persistent issues during testing, refer back to the installation instructions to troubleshoot potential problems. Regular testing and adjusting of your DIY watering system will help maintain a healthy and thriving garden throughout the growing season.

Maintaining Your System
After setting up your DIY watering system, it's crucial to maintain it regularly to ensure optimal performance and keep your garden flourishing. By conducting routine checks and performing necessary upkeep tasks, you can prevent potential issues and extend the lifespan of your system.
One essential aspect of maintaining your watering system is inspecting it for any leaks or damages. Check all connections, hoses, and emitters for signs of wear and tear that could lead to water wastage or inefficient watering. Address any leaks promptly to prevent water loss and potential damage to your garden.
Another important maintenance task is cleaning the filters in your system. Over time, debris and sediment can accumulate in the filters, affecting water flow and the performance of emitters. Regularly remove and clean filters to ensure proper filtration and prevent clogging, which can impede water distribution in your garden.
Adjusting timers is also crucial for maintaining an efficient watering schedule. As seasons change and plant water requirements vary, it's essential to update your watering schedule accordingly. Fine-tune timers to deliver the right amount of water at the optimal times to promote healthy plant growth and conserve water.
Replacing worn-out components is a key part of system maintenance. Keep an eye on the condition of hoses, connectors, and emitters, and replace any damaged or deteriorating parts to prevent malfunctions and ensure consistent water distribution. By regularly replacing worn components, you can avoid unexpected failures and maintain the effectiveness of your watering system.
Additionally, consider conducting a thorough system check at least once a month to identify any potential issues or areas that require attention. By staying proactive and addressing maintenance tasks promptly, you can keep your DIY watering system in top condition and enjoy a lush and thriving garden all year round.

Expanding Your System
So you've successfully set up your DIY watering system and now you're ready to take it to the next level - expanding your system. This is where you can get creative and tailor your watering system to meet the specific needs of your garden. Whether you want to add more zones, incorporate drip lines, or even implement rainwater harvesting, expanding your system allows you to further optimize your garden's watering efficiency.
One way to expand your DIY watering system is by adding more zones. By dividing your garden into different zones based on plant types or water requirements, you can customize the watering schedule for each area. This can help ensure that each plant receives the right amount of water, promoting healthy growth and reducing water wastage.
Another option for expanding your system is to incorporate drip lines. Drip irrigation is a highly efficient method of watering that delivers water directly to the base of plants, minimizing evaporation and runoff. By installing drip lines in your garden, you can provide targeted watering to individual plants or rows, conserving water and promoting plant health.
Furthermore, you may consider integrating rainwater harvesting into your watering system. Rainwater harvesting involves collecting and storing rainwater to be used for watering your garden. By installing a rain barrel or a more elaborate rainwater collection system, you can reduce your reliance on municipal water sources and create a more sustainable watering solution for your garden.
Expanding your DIY watering system not only allows you to enhance the efficiency and effectiveness of your watering routine but also gives you the opportunity to experiment with different techniques and technologies to achieve the best results for your garden.

Troubleshooting Common Issues
When it comes to maintaining your DIY watering system, encountering common issues is inevitable. However, with a bit of troubleshooting know-how, you can easily address these issues and keep your system running smoothly. One of the most common problems gardeners face is clogging emitters. This can occur due to debris or mineral buildup in the hoses or emitters, leading to uneven watering or complete blockages. To troubleshoot this issue, regularly check and clean the emitters and filters to ensure proper water flow.
Another common issue is low water pressure, which can result in inadequate watering of your plants. Low water pressure may be caused by kinks in the hoses, leaks, or a partially closed valve. Inspect the hoses for any obstructions, leaks, or damages, and ensure that the water source is fully open to maintain adequate pressure throughout the system.
Timer malfunctions can also disrupt the watering schedule of your garden. If you notice that the timers are not activating as scheduled or are skipping watering cycles, check the batteries, programming settings, and connections to troubleshoot the issue. Sometimes, simply resetting the timer or replacing the batteries can resolve the problem.
In some cases, you may experience leaks in the hoses or connectors, leading to water wastage and inefficient watering. Inspect the connections, tighten any loose fittings, and replace damaged hoses to prevent leaks and ensure proper water distribution in your garden. Regularly monitoring and addressing these common issues will help you maintain an efficient and effective DIY watering system for your plants.
Frequently Asked Questions
- Can I use a DIY watering system for all types of gardens?
Yes, a DIY watering system can be customized to suit various garden sizes and layouts. Whether you have a small urban garden or a large backyard garden, you can adapt the system to meet your specific needs.
- Do I need any special skills to install a DIY watering system?
No special skills are required to install a DIY watering system. The process is straightforward and can be easily accomplished by following the step-by-step instructions provided. Basic knowledge of connecting hoses and setting up timers is all you need.
- How can I ensure efficient water usage with a DIY watering system?
To optimize water usage, you can incorporate smart controllers or sensors into your DIY watering system. These devices help monitor soil moisture levels and adjust watering schedules accordingly, ensuring that your plants receive the right amount of water.
- What should I do if I encounter issues with my DIY watering system?
If you experience any problems such as clogging emitters or low water pressure, refer to the troubleshooting section of the guide. It provides solutions to common issues that may arise and helps you keep your DIY watering system running smoothly.